HomeKit ❤️ LIFX

Every three months or so I found myself looking at Philips Hue and since iOS 10 came around with its deep HomeKit integration the desire for home automation has be higher. One thing that always put me off about the Hue system is the price. To buy into the system it's at least £100 for one of their starter kits including the mandatory hub and bulbs (£150 if you want colour bulbs), and then £50 a pop for subsequent colour bulbs on top. For someone who wasn't totally sold on smart lights it's an expensive entry fee.
The alternative I'd been looking at was LIFX which connects directly to a Wi-Fi network and doesn't require a hub. Bulbs are competitive with the Hue system with white bulbs being £20-25 a piece and colour bulbs being £40-55 each. The benefits of going for LIFX was that it meant I could go piecemeal and buy just a single bulb to whet my appetite for home automation.
Unfortunately LIFX doesn't support HomeKit out of the box which for me put them out of the running as I wanted that deep integration with iOS 10. The lovely Anthony Castelli thankfully had a solution for me. Homebridge works by creating a HomeKit server on your local network and sending and receiving networks to a plethora of Wi-Fi enabled devices. Simply install the homebridge package and the corresponding plugins for your accessories, edit a JSON file and you're good to go.
Homebridge will automatically find any compatible devices on your network and displays a code for you to pair it with your iPhone or iPad. It really is fantastic. With this knowledge I got a single LIFX White 800 bulb.
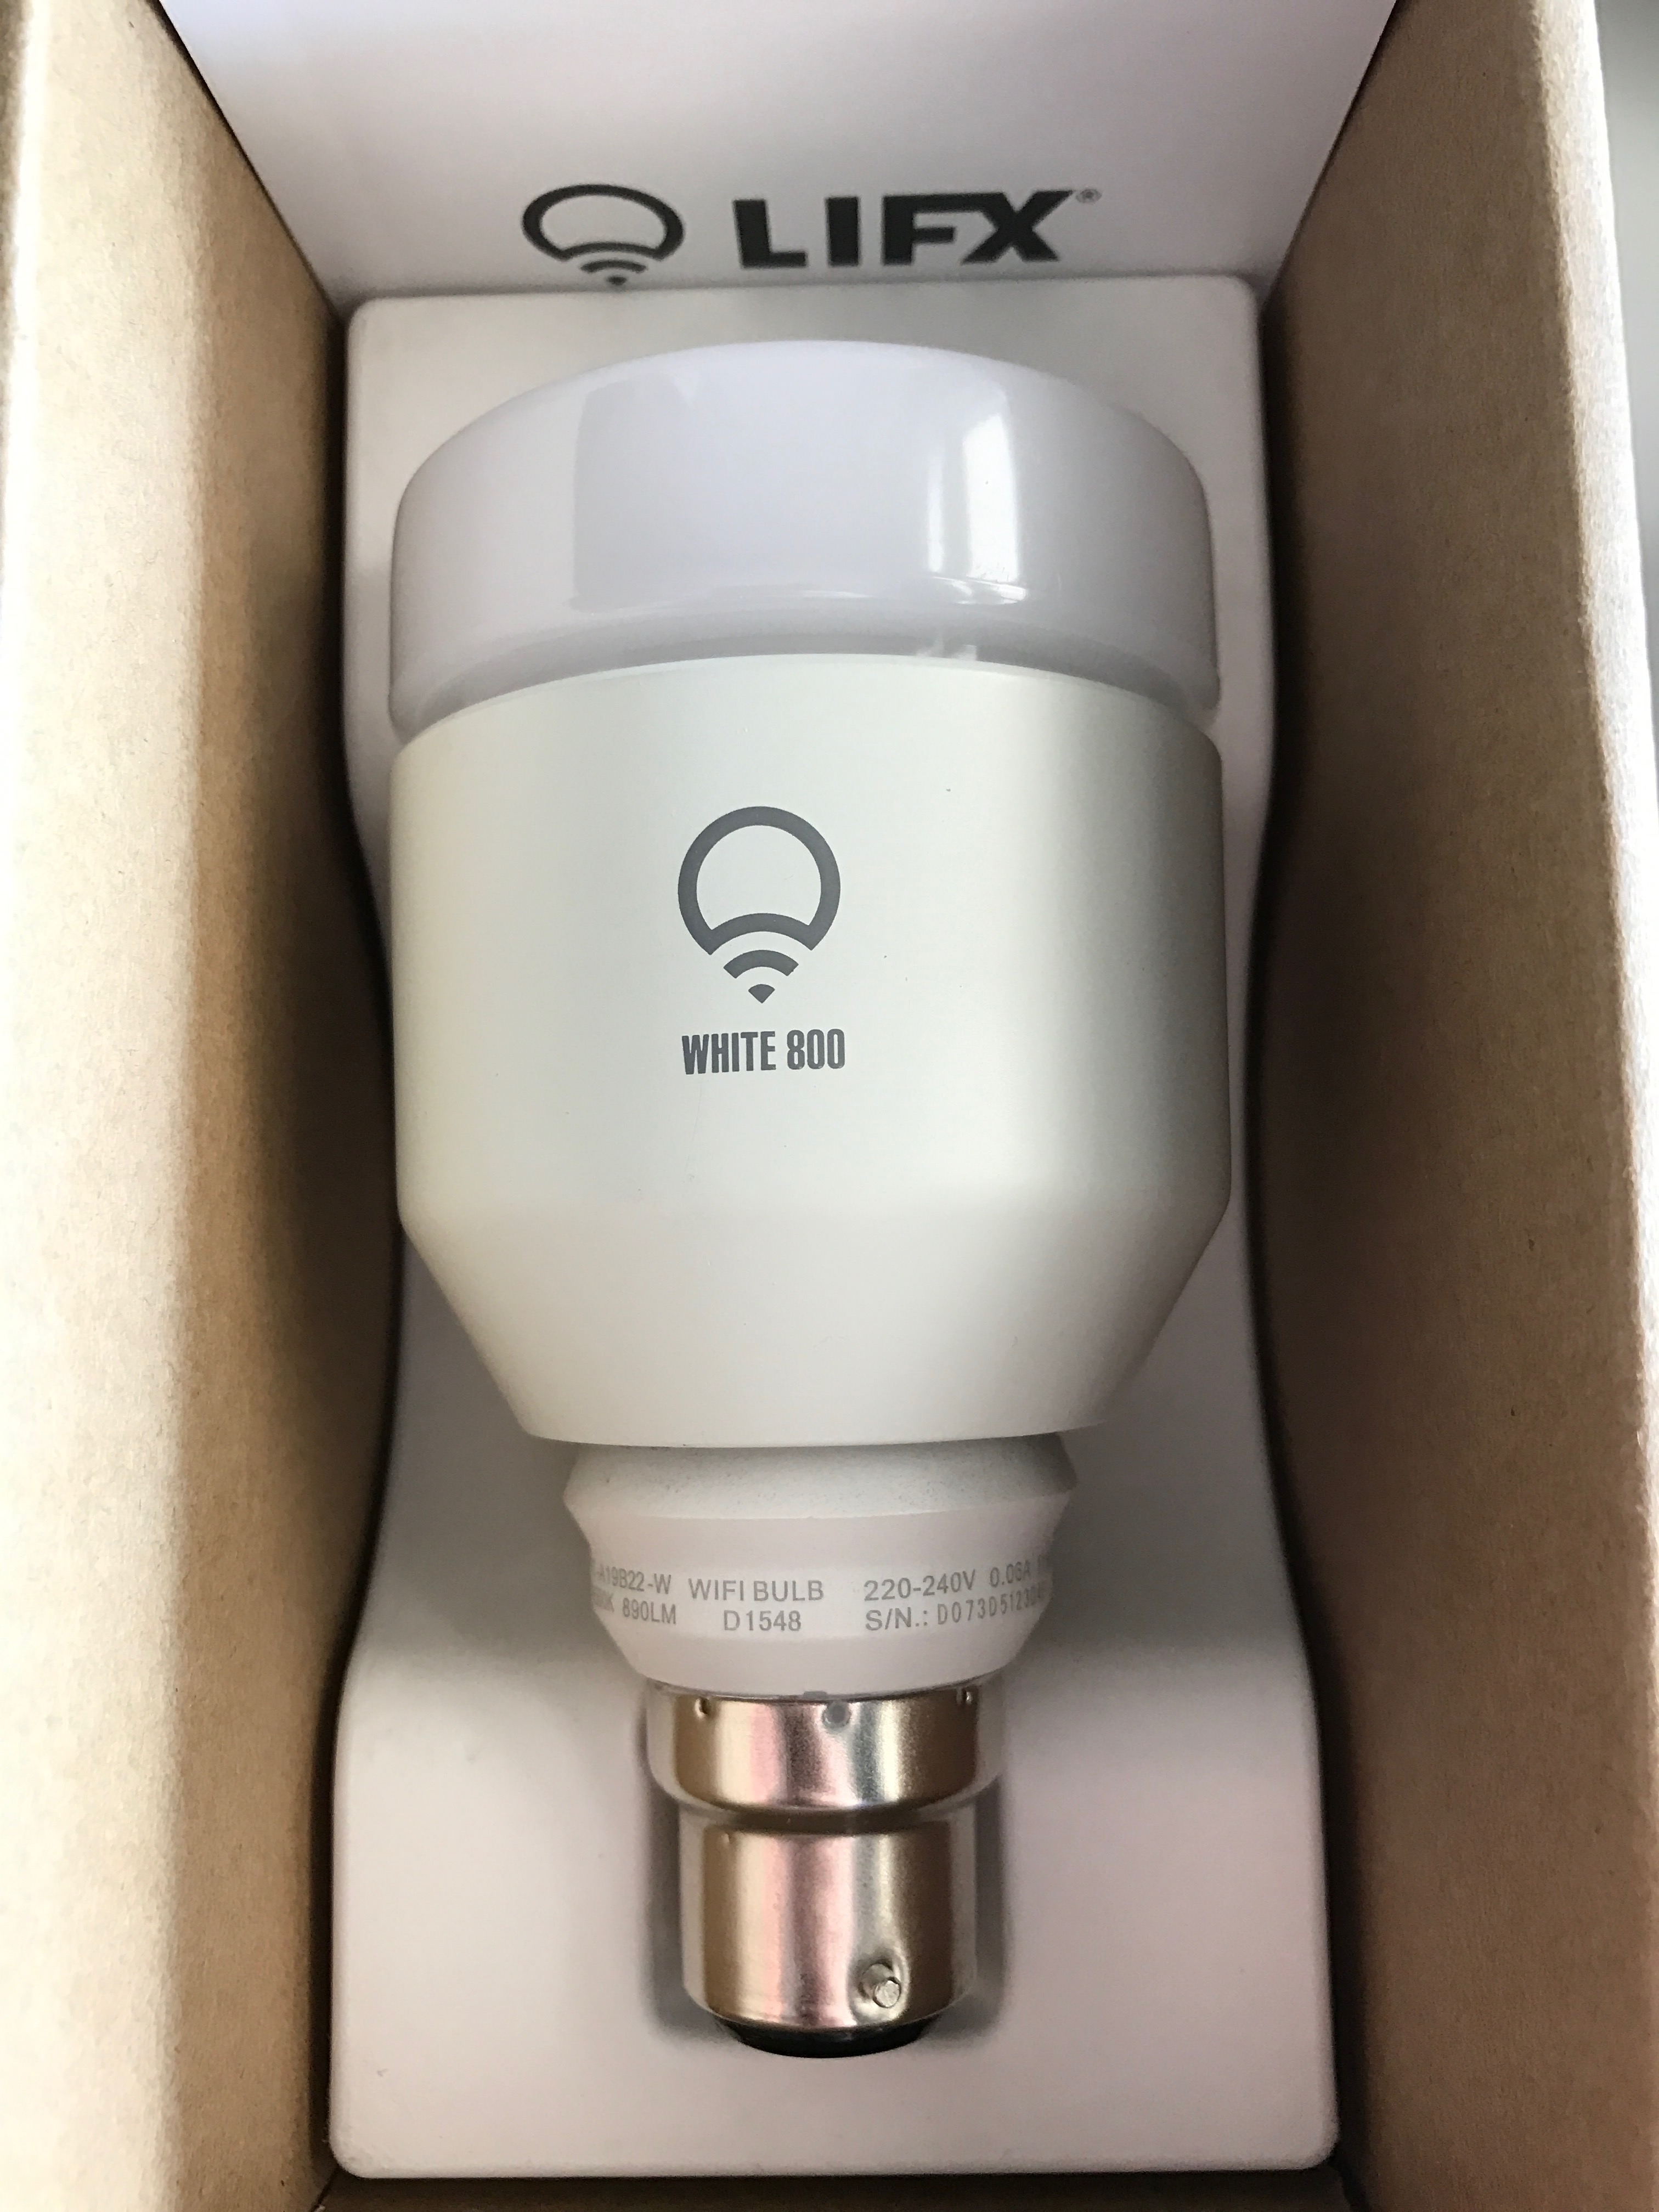
The bulb is extremely well made of metal and plastic. I thought it was going to be too big to fit in my lamps but it twisted into place perfectly. Setup with the LIFX iPhone was easy and I was controlling lights from my phone in minutes.
Homebridge + Raspberry Pi Zero
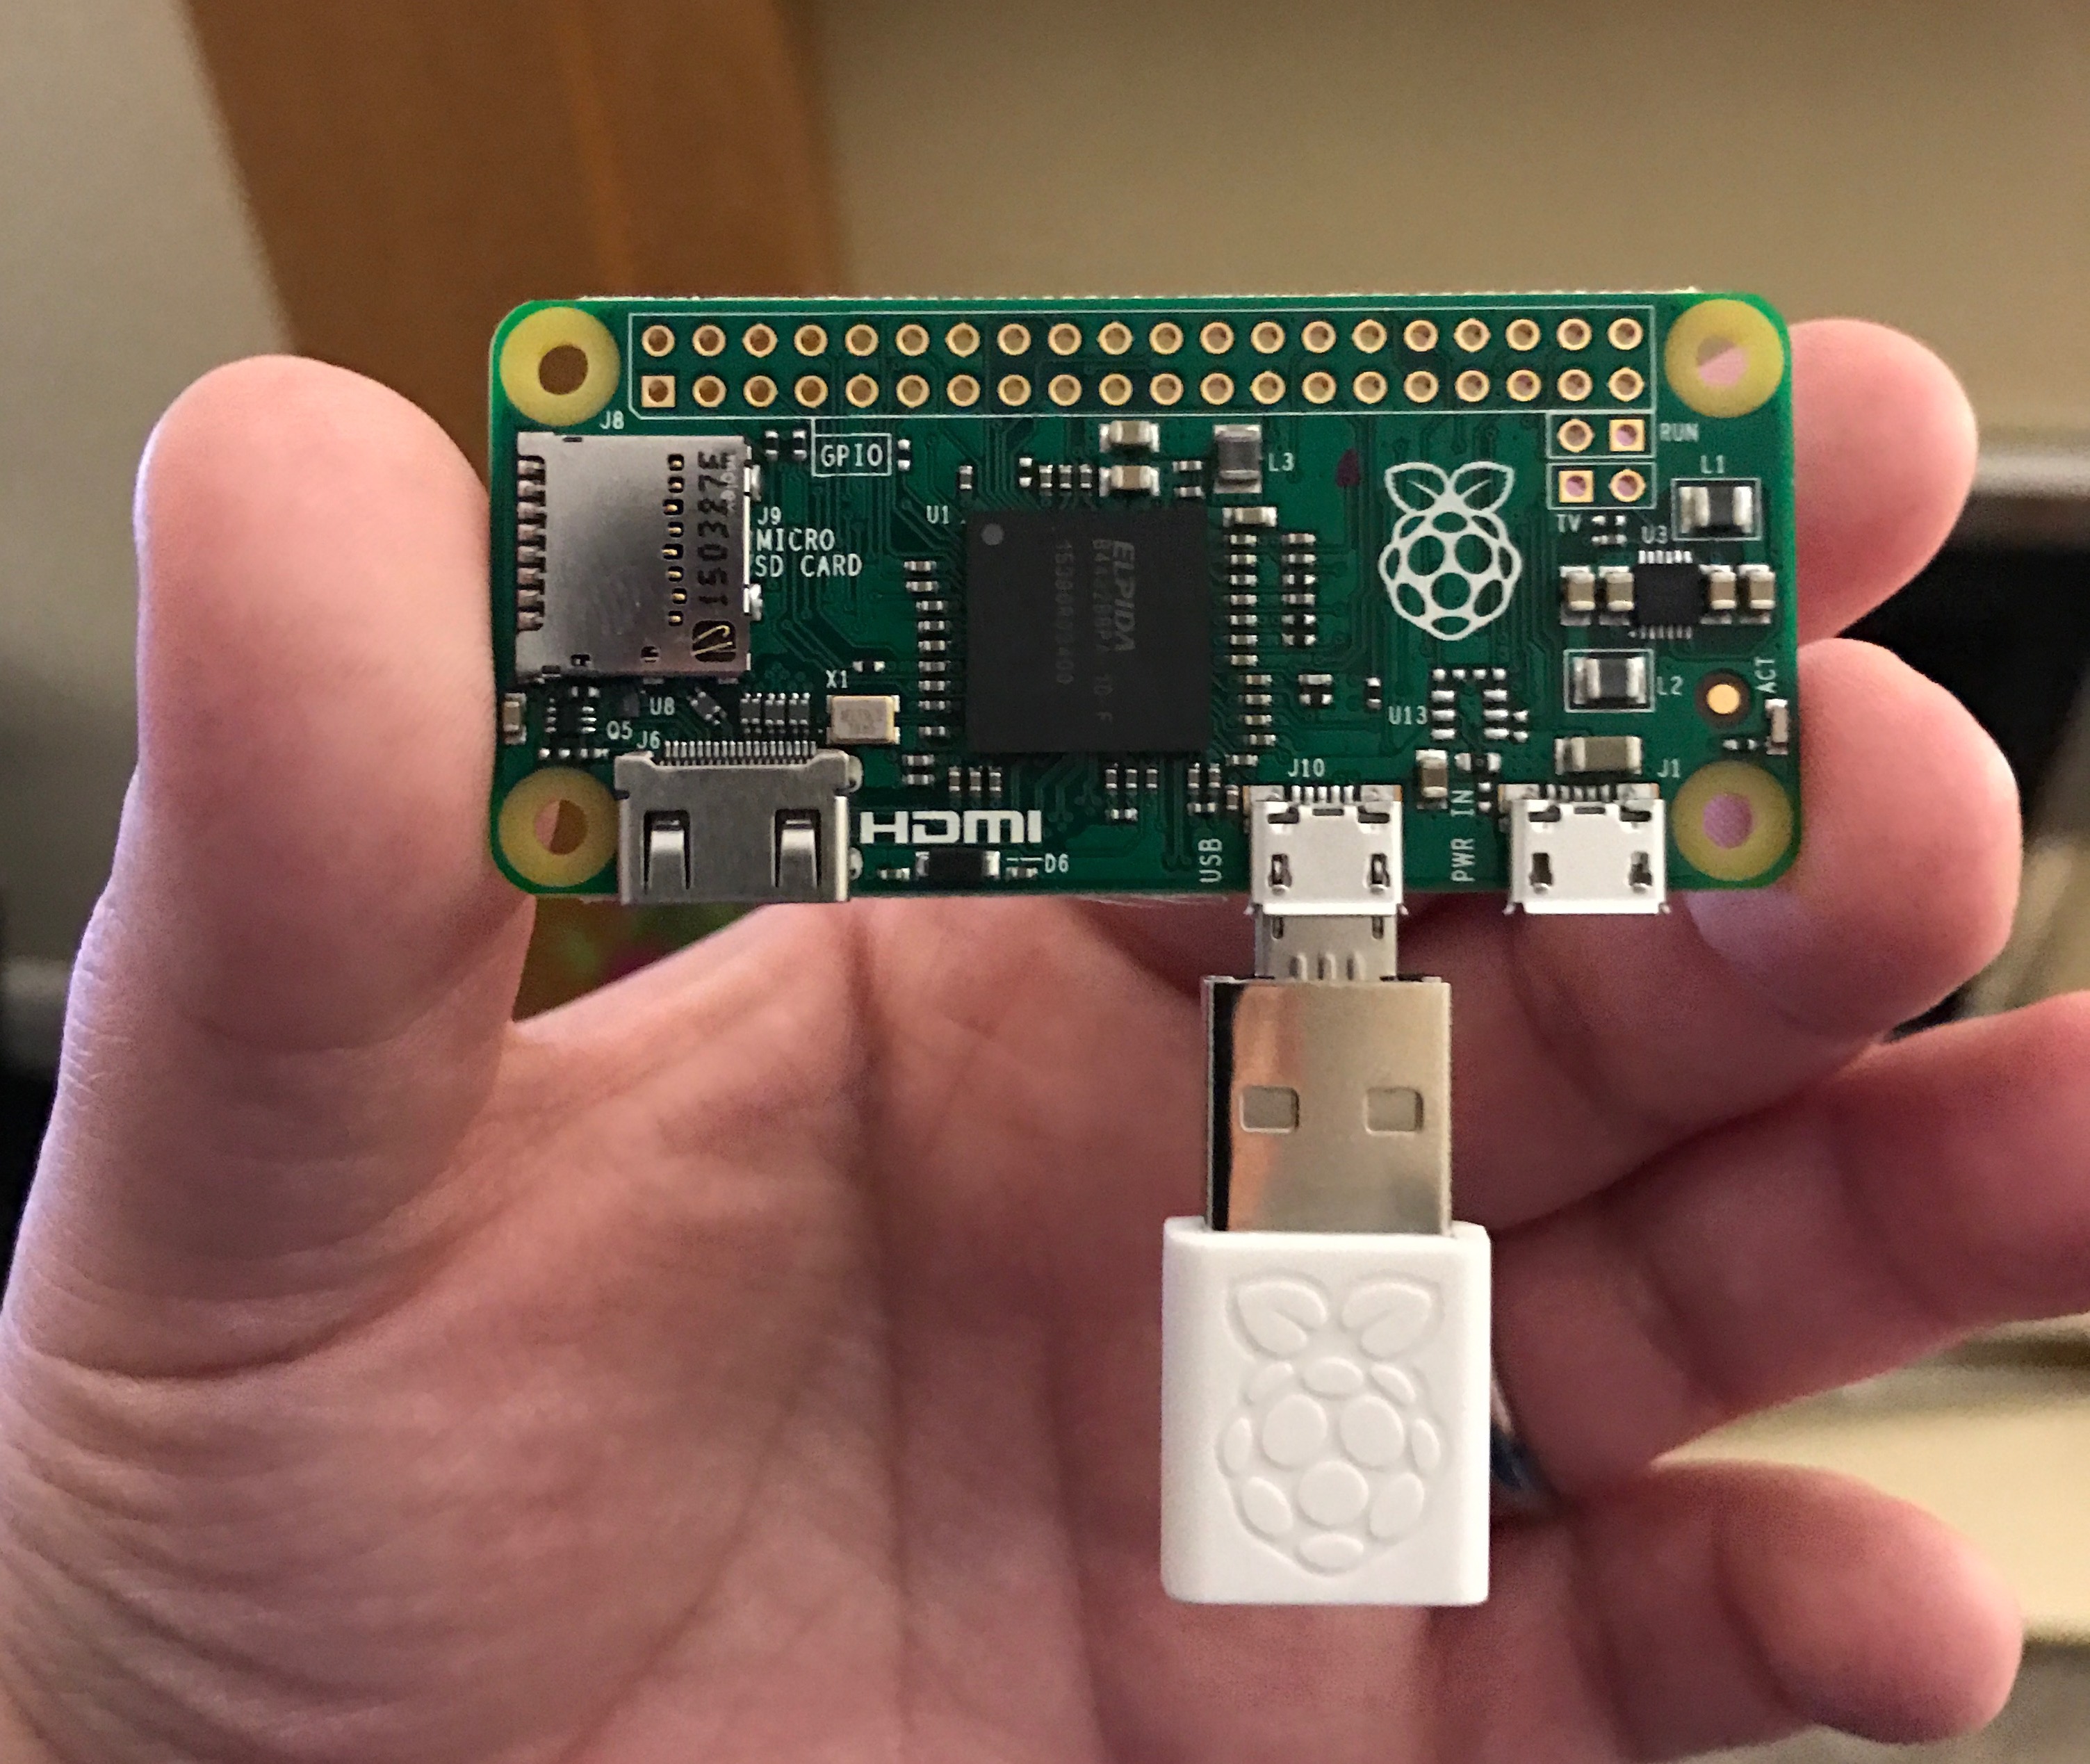
Next up was installing Homebridge. I installed the requisite packages on my MacBook to try it out and got it connected to the Home app on my iPhone within 10 minutes. If I was willing to leave that on all day it would be fine but I wanted something that I could tuck away and leave on in the background. As Homebridge is just a node module it was able to run on a Raspberry Pi and I happened to have a Pi Zero lying around that I had no idea what to do with.
Step 1 was getting the Pi Zero onto the network. Unlike the regular Pi it doesn't come with an ethernet port or full sized USB socket on the board which provided a couple of challenges.
- The official RPi Wi-Fi adaptor only comes in the full-sized USB flavour.
- There's only 1 USB socket meaning I couldn't connect an Ethernet adaptor and the Wi-Fi adaptor at the time time.
Luckily we had another Pi lying around that I could configure everything on and then just shove the Micro SD card into my Zero. I picked up a neat little USB -> Micro adaptor on Amazon which meant I could slot the adaptor straight into the board — a tidy little hub for my lights.
Setting up Wi-Fi wasn't tricky and the official documentation was easy to follow. I couldn't get it to connect to my 5Ghz network so if you have any issues connecting give a classic 2.4Ghz network a whirl. To power the thing I'm just using an iPhone charger and Micro USB cable. I should probably get a case for it so if anyone has any recommendations then leave a comment or hit me up on Twitter
Installing Homebridge
When running on a Raspberry Pi there are quite a few additional steps that need to be taken. Homebridge has a great Wiki page on installing to a Raspberry Pi but I still encountered a couple of issues that I wanted to mention in case anyone else encounters them.
- Node.js refused to install via
apt-getdue to some incompatibilities with ARMv6 so I ended up installing manually. - The
requestmodule wasn't installed which prevented some packages from running. Took me a while to track this one down but runningnpm install -g requestdid the trick. - With Raspbian Lite things like Git aren't included so it might be worth going for the full install or run
sudo apt-get install git make - For some reason I had a nightmare getting the
hap-nodejsmodule to install. At least I thought I did… A system reboot fixed that one. If you get an error when runninghomebridgethat mentions it then give that a go first.
Automation
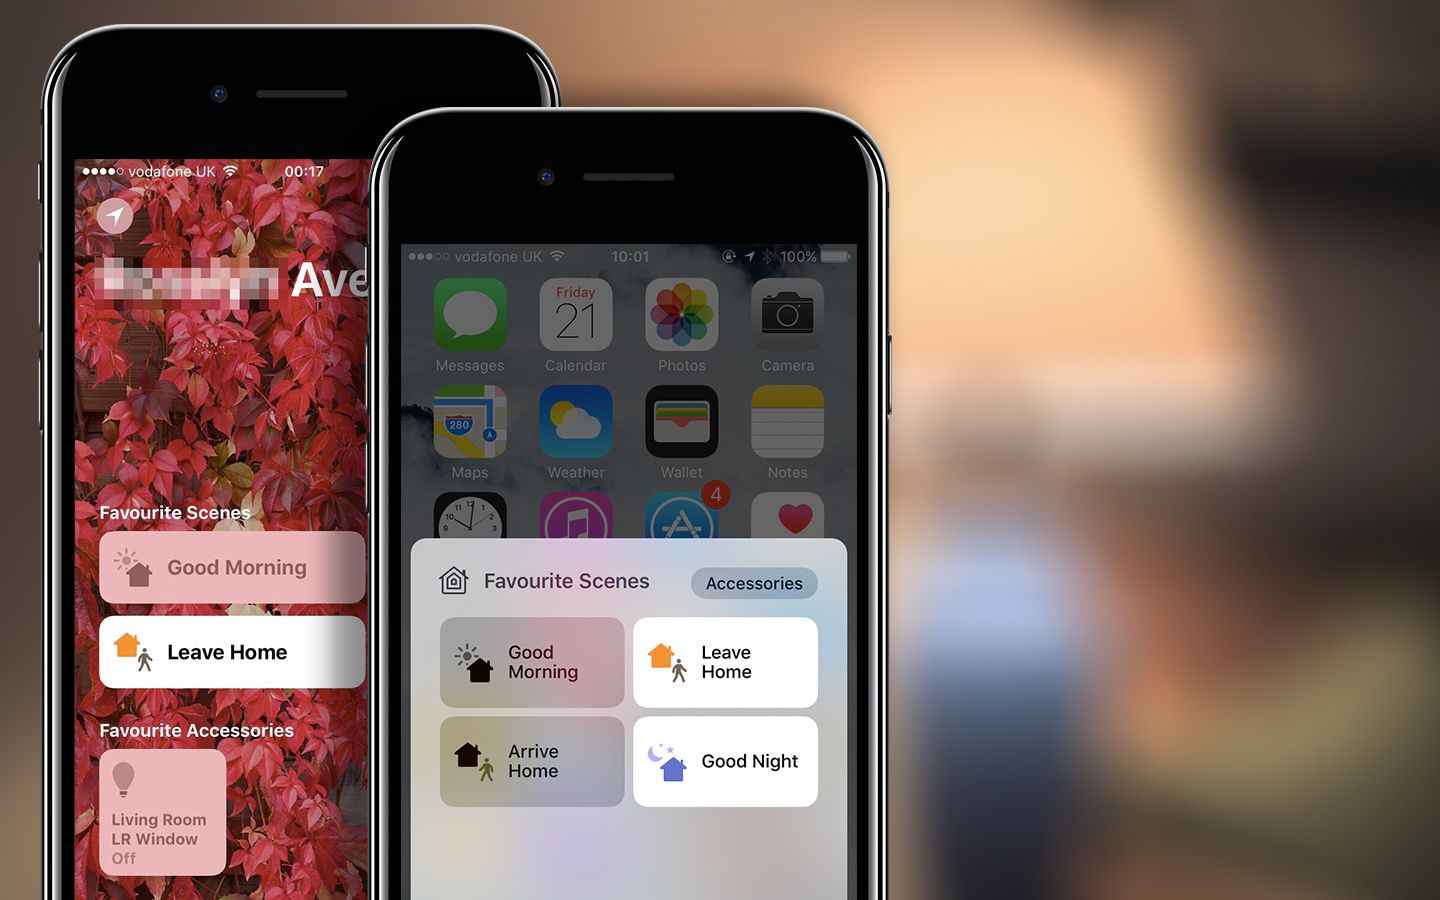
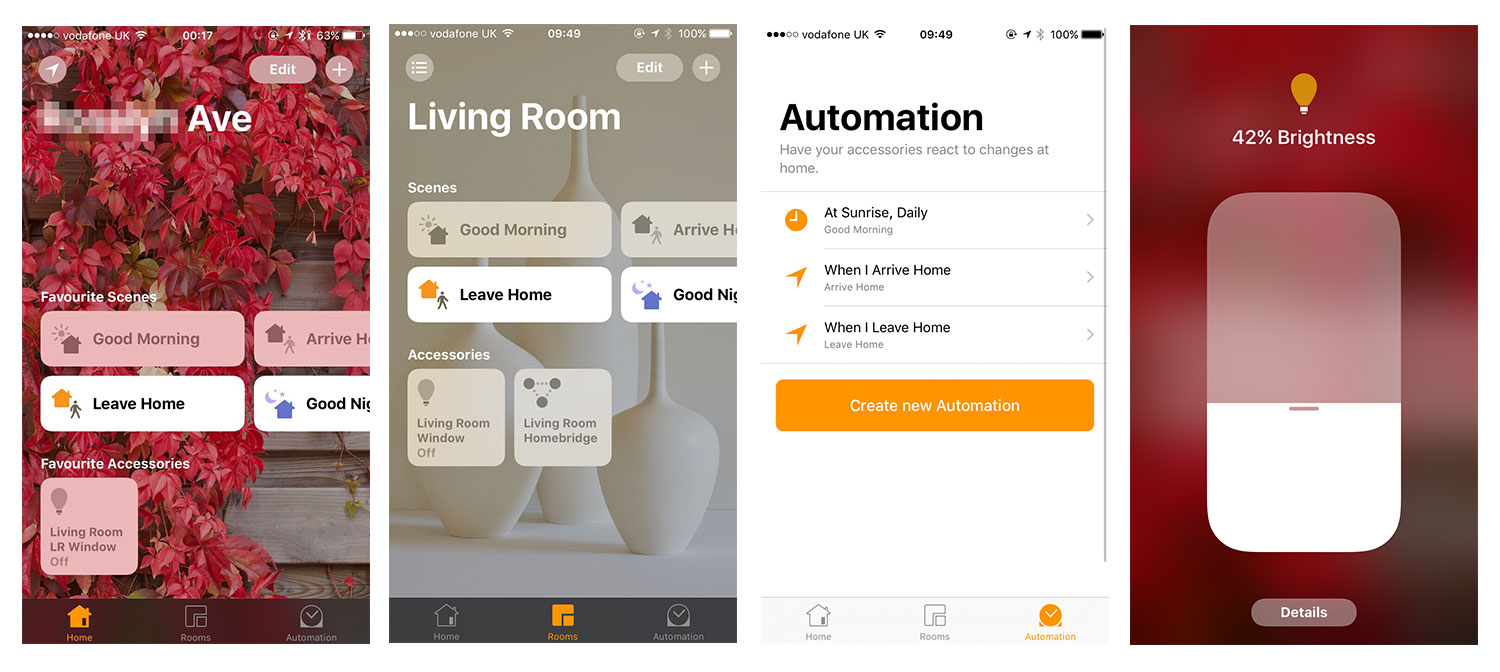
Once everything was installed and setup in Home on my iPhone I spent some time configuring some scenes and the automation stuff. In order to get the automation to work or to control the lights when you're not on the same Wi-Fi network you'll need either an Apple TV 4th Gen or an iPad connected. Once you do everything is automatic.
Here's what Home looks like with my single lightbulb (more are definitely on the way and most likely the Colour 1000).
Conclusion
If you're looking for an out of the box, HomeKit compatible system and aren't bothered about the high entry cost then the Philips Hue is probably the best bet (even if it sucks at green). However, if you're able to install a couple of node modules and have a Raspberry Pi lying around then Homebridge is a fantastic and cheaper alternative especially when you consider it'll work pretty much any Wi-Fi enabled device. If you have the RF transmitter for the GPIO board it'll even control those super cheap RF plug sockets.
I wasn't 100% sold on smart light but I am now. Saying "Good night" to Siri and having everything switch off is marvellous and having my light automatically turned on for me when I drive into my road is just wonderful in Autumn and Winter. iOS 10's deep HomeKit integration even extends into the Control Centre. Swipe up anywhere and control your home — it really makes me accept the new card UI they have in there and makes total sense.