Building An Arcade Cabinet: The Hardware
It must have been around 8 years ago that my Dad and I had the idea of building an arcade cabinet. This was before the Raspberry Pi even existed and there was nothing like Arcade World here.
After a bit of research we imported everything we needed for the control board from the US and knocked together a MAME box on an old Windows XP computer. And that's where the project stopped until I decided to have another go in December 2016.
The Cabinet
After I'd decided that I definitely wanted to have another go at this I started shopping. The first thing I needed to order was a cabinet for everything to go in. When we first had the idea of building an arcade machine we were going to cut our own based on some plans out of MDF, paint it black and maybe add some vinyls to jazz it up. In 2017 there is a much easier route to take — flatpack.
I did a bit of searching and came across a small company based in Swindon called XCADE. They offered a variety of cabinets in various form factors. Initially I had planned to continue down the upright route but a bar top cabinet ultimately proved to not only fit better in my house but also cost significantly less.
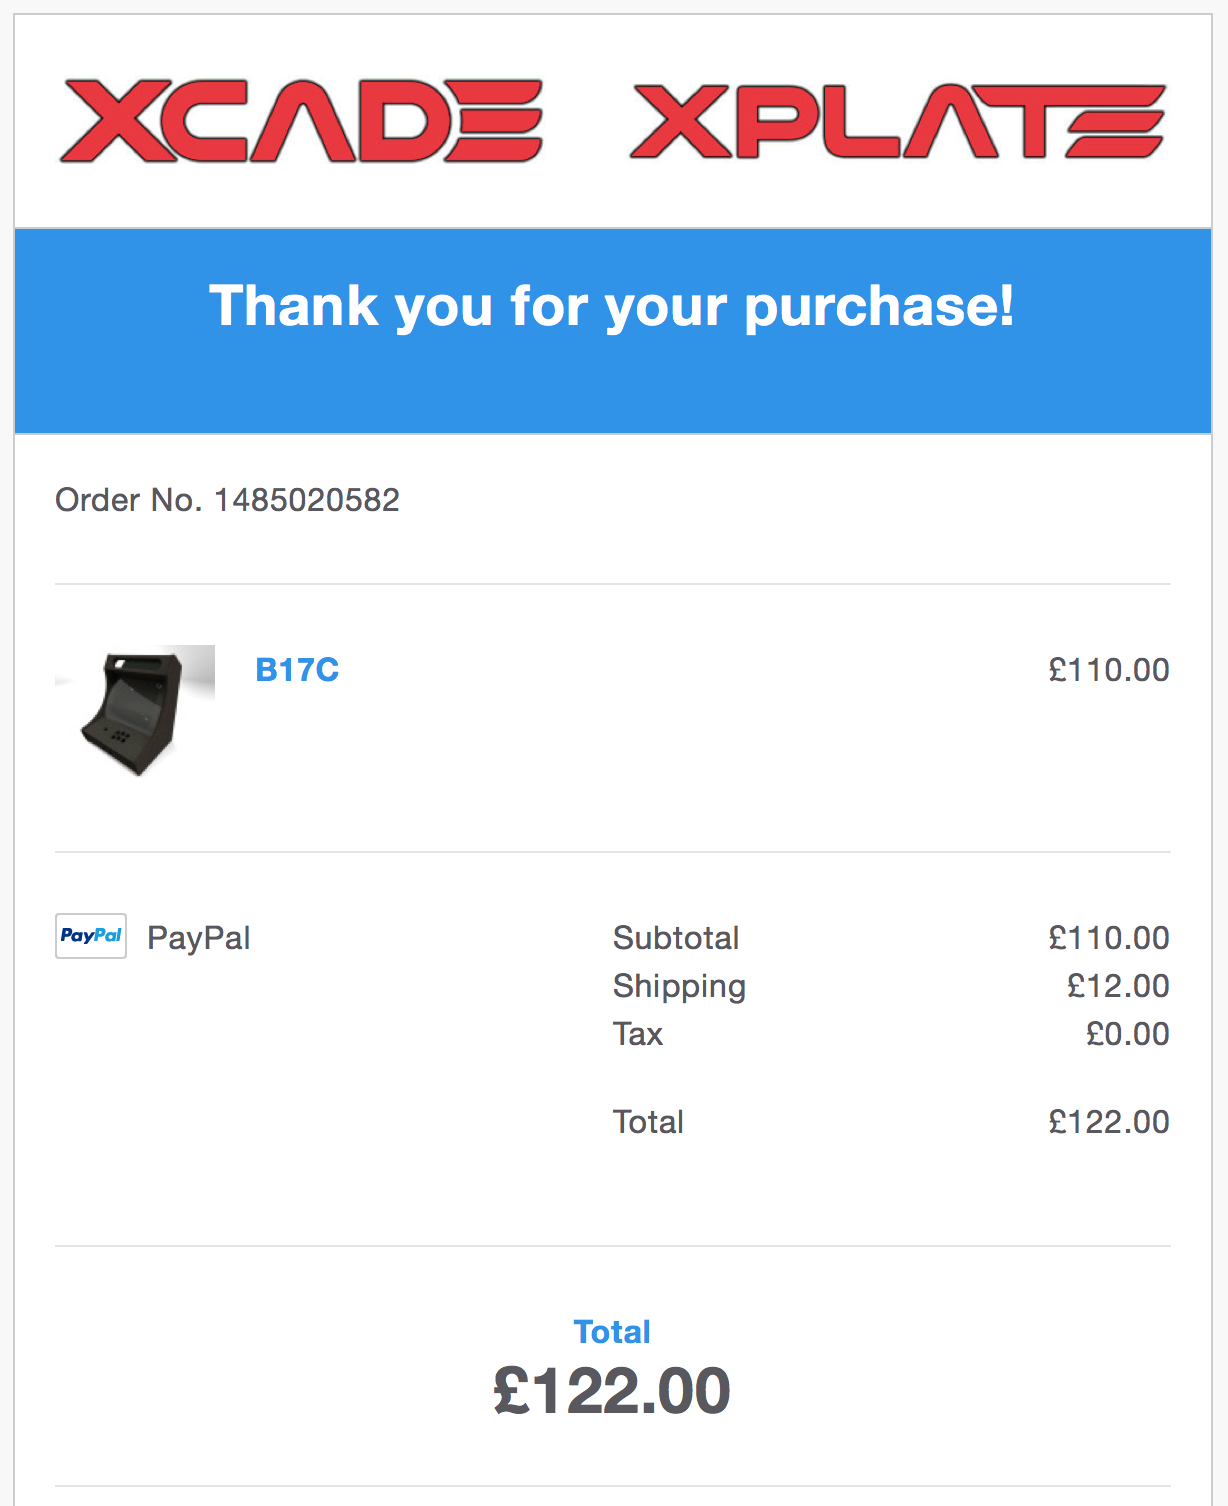
I ordered a B17C 1-player cabinet on 31st December 2016 for £122 (including shipping) from XCADE.
It might seem a little strange that I'm including the date here but it does have some significance. As much as I love the cabinet — and am for the most part impressed with the quality — my experience has been far from great.
After a total of 18 emails back-and-forth my arcade cabinet finally arrived on 28th March 2017 — almost 3 whole months since I ordered it. The website did mention a 3-4 week turnaround on orders so I anticipated it by the end of January. During that 3 month period I received numerous excuses ranging from lack of materials, a broken CNC machine, a busy workshop, and the courier losing it at the depot.
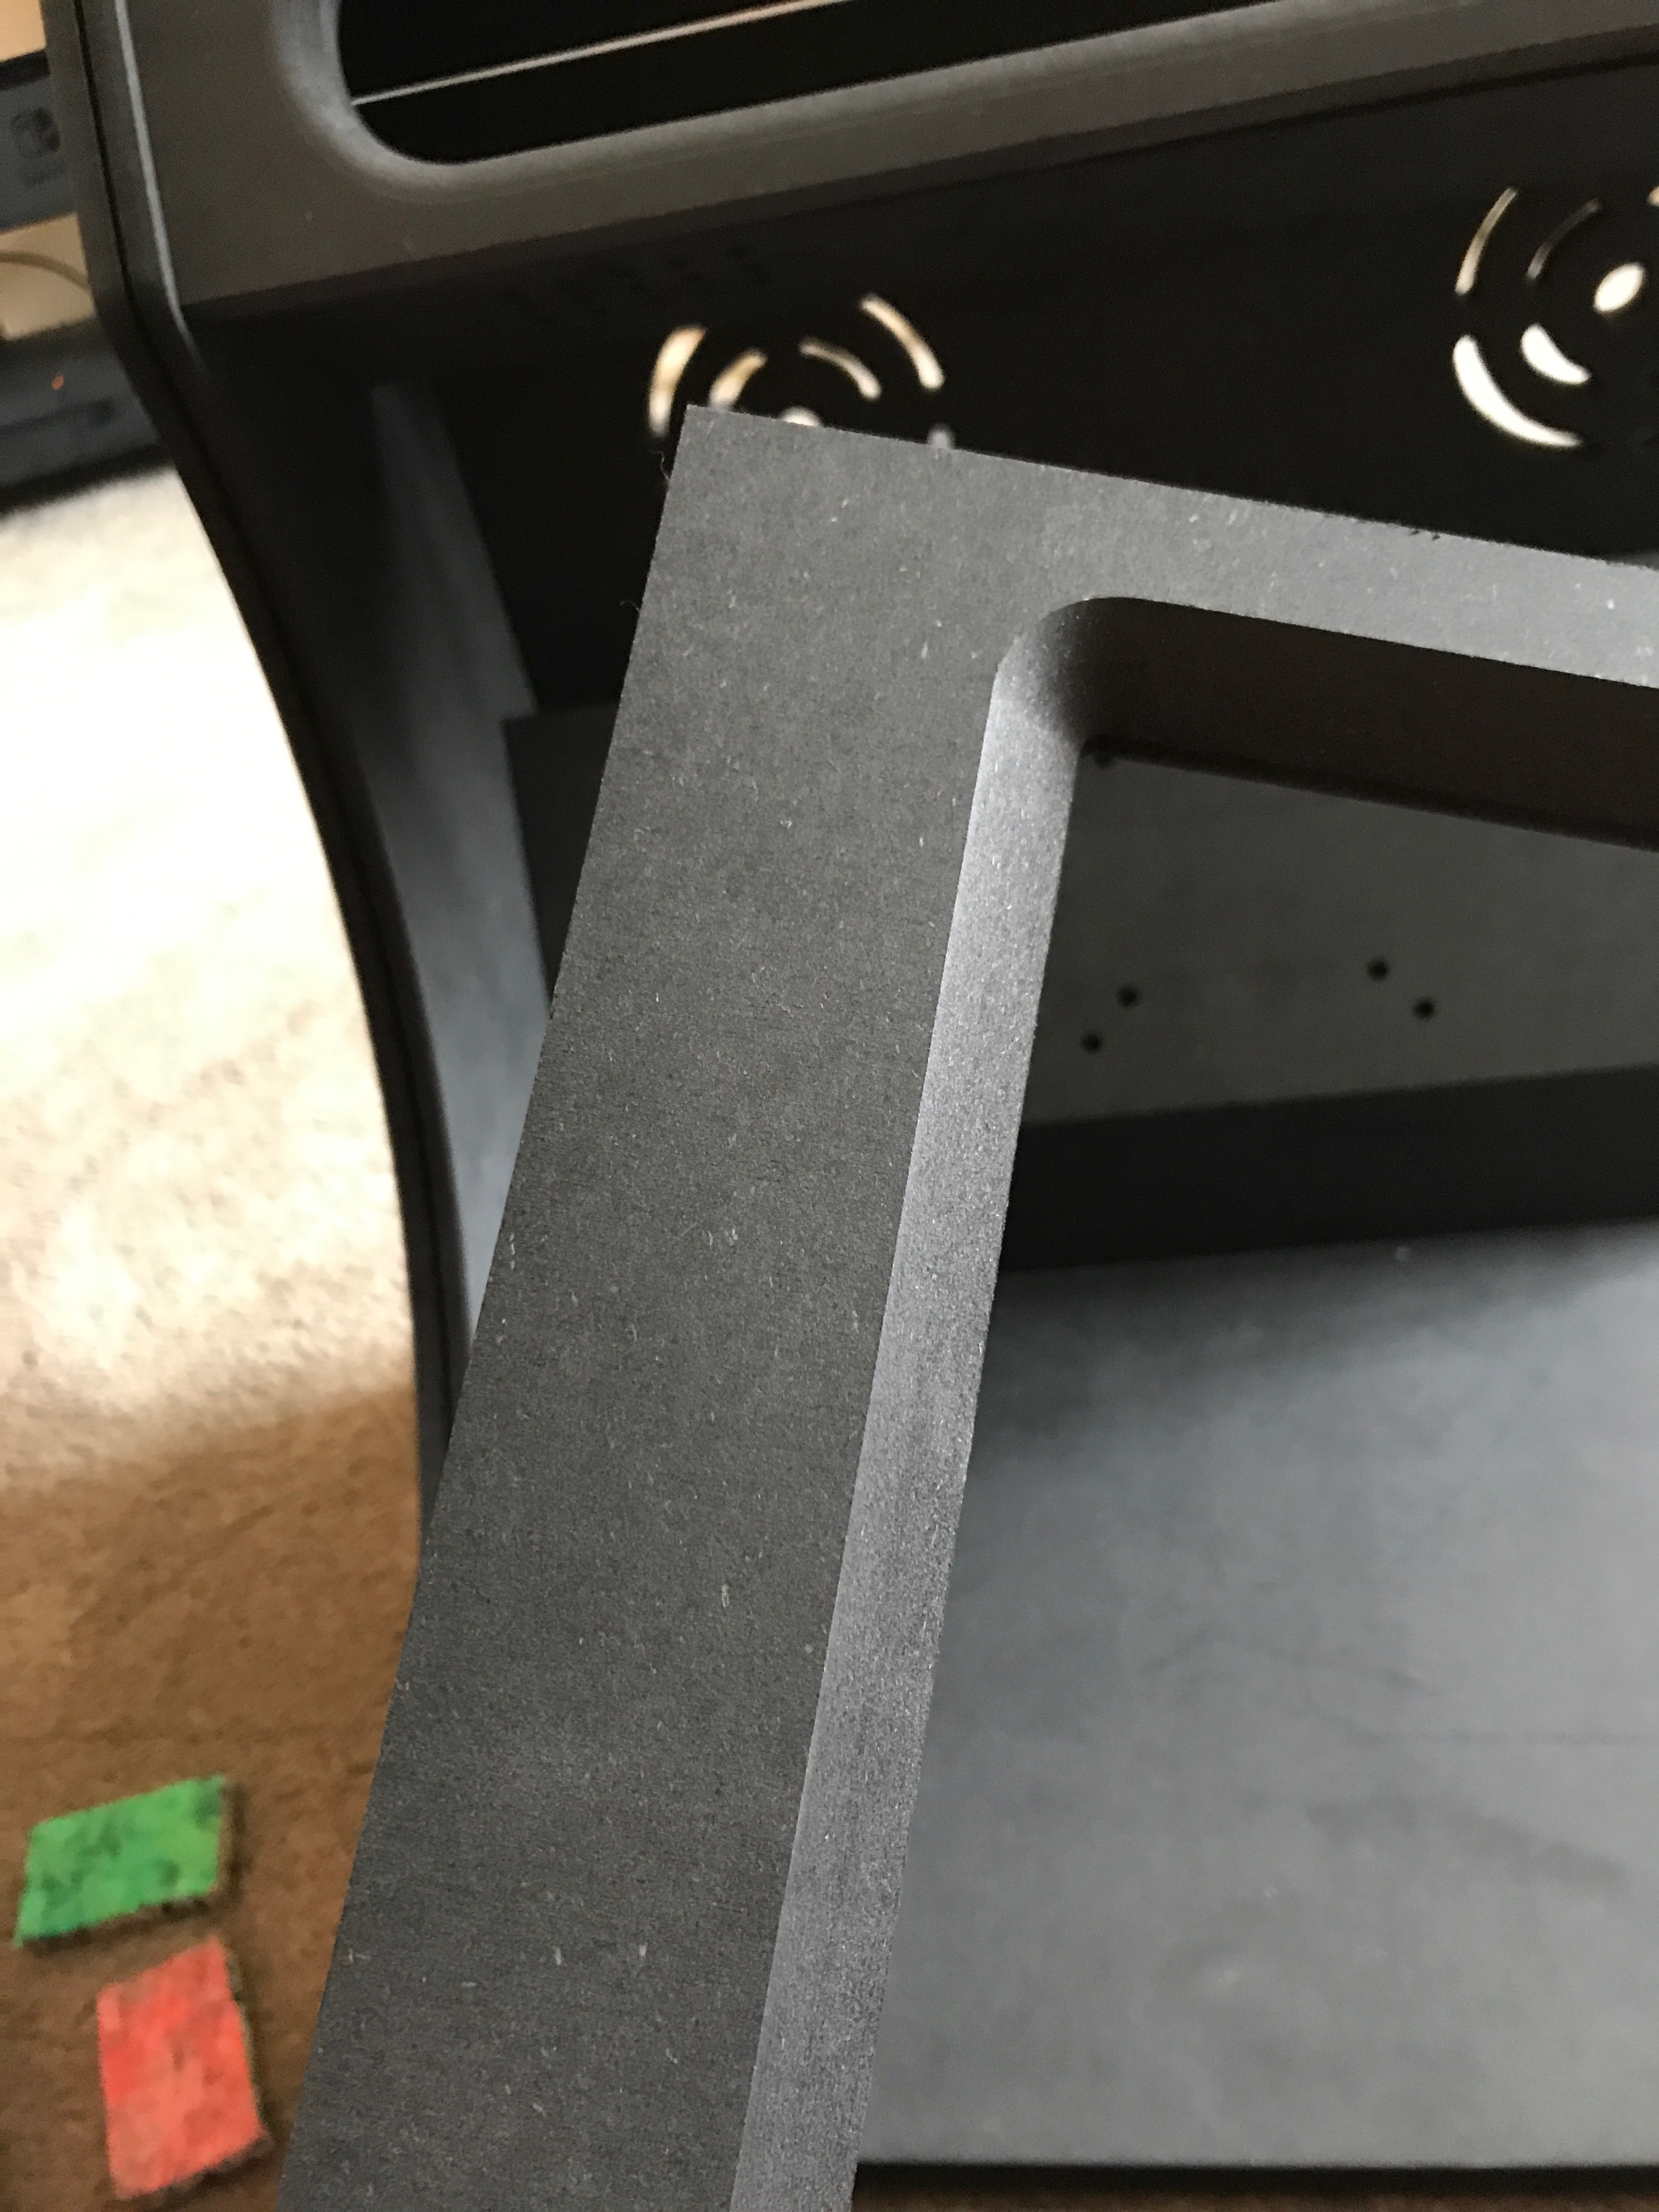
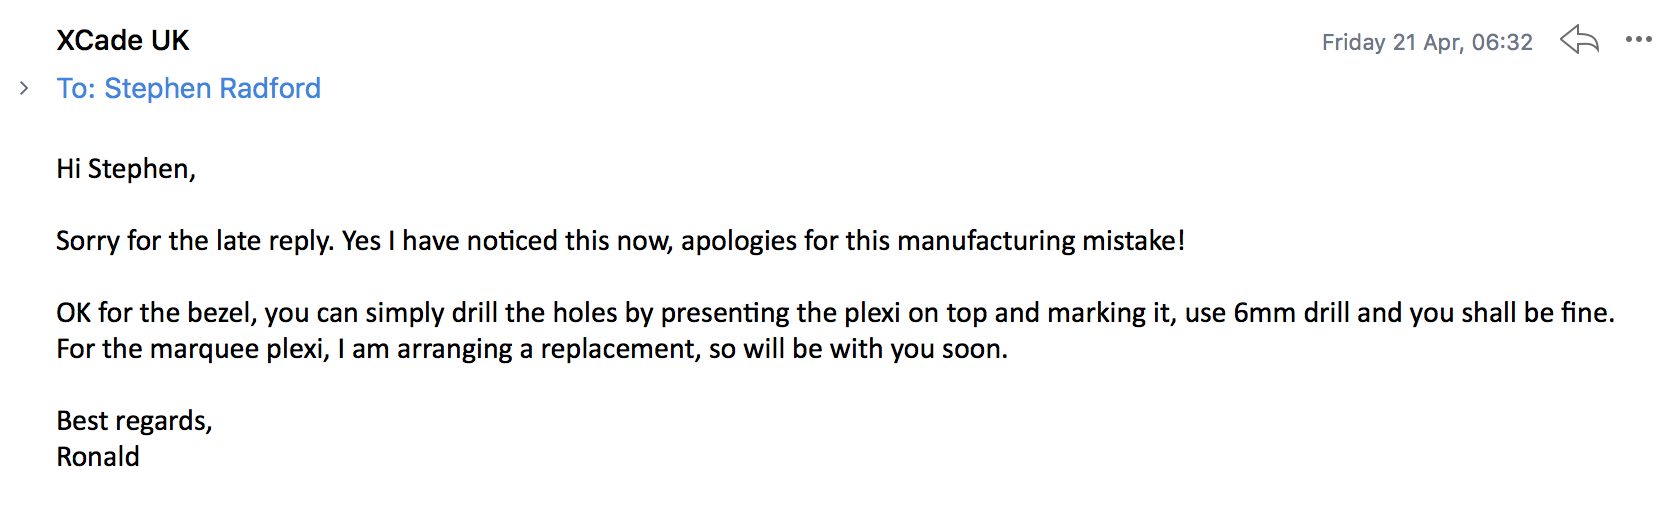
Now as I said previously, when the cabinet did finally arrive I was impressed with the quality as a whole. The black MDF used is great and required no painting. Perspex was provided for bezels, button surround, and marquee and all the screws you could possibly want were in the box. Having said that there were some minor issues. No assembly instructions or part list was included so it was all guess work, the perspex provided for the marquee was the wrong size, there was a minor crack around the button surround, and they completely forgot to drill holes for the screen bezel into the wood.
I dropped XCADE another email and was told to drill the holes into the bezel myself and that they would send out a new marquee insert for me. They never sent instructions and I hadn't noticed the crack in the button surround by then. Almost 2 weeks later and I'm yet to receive that new insert.
It seems to me like these issues probably stem from a workshop that was far over capacity. Mistakes happen and I can accept that if they're solved appropriately. My guess is that orders for Arcade World were prioritised over direct orders from their website as that's likely their biggest customer.
None of this means I wouldn't recommend their cabinets, but due to the long turnaround and less-than-average customer service I received I would recommend purchasing them from Arcade World instead. I've had no issues with Arcade World for other parts I and my boyfriend have ordered on separate occasions.
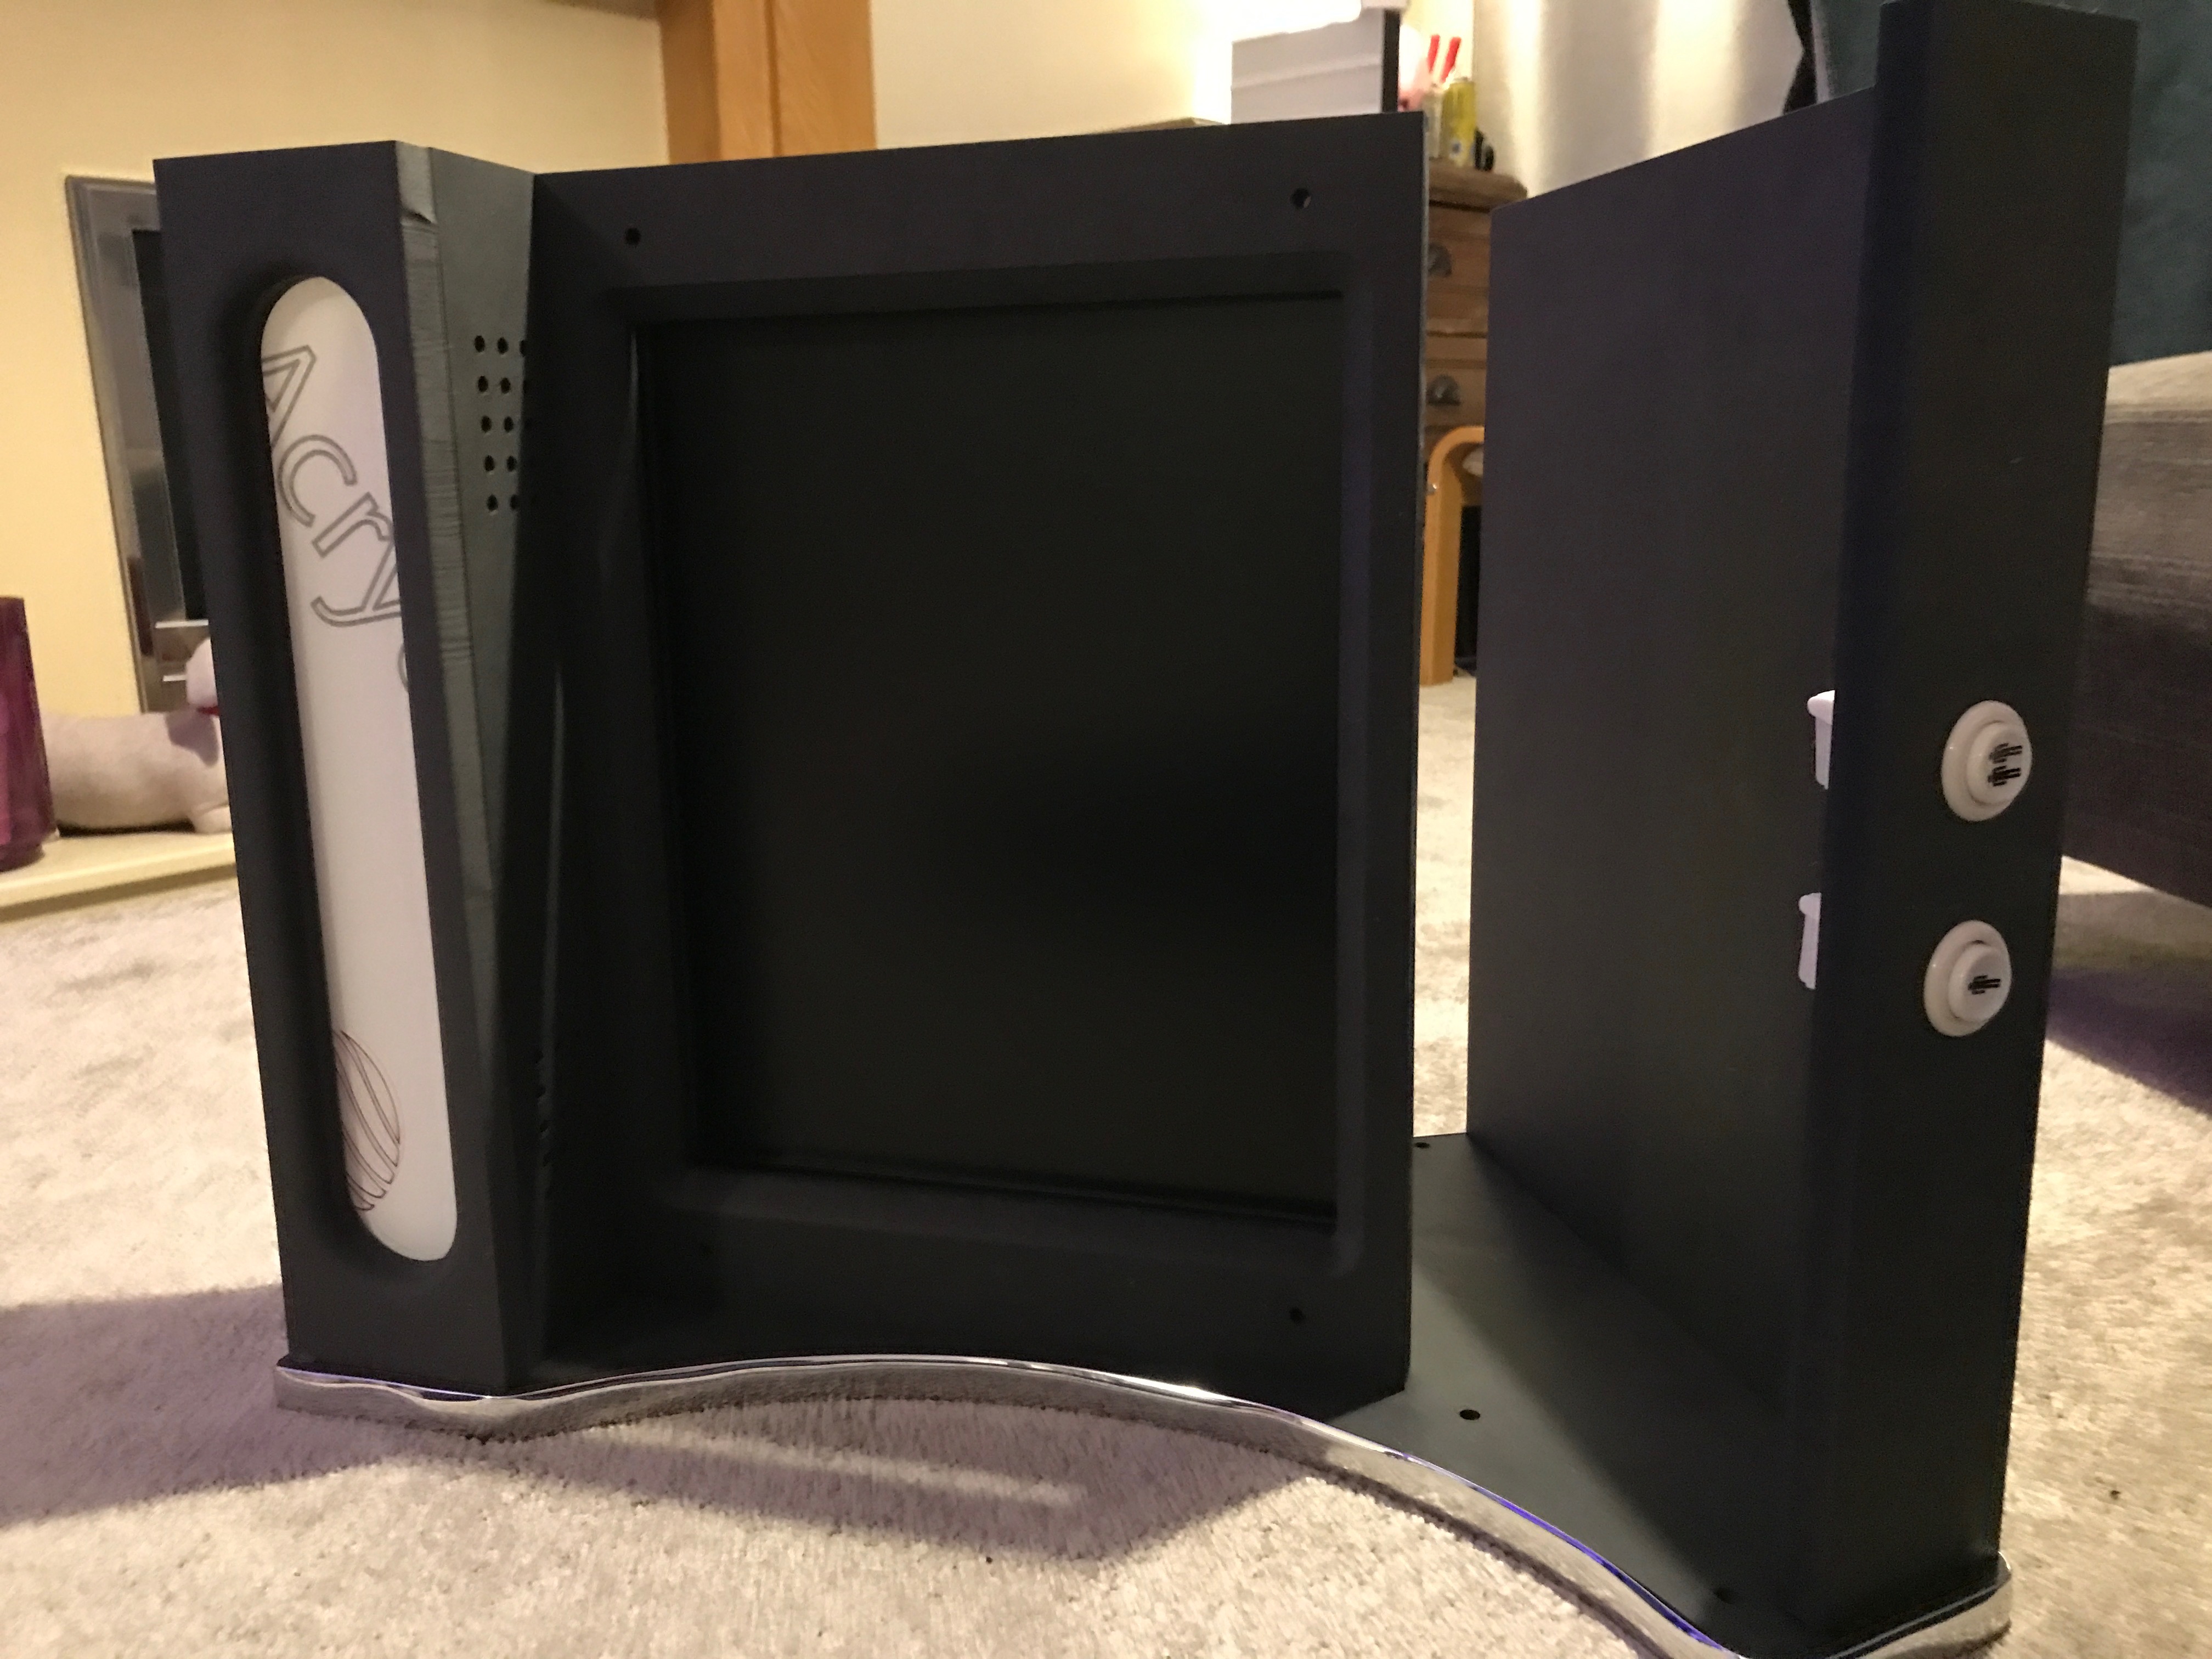
Assembly
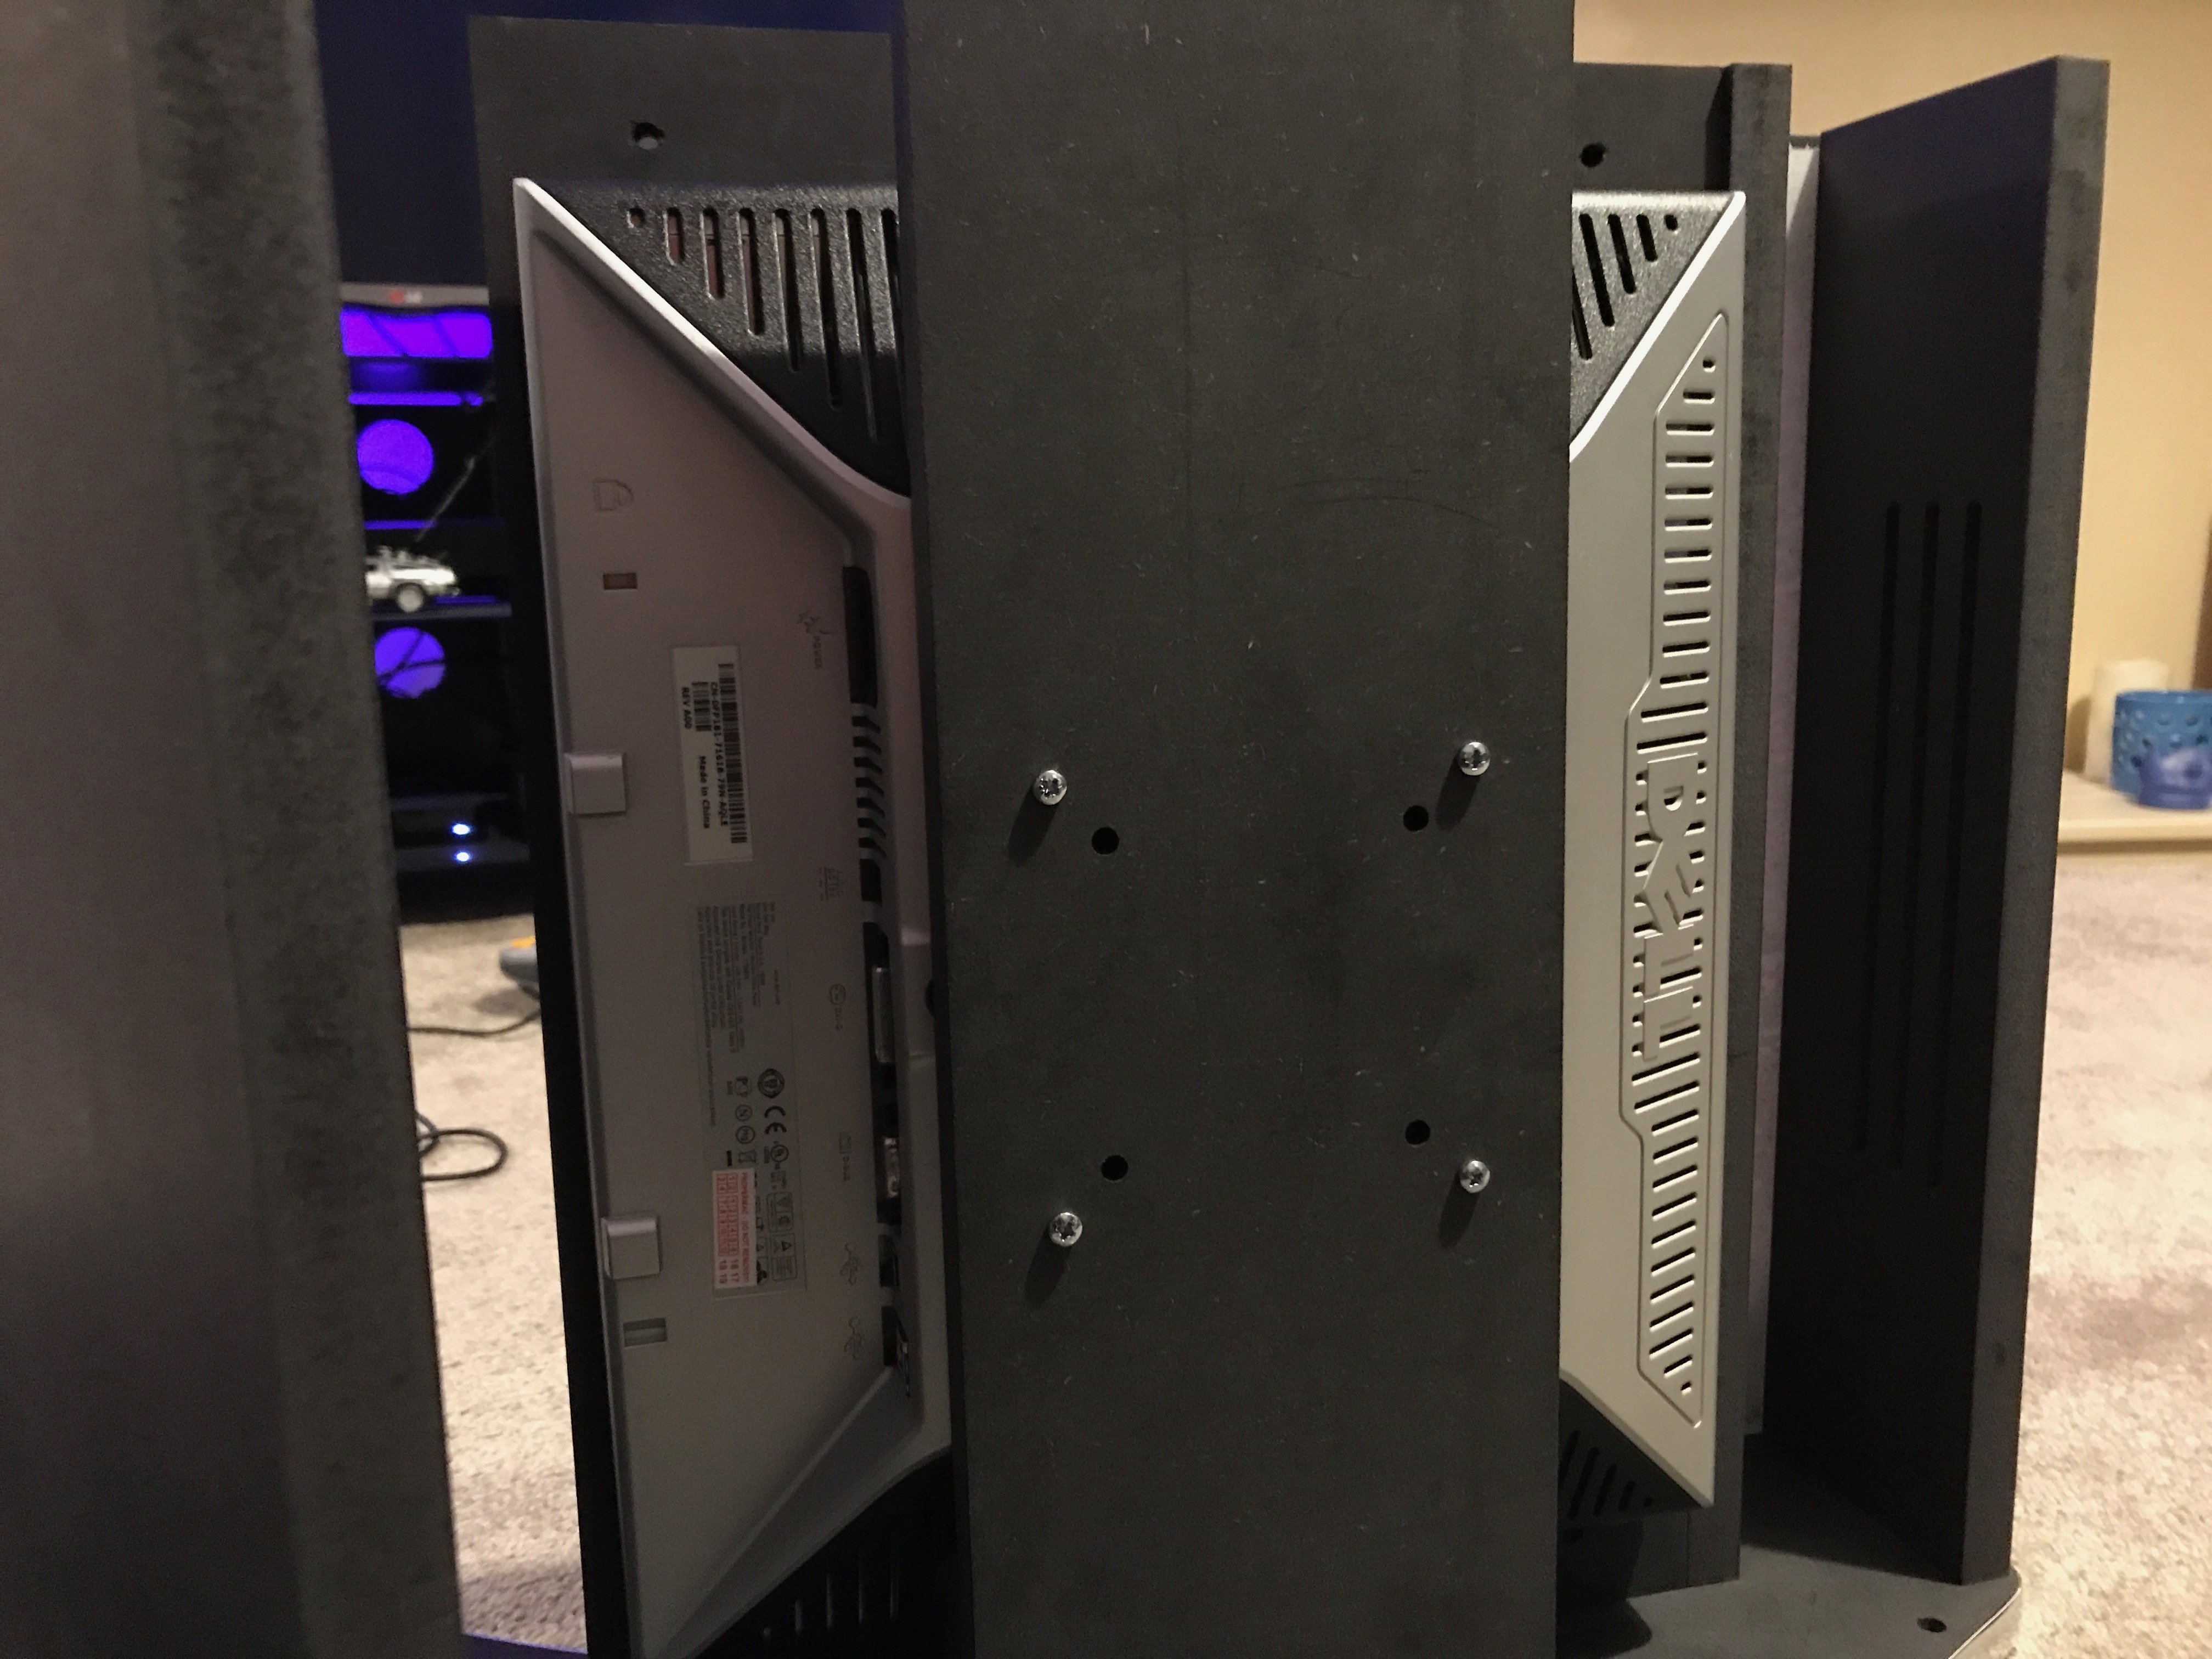
Even without instructions the assembly was extremely easy. Allen keys were provided and the parts slot into place without issue. For the fixings around the bezel, button surround, and for the speakers & screen inside the cabinet: metal threads were provided — a very nice addition.
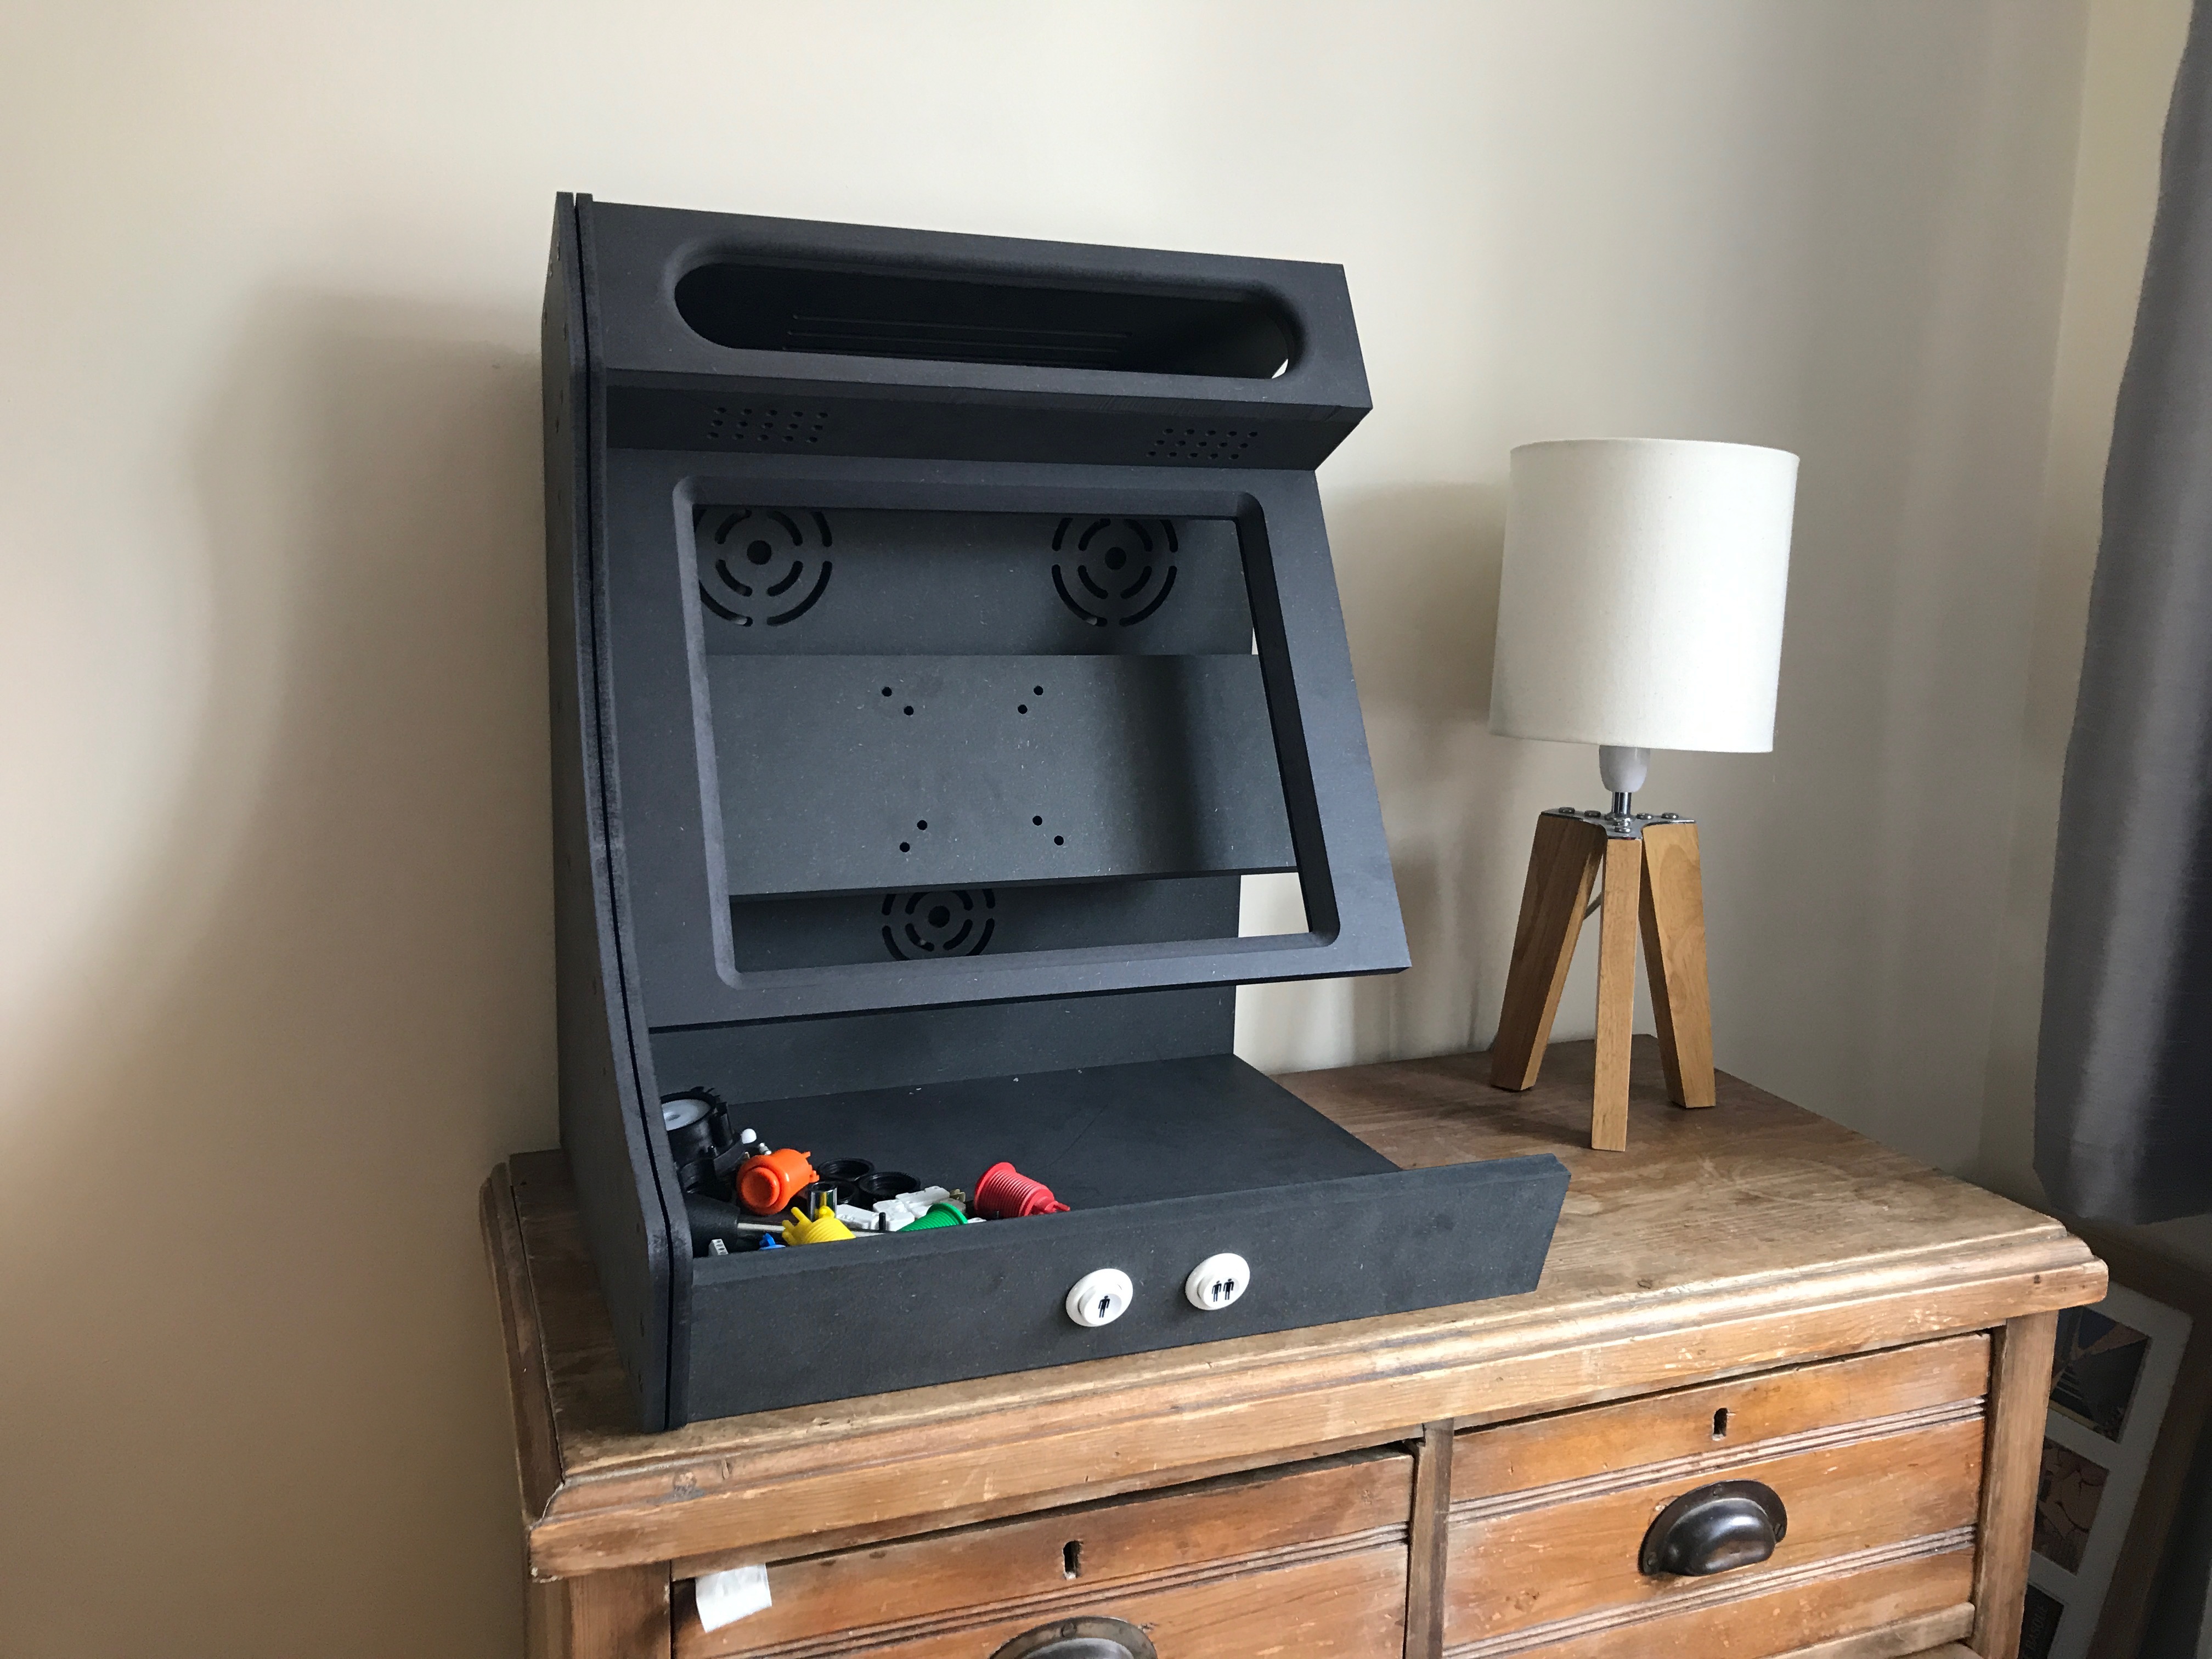
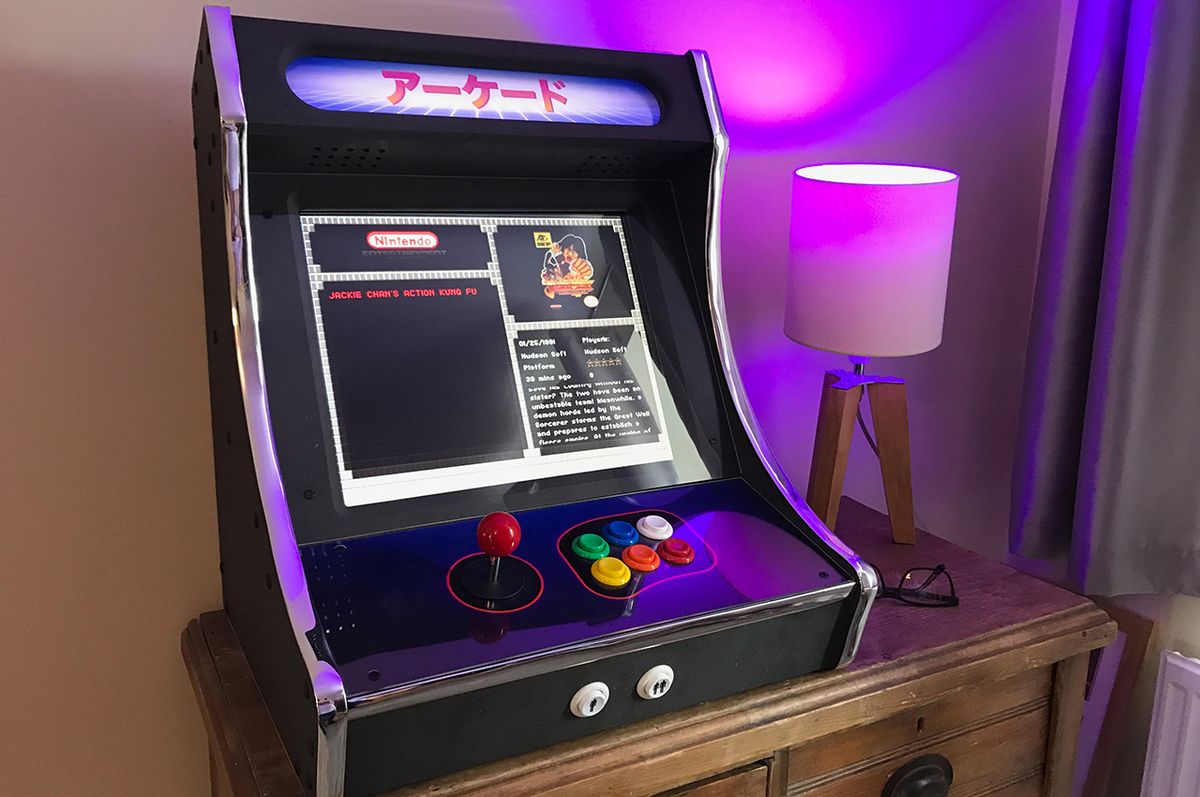
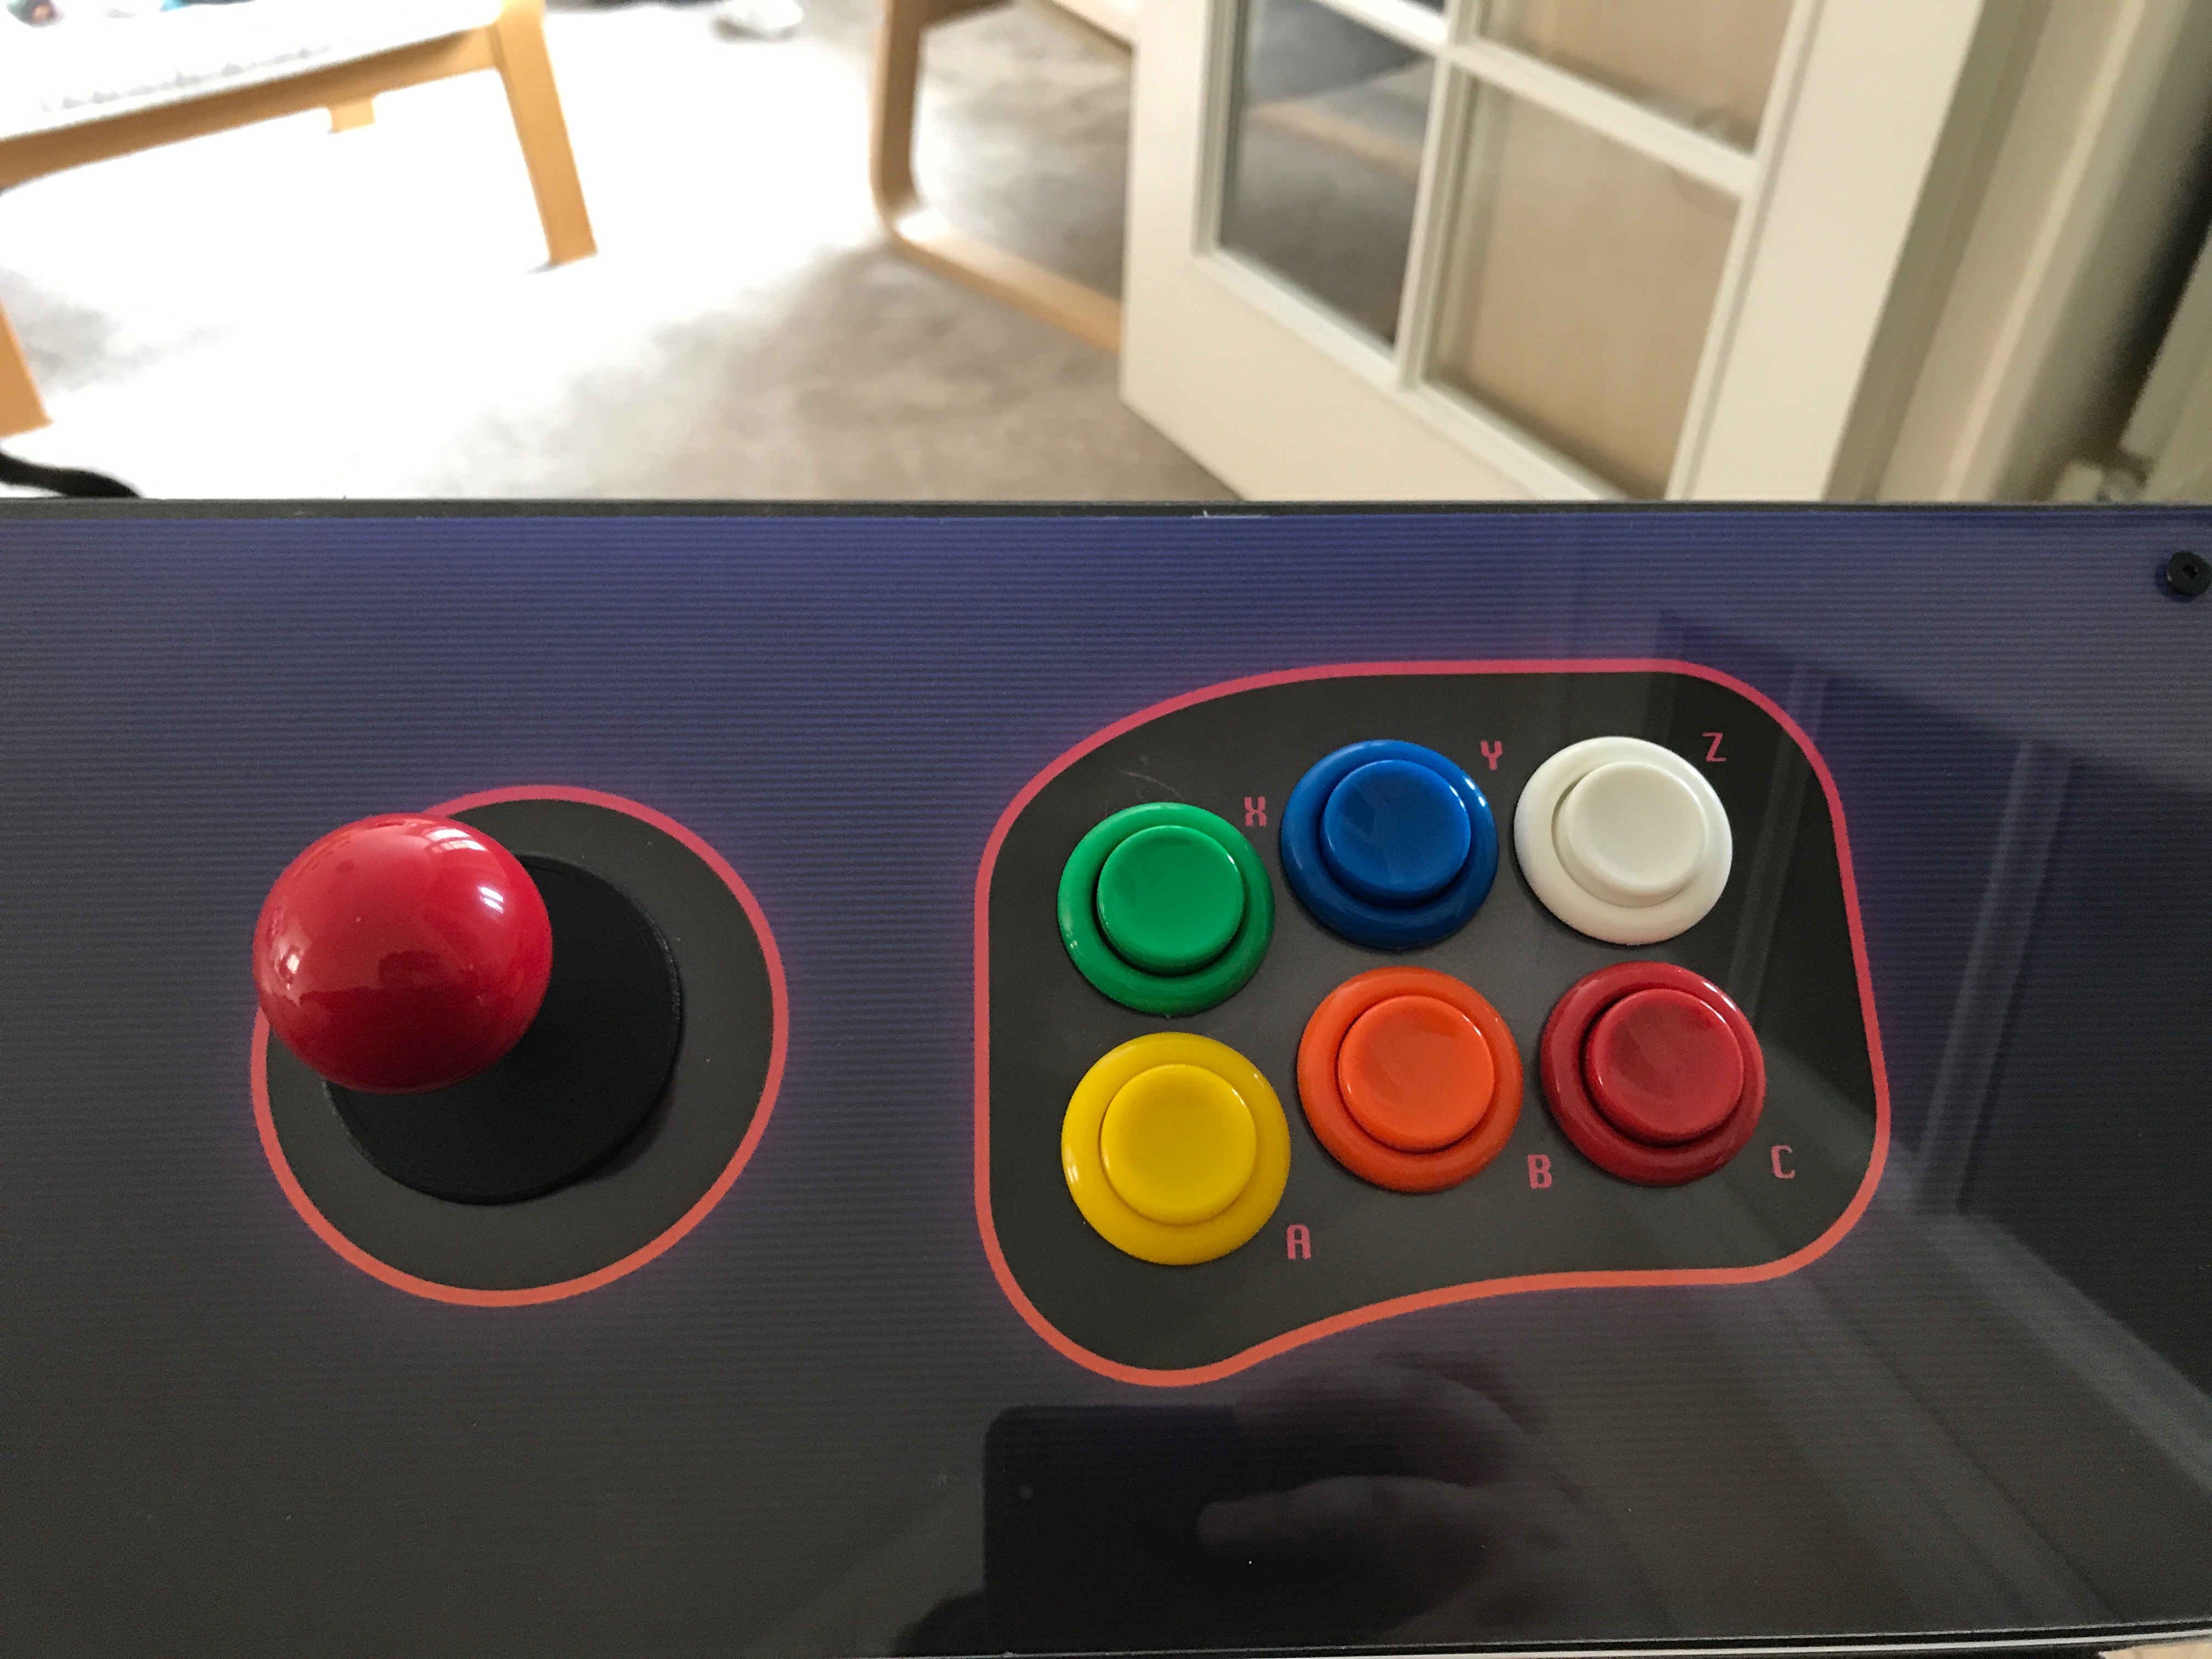
The joystick I had from 8 years previous was no good as the plate was the wrong shape but as you can see from the photo above the buttons fitted perfectly and work great. They're lovely concave buttons that sit atop some clicky Cherry switches. If you're familiar with their keyboard switches they sort of sound like blues.
At this point I bought a few more pieces from Arcade World. I picked up a new joystick, 6m of chrome t-moudling, and two 4" speakers.
I think the t-moulding really added some personality to what would otherwise be a fairly boring shell and the new joystick is a massive improvement over the old euro-style stick I had before.
Electronics
With the cabinet pretty much assembled I moved my focus to the electronics. The first thing I purchased was a used monitor from eBay but it took me a while to find one that would match the following criteria:
- Be 17" and 5:4 aspect ratio
- Have standard VESA screw holes
- Be DVI and not VGA
- Auto turn on when the wall power is turned on
The first two were easy to find but the second two were a little trickier. I wanted DVI as that meant I could have a single HDMI -> DVI cable with no adaptor and I needed it to auto power as there would be no way to access the buttons on the monitor when it was mounted in the cabinet.
I ended up purchasing a Dell E1708FP and it worked perfectly. I cannot recommend this monitor enough if you're planning on building a 17" cabinet. It's a crisp display and fits all of the criteria.
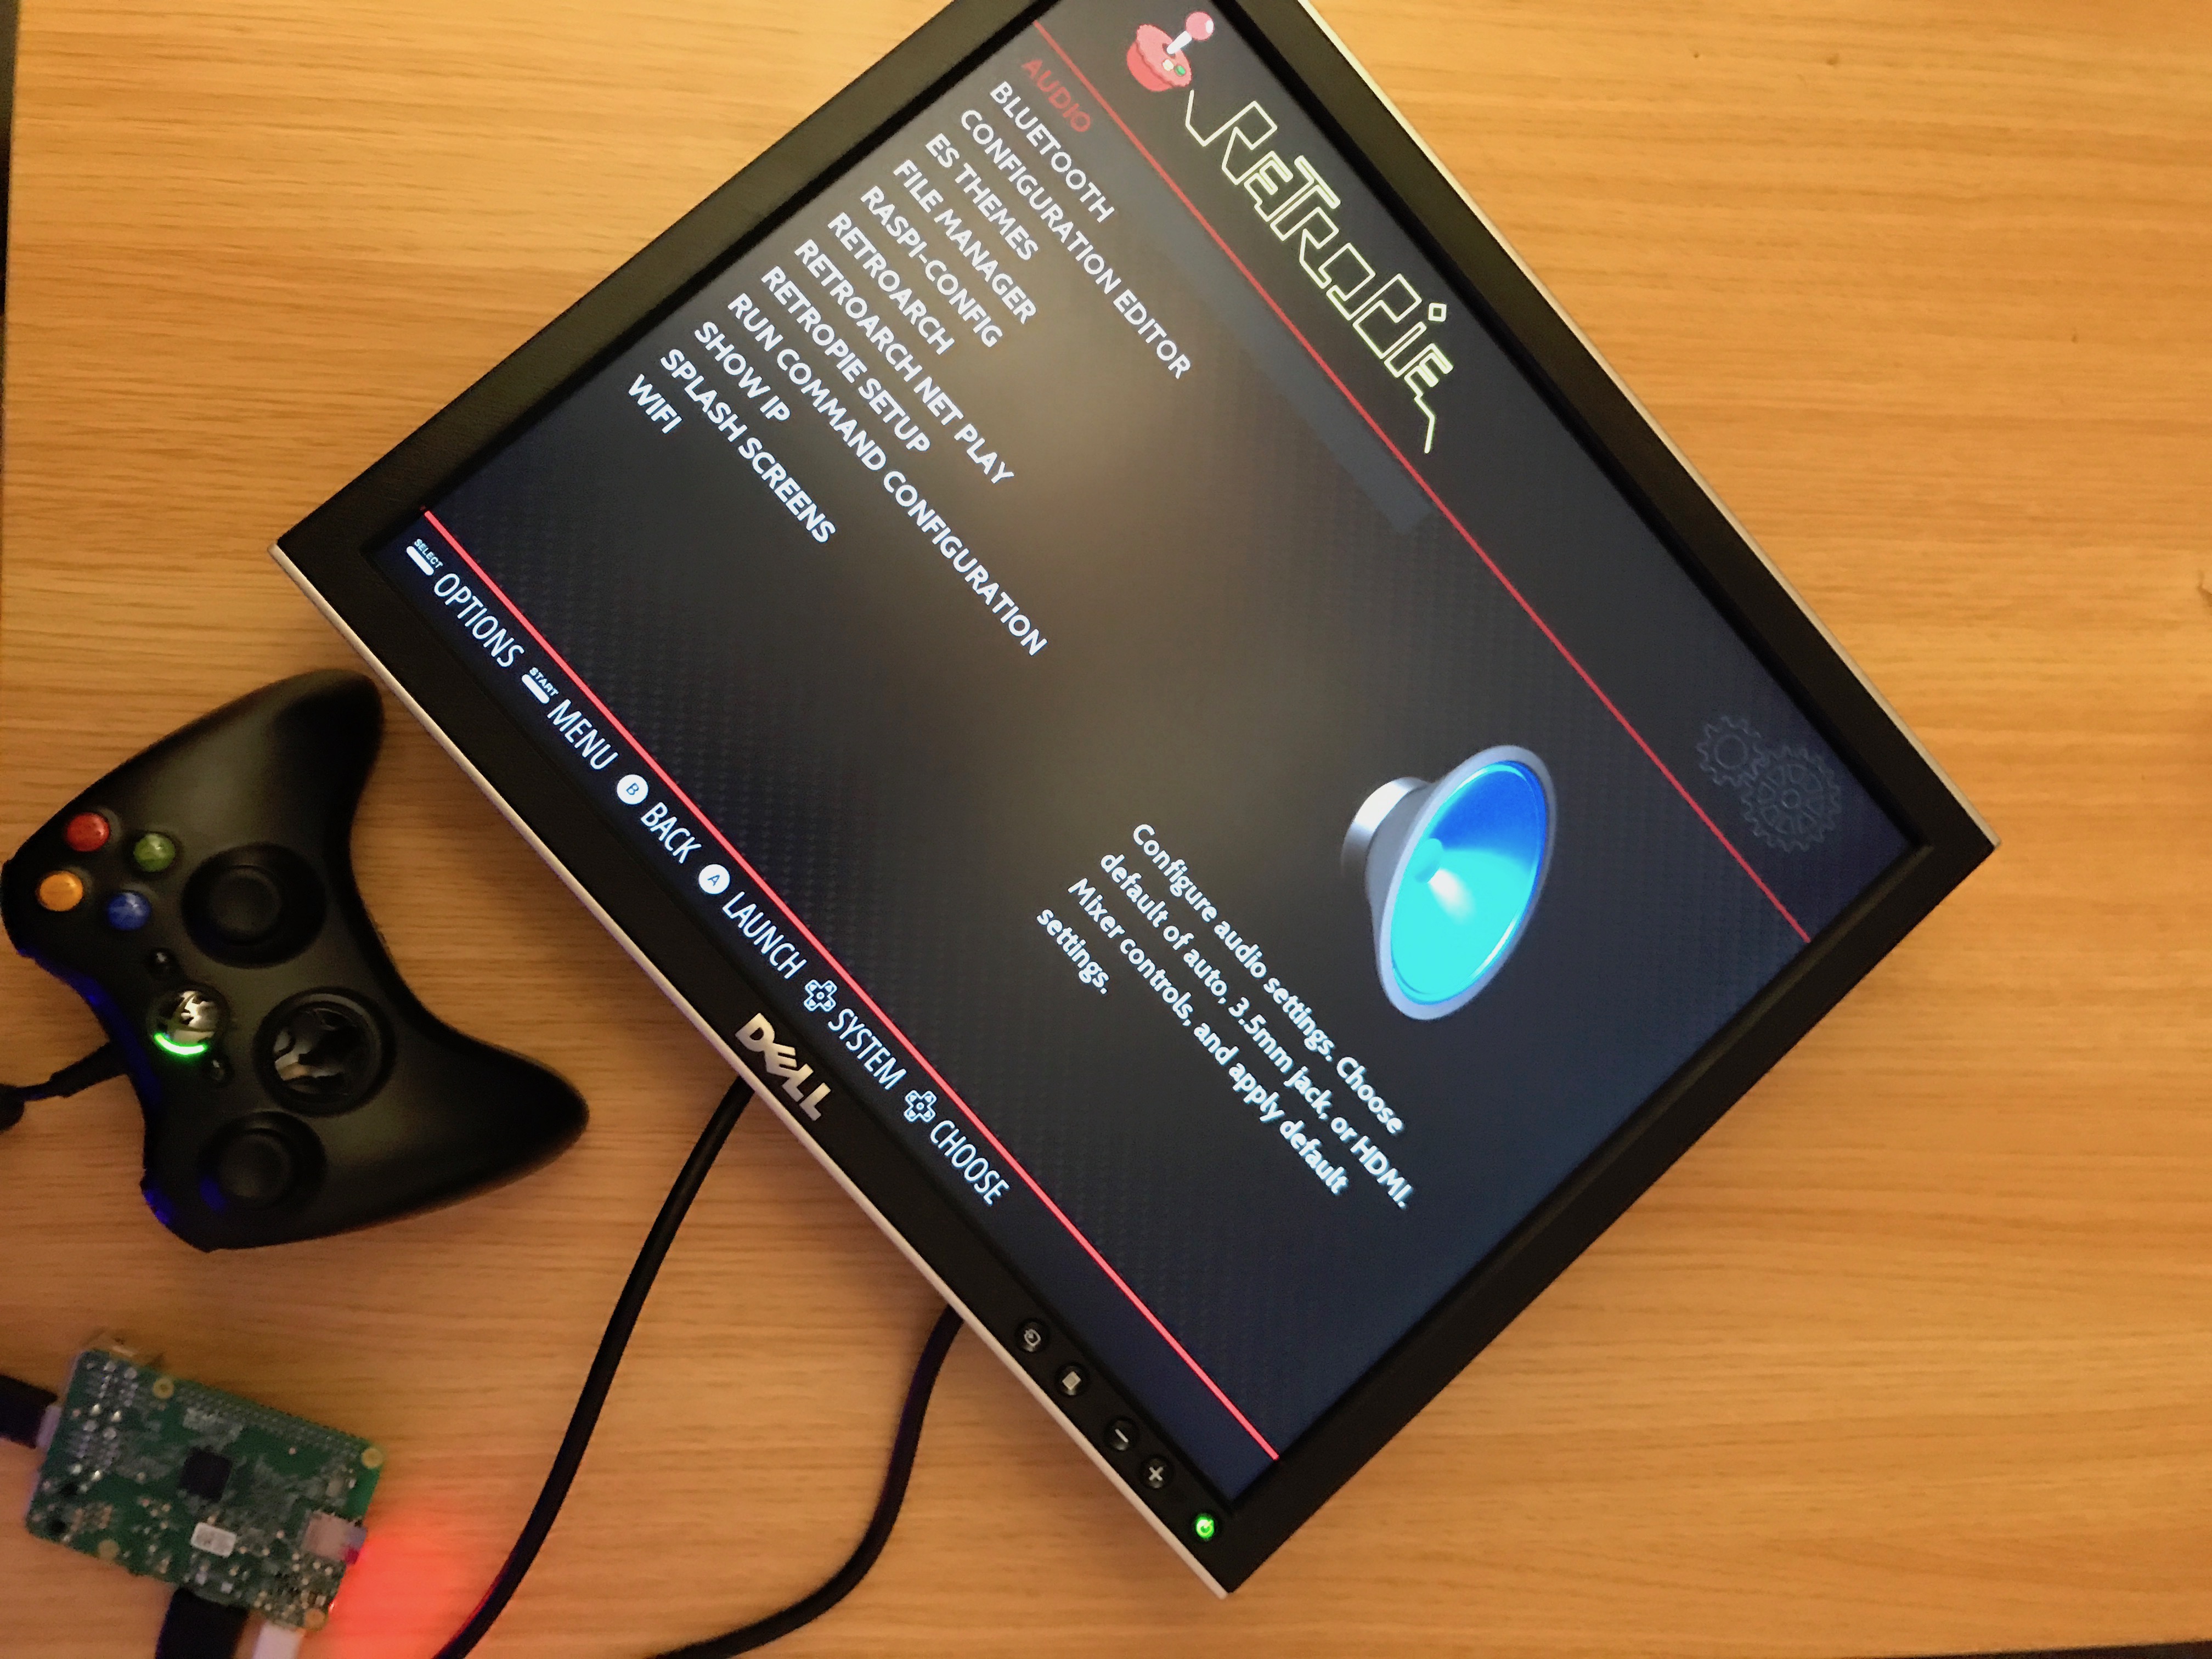
As you may have noticed from above I chose to power the cabinet with a Raspberry Pi running Retropie. I'm planning on writing a second part to this article on installing and configuring the software but for now I'll say it's definitely a better option than a traditional PC, in my opinion.
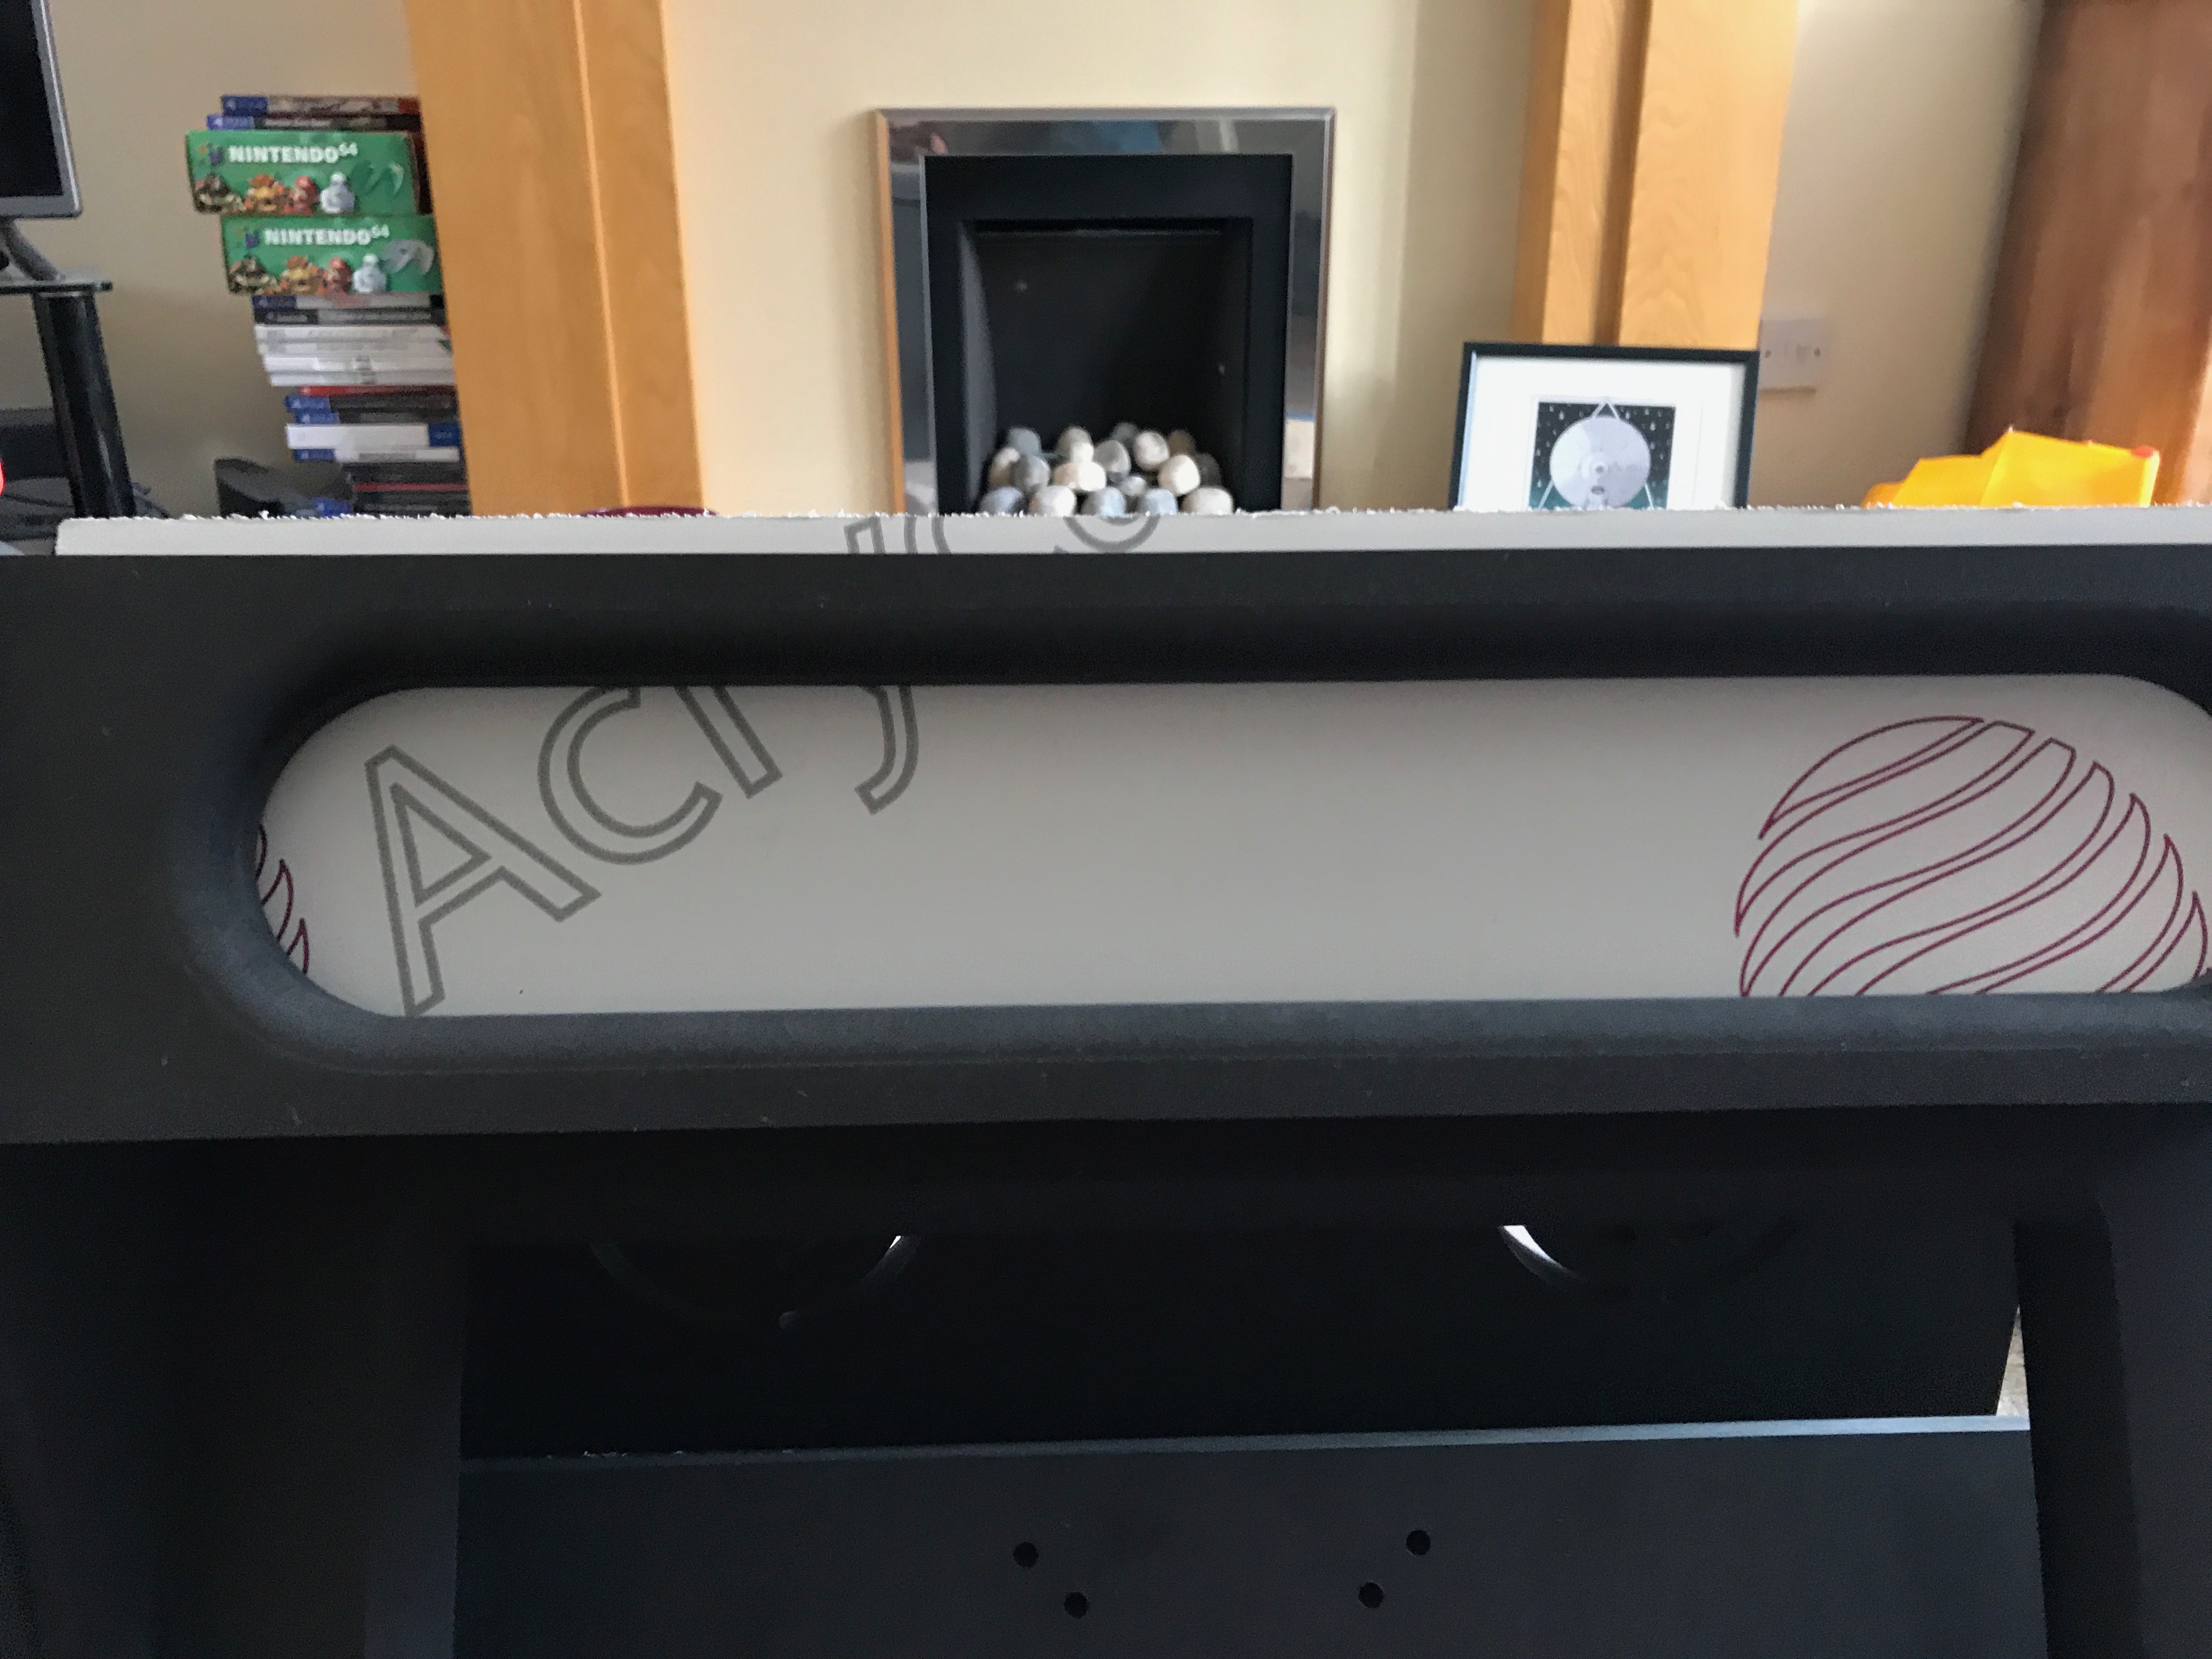
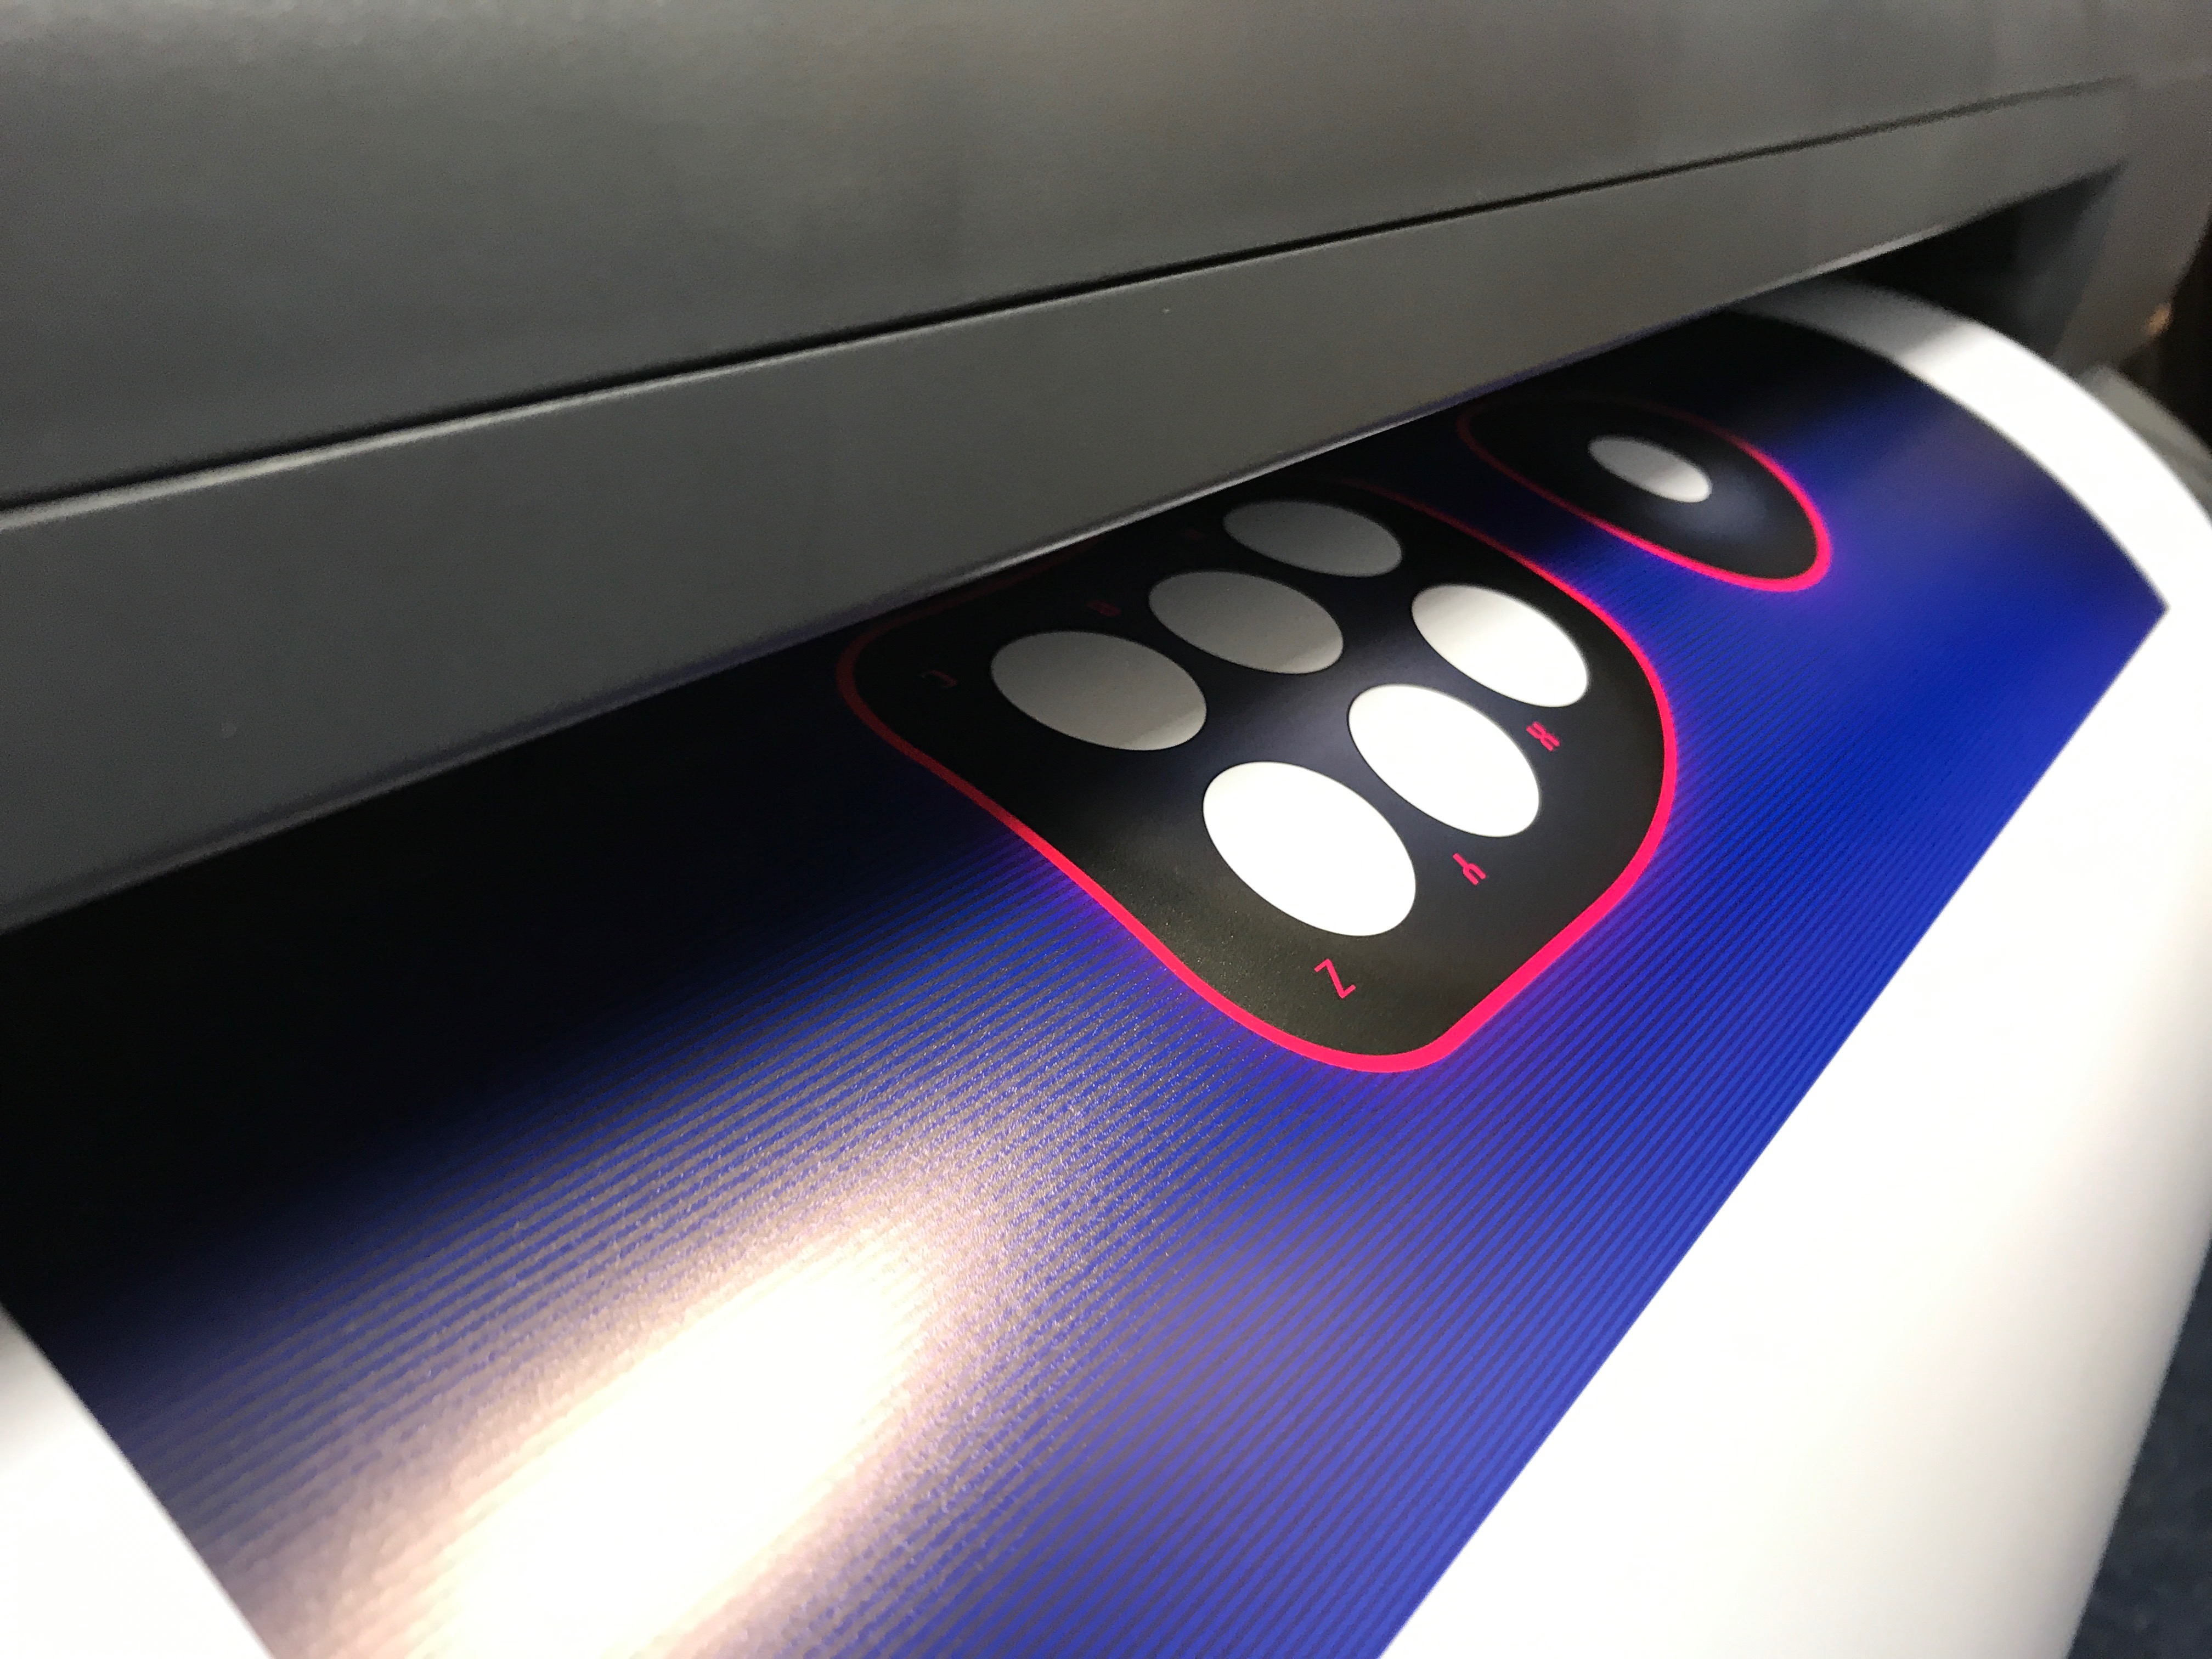
Next I designed some artwork for both the bezel and the control deck as it needed to be sandwiched between the panel and the perspex before buttons and joystick were inserted. I measured out everything with a metal rule and created a template in Illustrator for my artwork.
I was fortunate enough to have access to a large printer and it was then just a case of carefully cutting everything out.
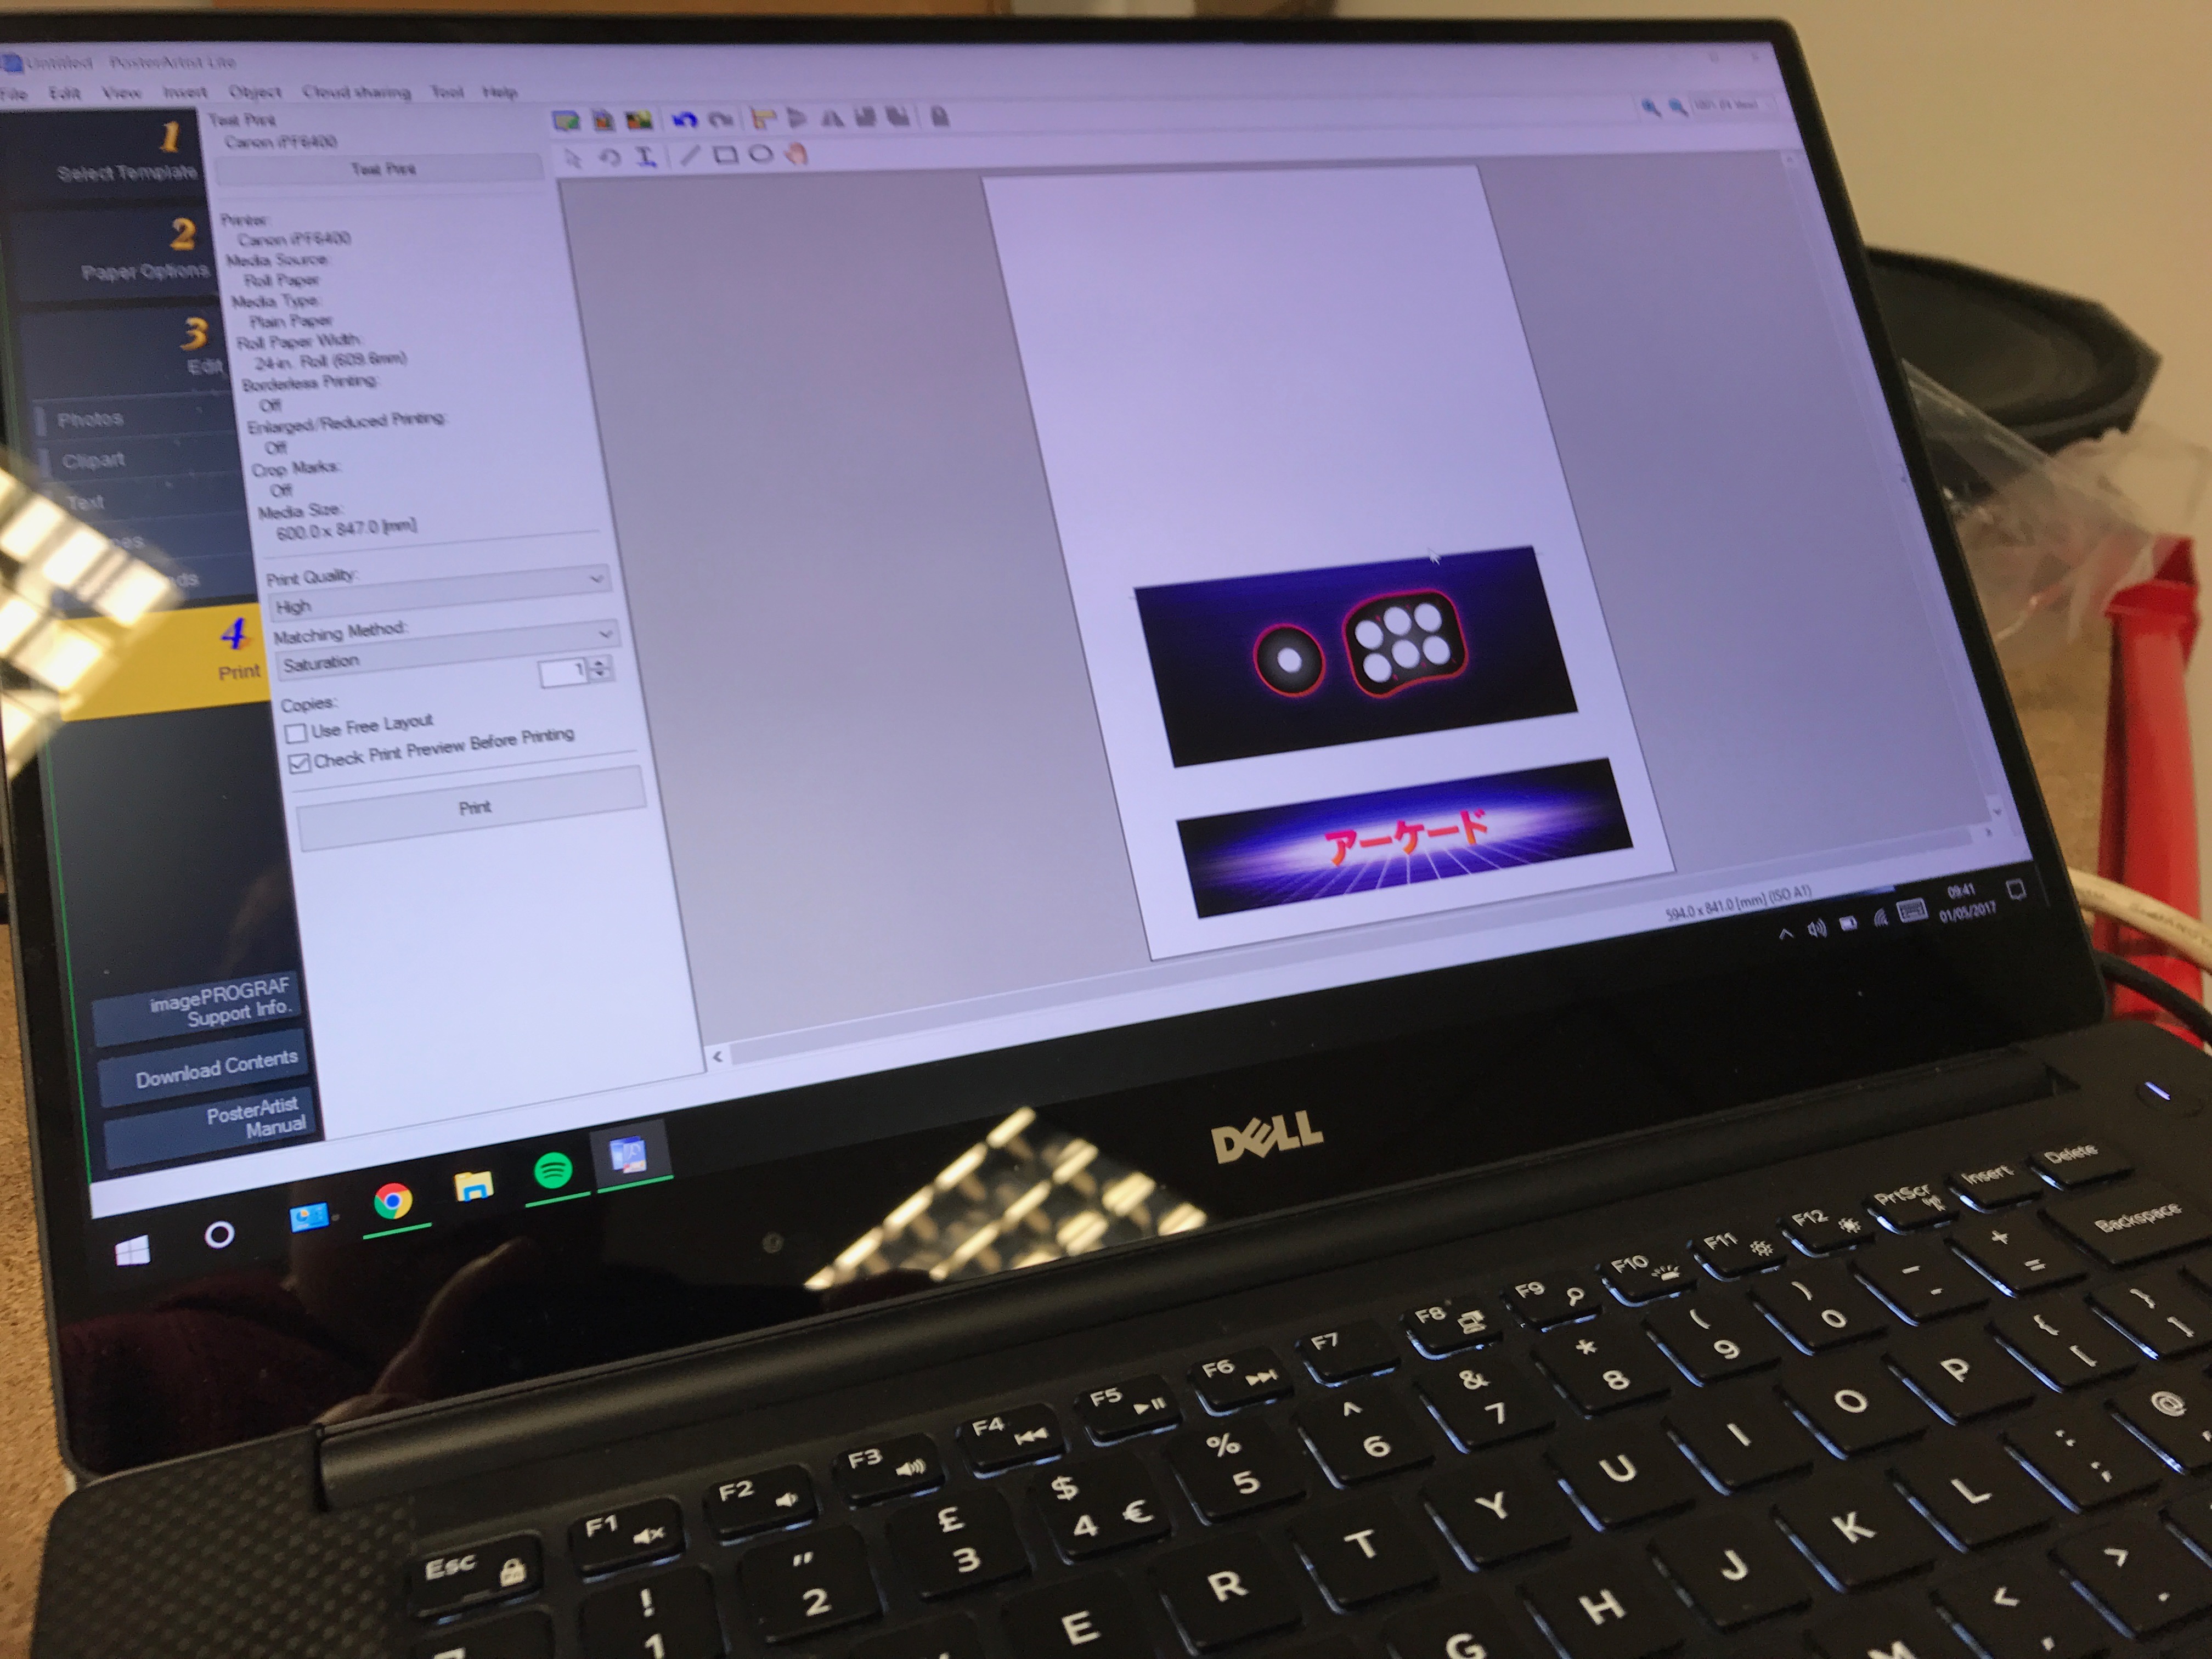
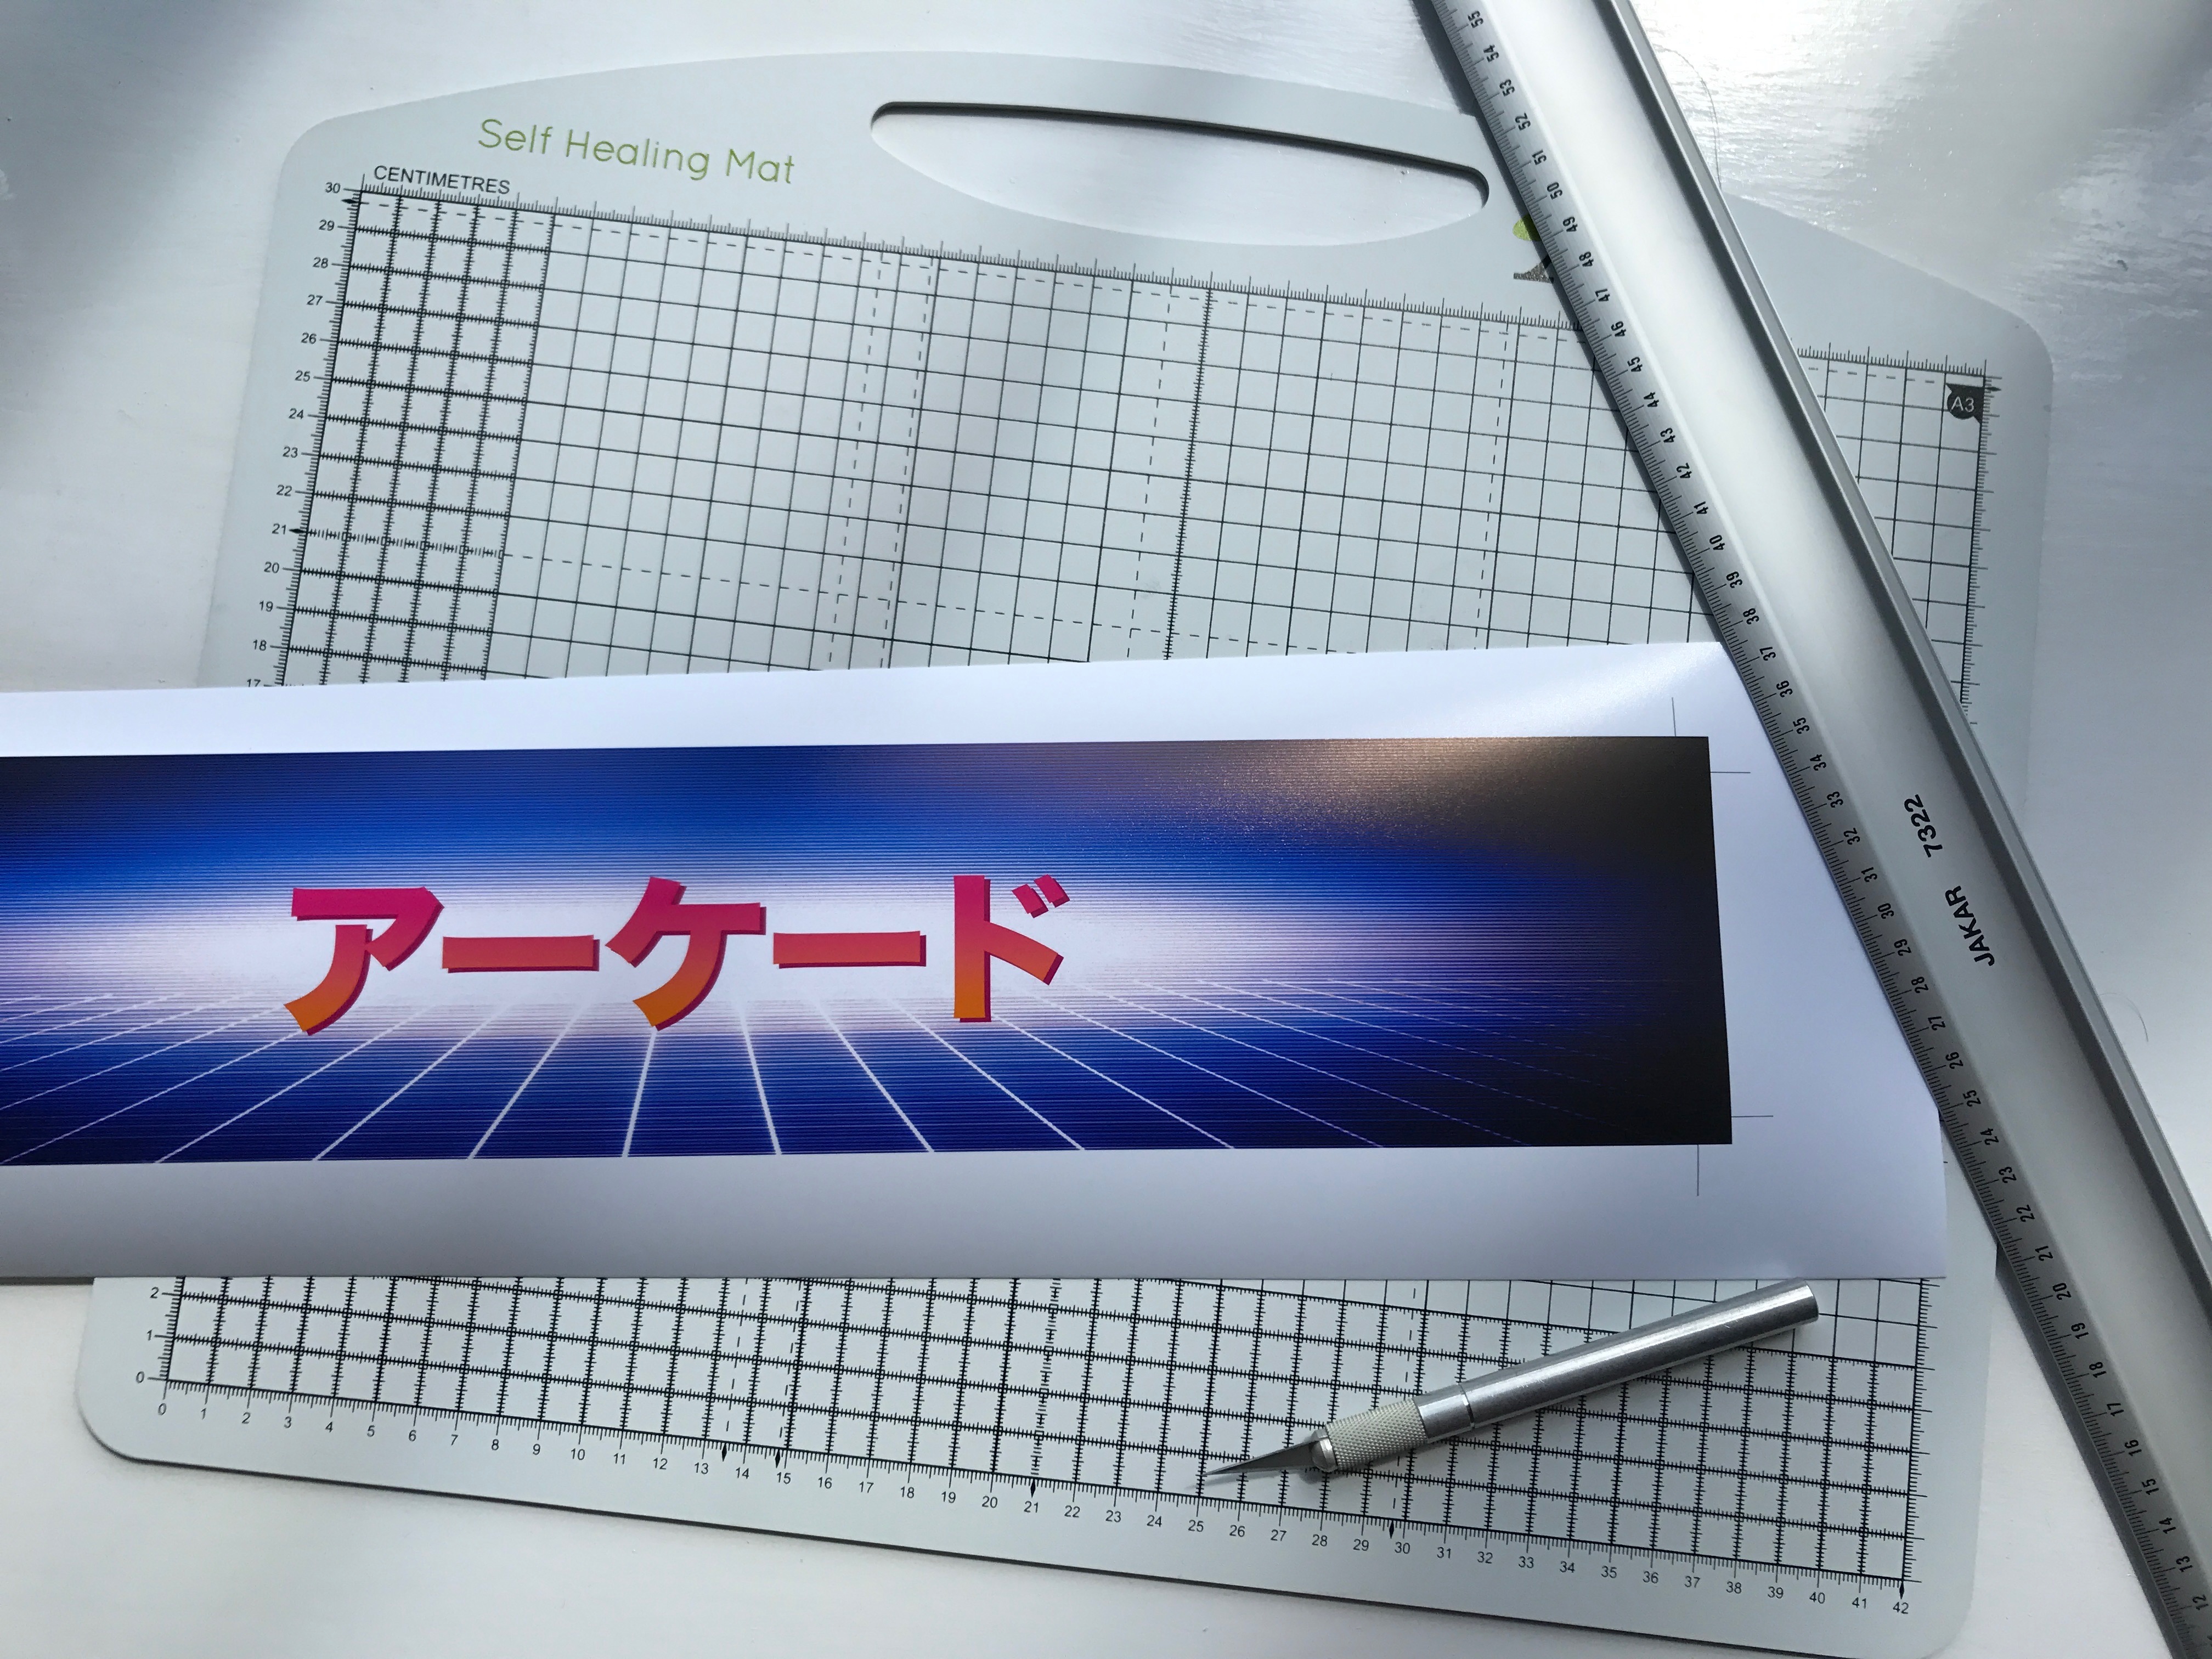
The source files are available to download here.
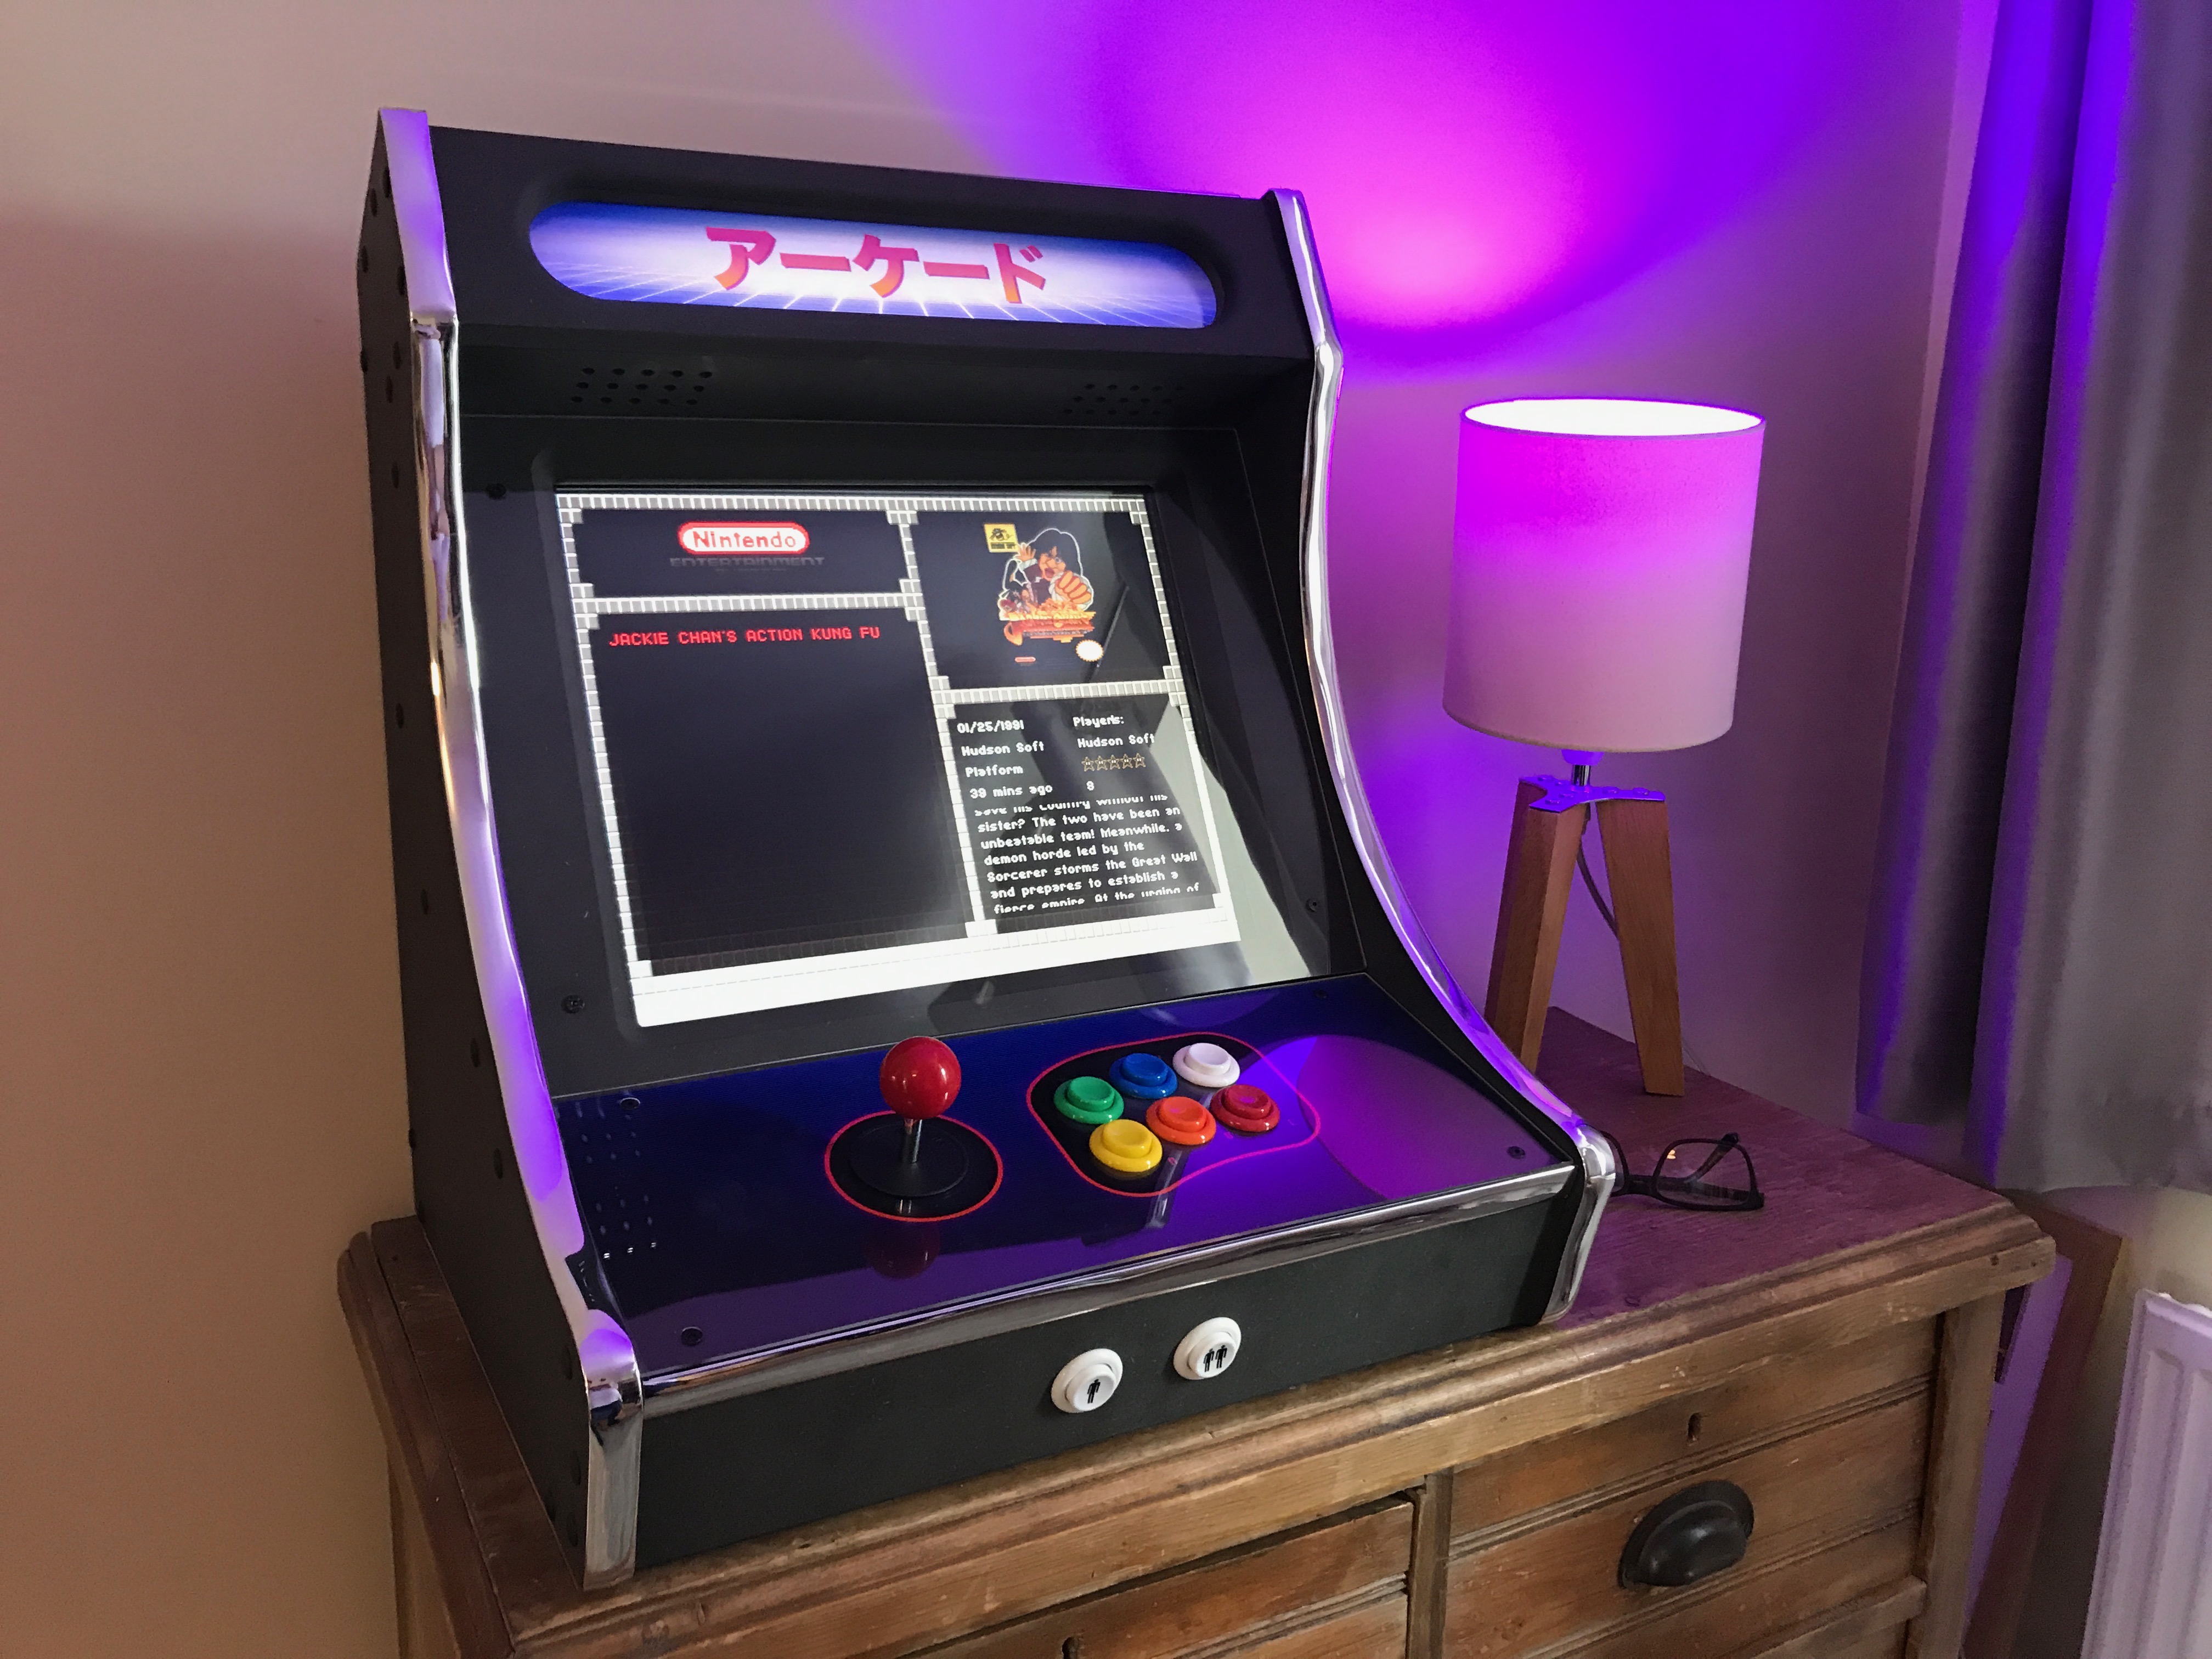
If you're Japanese than I sincerely apologise for completely mistranslating "arcade" as アーケード when I clearly meant ゲームセンター
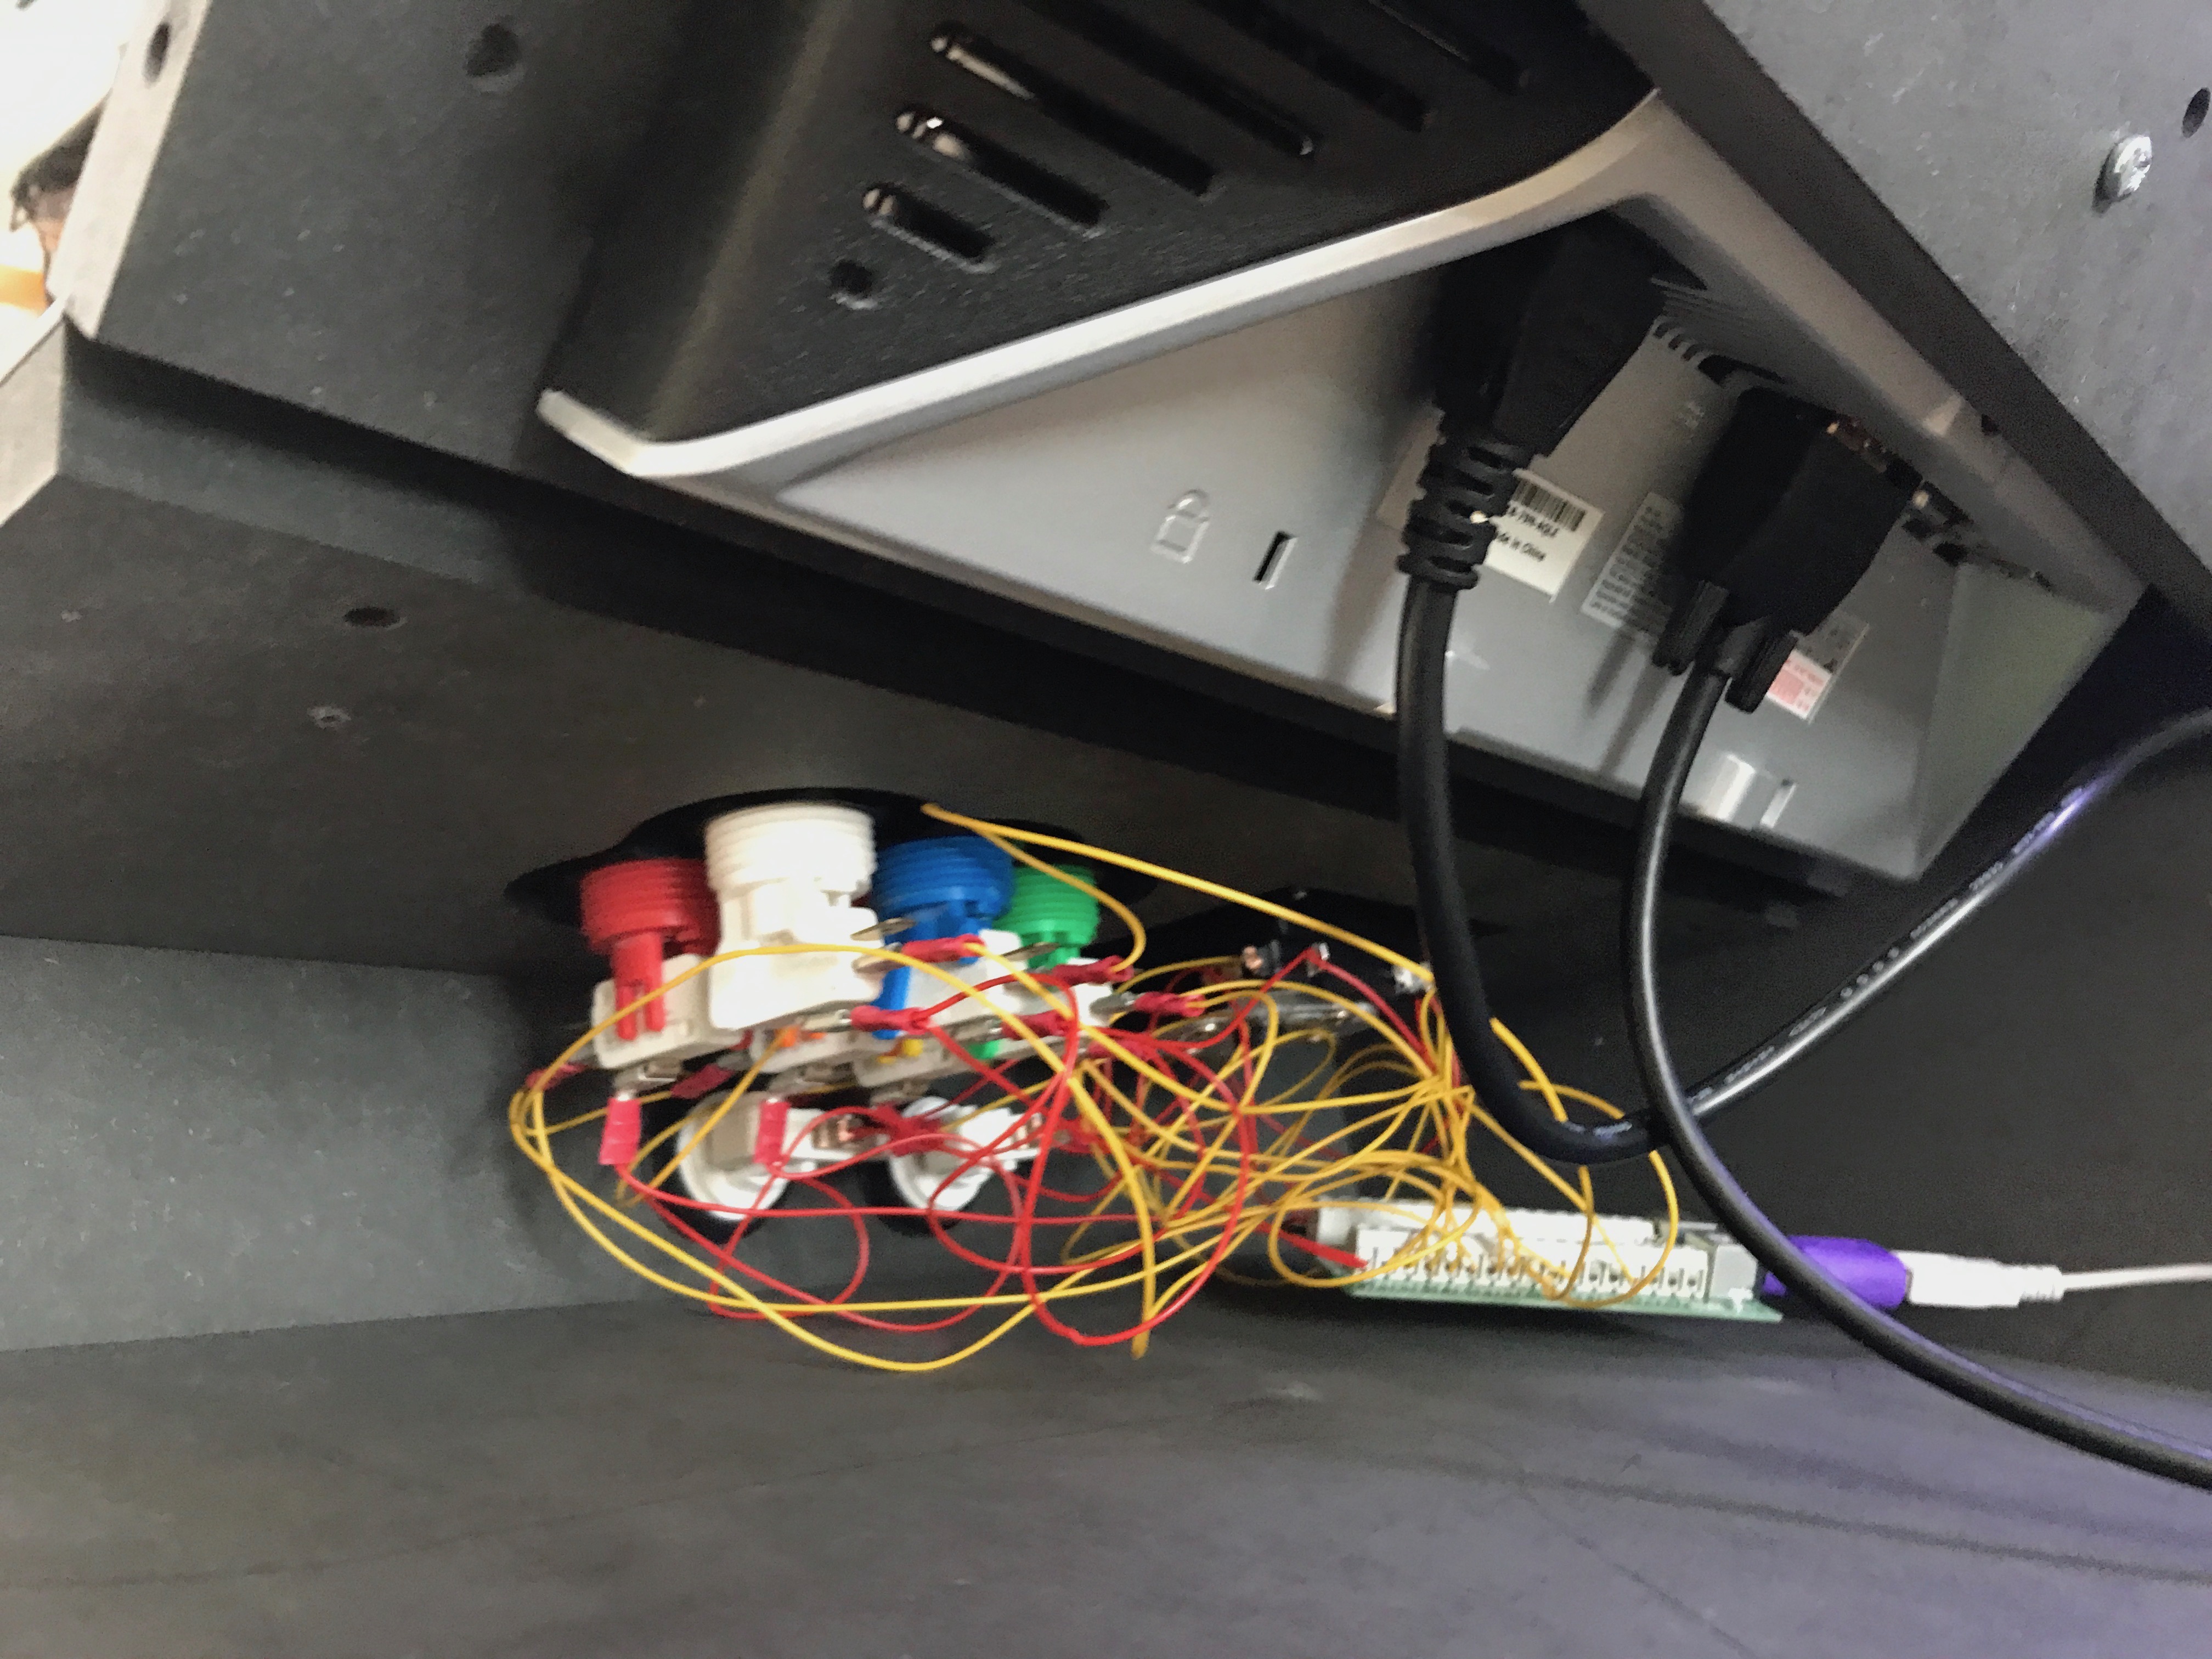
With the buttons in place it was time to wire everything up. Essentially the controls emulate a keyboard an hook into an encoder called an I-PAC. There are several flavours for 2 or 4 players, or with additional functions such as trackball, LED, or spinner support. Mine is an older unit that has a PS/2 connection, but with a PS/2 -> USB convertor it works perfectly (…remember, we started this 8 years ago).
The I-PAC's buttons can be changed through some Windows software but out of the box it uses sensible defaults that should work fine for most scenarios.
Wiring it up is simple (if not a little fiddly). Daisy-chain the ground for each button and then add the COMM from the switch to the relevant input on the I-PAC.
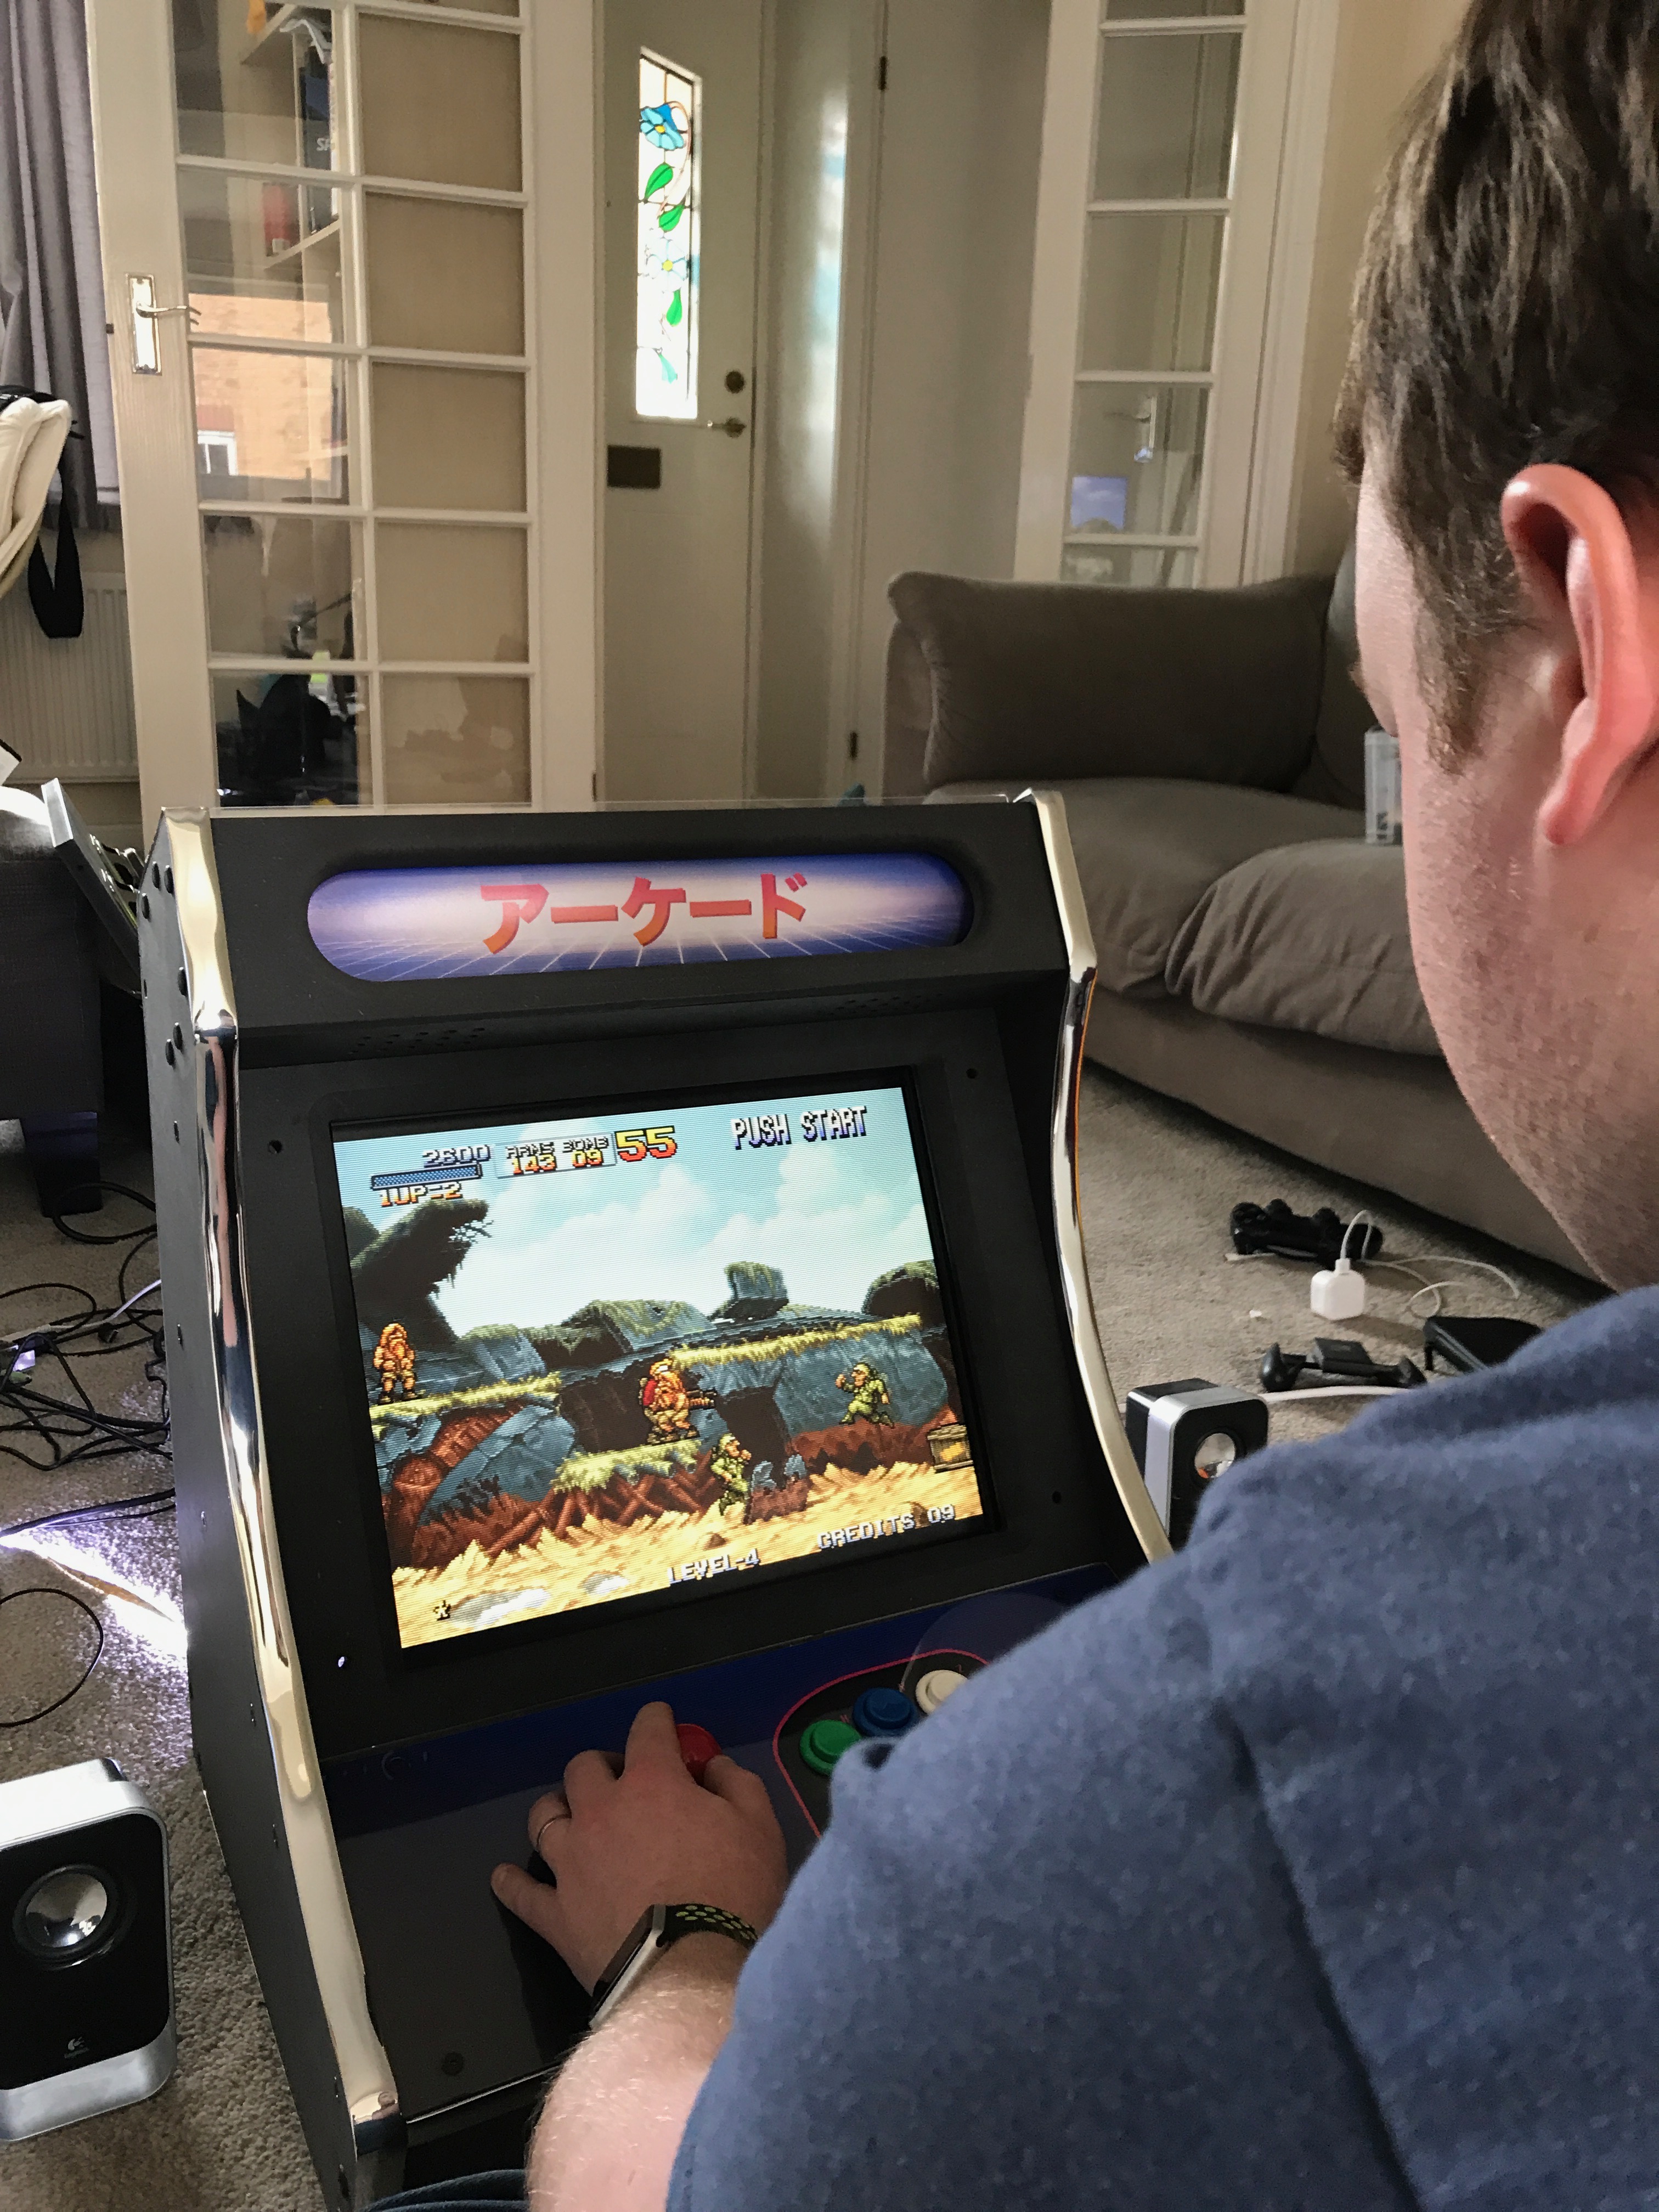
I got my boyfriend to test everything was working. Here he is testing Metal Slug. Notice the speakers at the side — I still needed one last thing before I could close it up.
That final thing I needed was an amp to drive the two little speakers mounted to the back of the cabinet. Thankfully Amazon deliver on Bank Holidays and I was able to pick this little thing up to do the job.
With the amp in place it was simply a case of ensuring everything was inside the cabinet and working properly before screwing it together and putting it in its new home. I couldn't be happier with the way it's worked out and it feels great to finally finish a project I've wanted to do for almost half of my life.
Shopping List
A few people have asked about the project so I thought I'd assemble a shopping list of what I purchased/recommend should you want to build your own cabinet. It's also the first time I've actually seen the cost of everything in one place.
- Cabinet - Purchased via Arcade World. Unfortunately it looks like there are no 1P cabinets for sale currently but may be available on request from XCADE. Mine's a B17C - £90+
- I-PAC - An extremely important component purchased on its own or with a wiring kit - £30+
- Joystick - Don't cheap out on this or you'll regret it. I recommend my Sanwa JP-Style stick - £20
- Buttons - There are a ridiculous number of buttons available on Arcade World so have a look at what's right for your project. They can be purchased individually or as part of a kit for around £20. If you afford it, spend the extra on Cherry switches as opposed to generic.
- T-Moulding - Obviously this is totally optional and dependant on the cabinet that you're looking at. There's a massive selection of colours available. I spent £17 on 6m of chrome moulding for my cabinet. This was around 1m over what I needed in case of mistakes.
- Raspberry Pi + SD Card - If you go down the RetroPie route then you'll need a Raspberry Pi and you should get the 3. Make sure you get an SD card too. You'll probably want 32GB or 64GB if you plan on putting a lot of ROMs on your machine. For example, just all the NeoGeo games are 5GB. - ~£40
- Monitor - This depends on your cabinet but a used monitor from eBay will likely set you back around £25-£40.
- Speakers + Amp - Dependant on your solution you may want to buy individual drivers and an amp or use powered PC speakers plugged into the headphone jack. I opted to buy separate drivers from Arcade World and used this amp to power them. It set me back about £15 for the speakers and amp.
- LED Strip - If you want to light up your marquee (which you totally should) then you'll want and LED strip. I got a 1m, USB powered one from Amazon for £6 which was plenty adequate. You may want to paint the inside of the box gloss white or use tinfoil as a reflector.
- Plugs + Adaptors - I spent around £25 on plugs and adaptors for the build. I didn't show it above but to power the cabinet I got Declan to drill a hole in the back and I fed through a black 4-socket extension for the monitor, Pi, and amp to plug into.
The total cost of my cabinet based on the above was around £320. I was fortunate that I was able to use the I-PAC and buttons we had previously and had some Amazon gift cards I could use to save a fair chunk of that. The cabinet was also partially paid for as a birthday present (🎂).
If you're in the US check out Ultimarc which was the site we originally imported our components from.
Part 2 of this article is coming soon and will look at the software side of things