Tutorial: Sync Put.io and Other Cloud Services with Plex Using Rclone
I've been a Put.io subscriber for almost 10 years now and after my app Fetch got blacklisted by the App Store I soon looked for another way to add metadata such as posters and subscriptions to media stored on Put.io. Not long after Fetch's demise, Firecore's fantastic Infuse added the ability to mount WebDAV drives which makes it the perfect option for iOS or Apple TV users.
I happily paid for Infuse Pro for a good while but I've recently bought a new TV and have finally retired my aging Apple TV 4 as I aim for 4K HDR whenever possible. Like most smart TV's, LG webOS offers Plex as one of the available apps so I wanted to explore the possibility of using a Plex Media Server in tandem with Put.io.
Before I got too deep down the rabbit hole, I also wanted to verify that Plex would support 10-bit HDR or, even better, Dolby Vision. I'm happy to report that it supports both HDR formats when using the "Direct Play" feature offered to local Plex servers. If you want to verify that your setup also works, you can download some sample Dolby Vision files from their developer site.
Enter Rclone…
Plex used to support plugins which made syncing cloud services a breeze but these were sunset in 2018 and the Put.io plugin has since ceased to work.
In doing some searching for a Plex + Put.io solution I actually discovered an official guide from Put.io which recommended using Rclone. I'd never heard of the command line tool before but it will mount dozens of cloud services as a virtual file system (VFS) or download and sync remote files to your local computer.
For the purpose of this article I'll be focussing on Put.io but Rclone works with services like Google Drive, Dropbox, and OneDrive or you can use it with any FTP or WebDAV server.
Installing Rclone
On a Unix based system such as macOS or Linux it's simply the case of running the following command in your terminal.
curl https://rclone.org/install.sh | sudo bashEnsure you install Rclone using the script from their site. APT installed an older version of the package that didn't include the Put.io backend.
For Windows or other platforms binaries can be downloaded from the Rclone website.
Setting up a backend
Once installed a "backend" needs to be setup. This can be done interactively through the Rclone CLI by running the following command:
rclone configHit n to create a new backend and give it a name of your choice e.g. putio.
Rclone will then present a list of available backends available for you to select. Have a look through the list and enter the number of the backend required — in my case 27 was Put.io.
In the case of Put.io, it will then walk you through the OAuth process to authorise Rclone to access your Put.io files.
Note: if you're on a headless machine such as a Raspberry Pi, you'll need to follow the instructions and run rclone authorize "putio" on a machine with a browser. Mounting, copying, or syncing files
Once a backend is configured there are three ways you can access your remote files:
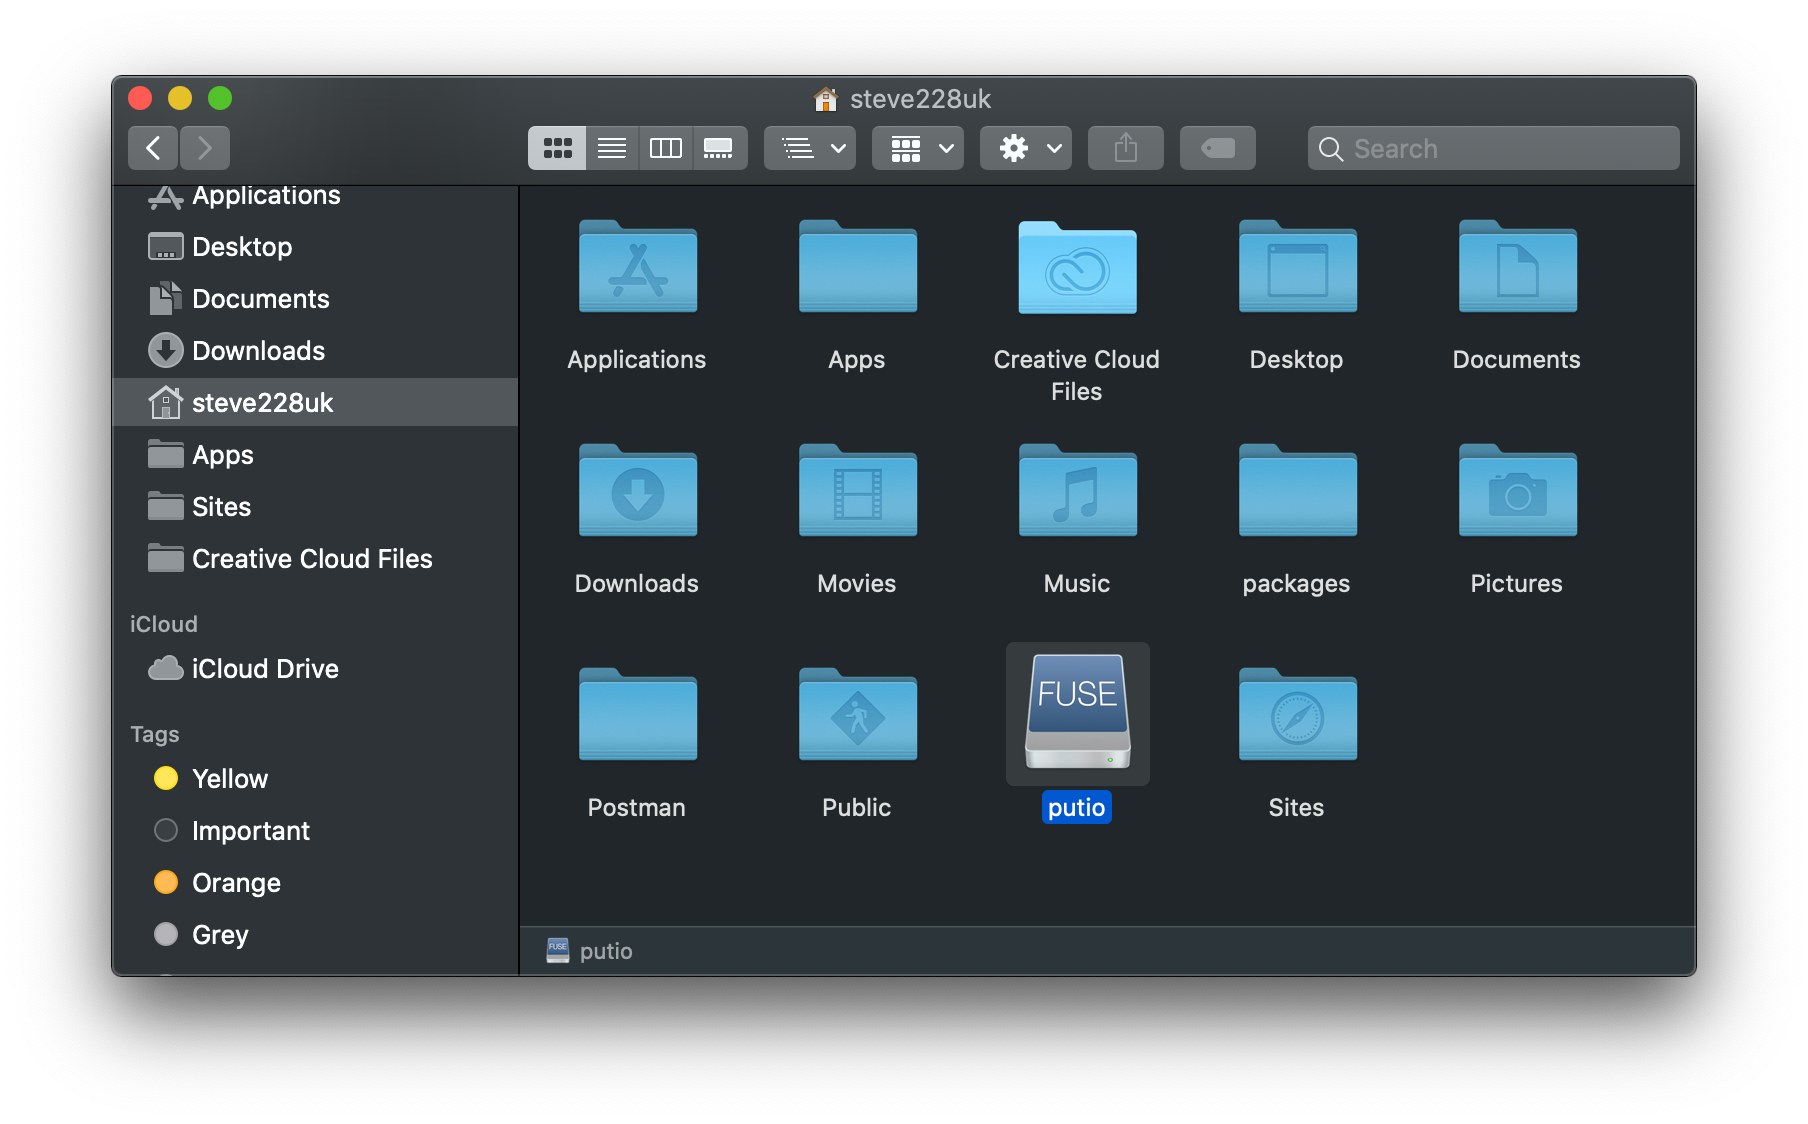
- Mount: This will mount a virtual file system/drive on your machine and you can access all files and directories as you would with any other removable storage.
- Sync: This will download or delete files as required to keep the destination in-line with the source.
- Copy: This will just download files from the source to the destination.
Due to lack of bandwidth for streaming 10-bit 4K, I currently use a mix of both mount and sync. For SD or HD files I can stream just fine so I mount those but for 4K or files larger than 1GB I sync them locally so they play without needing to stop to buffer continiuously.
Should you wish to simply use your cloud service as a means of acquiring files then copy would be the best solution for you.
Mount
rclone mount BACKENDNAME:/optional/path/to/remote/files /path/to/local/directory --daemon --vfs-cache-mode full --allow-otherReplace BACKEND name with the name of the backend you created earlier (in my case putio).
The optional --daemon flag will launch the command into its own process in the background.
The --vfs-cache-mode is recommended for backends that are unable to stream file reads. The options I'd recommend are full or write and you can read more about them on the Rclone website.
The --allow-other flag is also optional and allows other users on the system to access the mounted files.
Sync
rclone sync putio:/optional/path/to/remote/files /path/to/local/directory -u -PThe -u flag here ensures that if a file with the same name already exists on the destination and it's newer, that it won't be touched. The -P flag shows the current progress of the sync.
Copy
rclone copy putio:/optional/path/to/remote/files /path/to/local/directory -u -PNote: Unlike mount, copy and sync run once and the process then dies. If you need them to constantly sync you'll need to use something like crontab in the example below.
Automating with systemd and crontab
If you're content with running the mount command manually when your system boots or you only need to run sync every now and again then you're all set and can move on to integrating your cloud flies into Plex.
However, I wanted to automate things on the Raspberry Pi that I use for my Plex Media Server so I created a service to automatically mount my Rclone backend and for the files I'm syncing (due to bandwidth constraints) I'm running a cron job every 5 minutes.
Creating a Service
Below is the service I'm using to run the mount command when my Raspberry Pi boots. It will need some adjustment to work with your user or if you're not running Raspbian.
[Unit]
Description=Rclone Mount Service
After=multi-user.target

[Service]
Type=idle
User=plex
Group=plex
ExecStart=/usr/bin/rclone mount putio: /home/plex/putio --vfs-cache-mode writes --allow-other

[Install]
WantedBy=multi-user.target
If you want to use this as a base run sudo nano /etc/systemd/system/rcmount.service and copy the above.
Once installed run sudo systemctl start rcmount.service. If your backend mounded as expected you can run sudo systemctl enable rcmount.service to have it run on boot.
Note: My setup meant I was configuring Rclone on one user and running things on another. If this is also the case for you, you may need to ensure your Rclone config is installed in the correct user's home directory. By default the config file is found at ~/.config/rclone/rclone.confSetting Up a Cron
Setting up a Cron job is probably the easiest part of the setup. Simply run crontab -e to edit the current table.
Here's the line I added to the bottom of the file. Tweak to suit your needs.
*/5 * * * * /usr/bin/rclone sync putio:HDR /home/plex/putio/HDR -u >/dev/null 2>&1Save the file and the table will install. That's it!
Integrating with Plex
If you're familiar with Plex (which you likely are if you're reading this) then adding folders to your library is probably second nature. However, if this is all new then open the web UI to your Plex Media Server in a browser, login and go to 'Account' under your avatar in the top right.
On the left, scroll down to "Manage" and click on "Libraries".
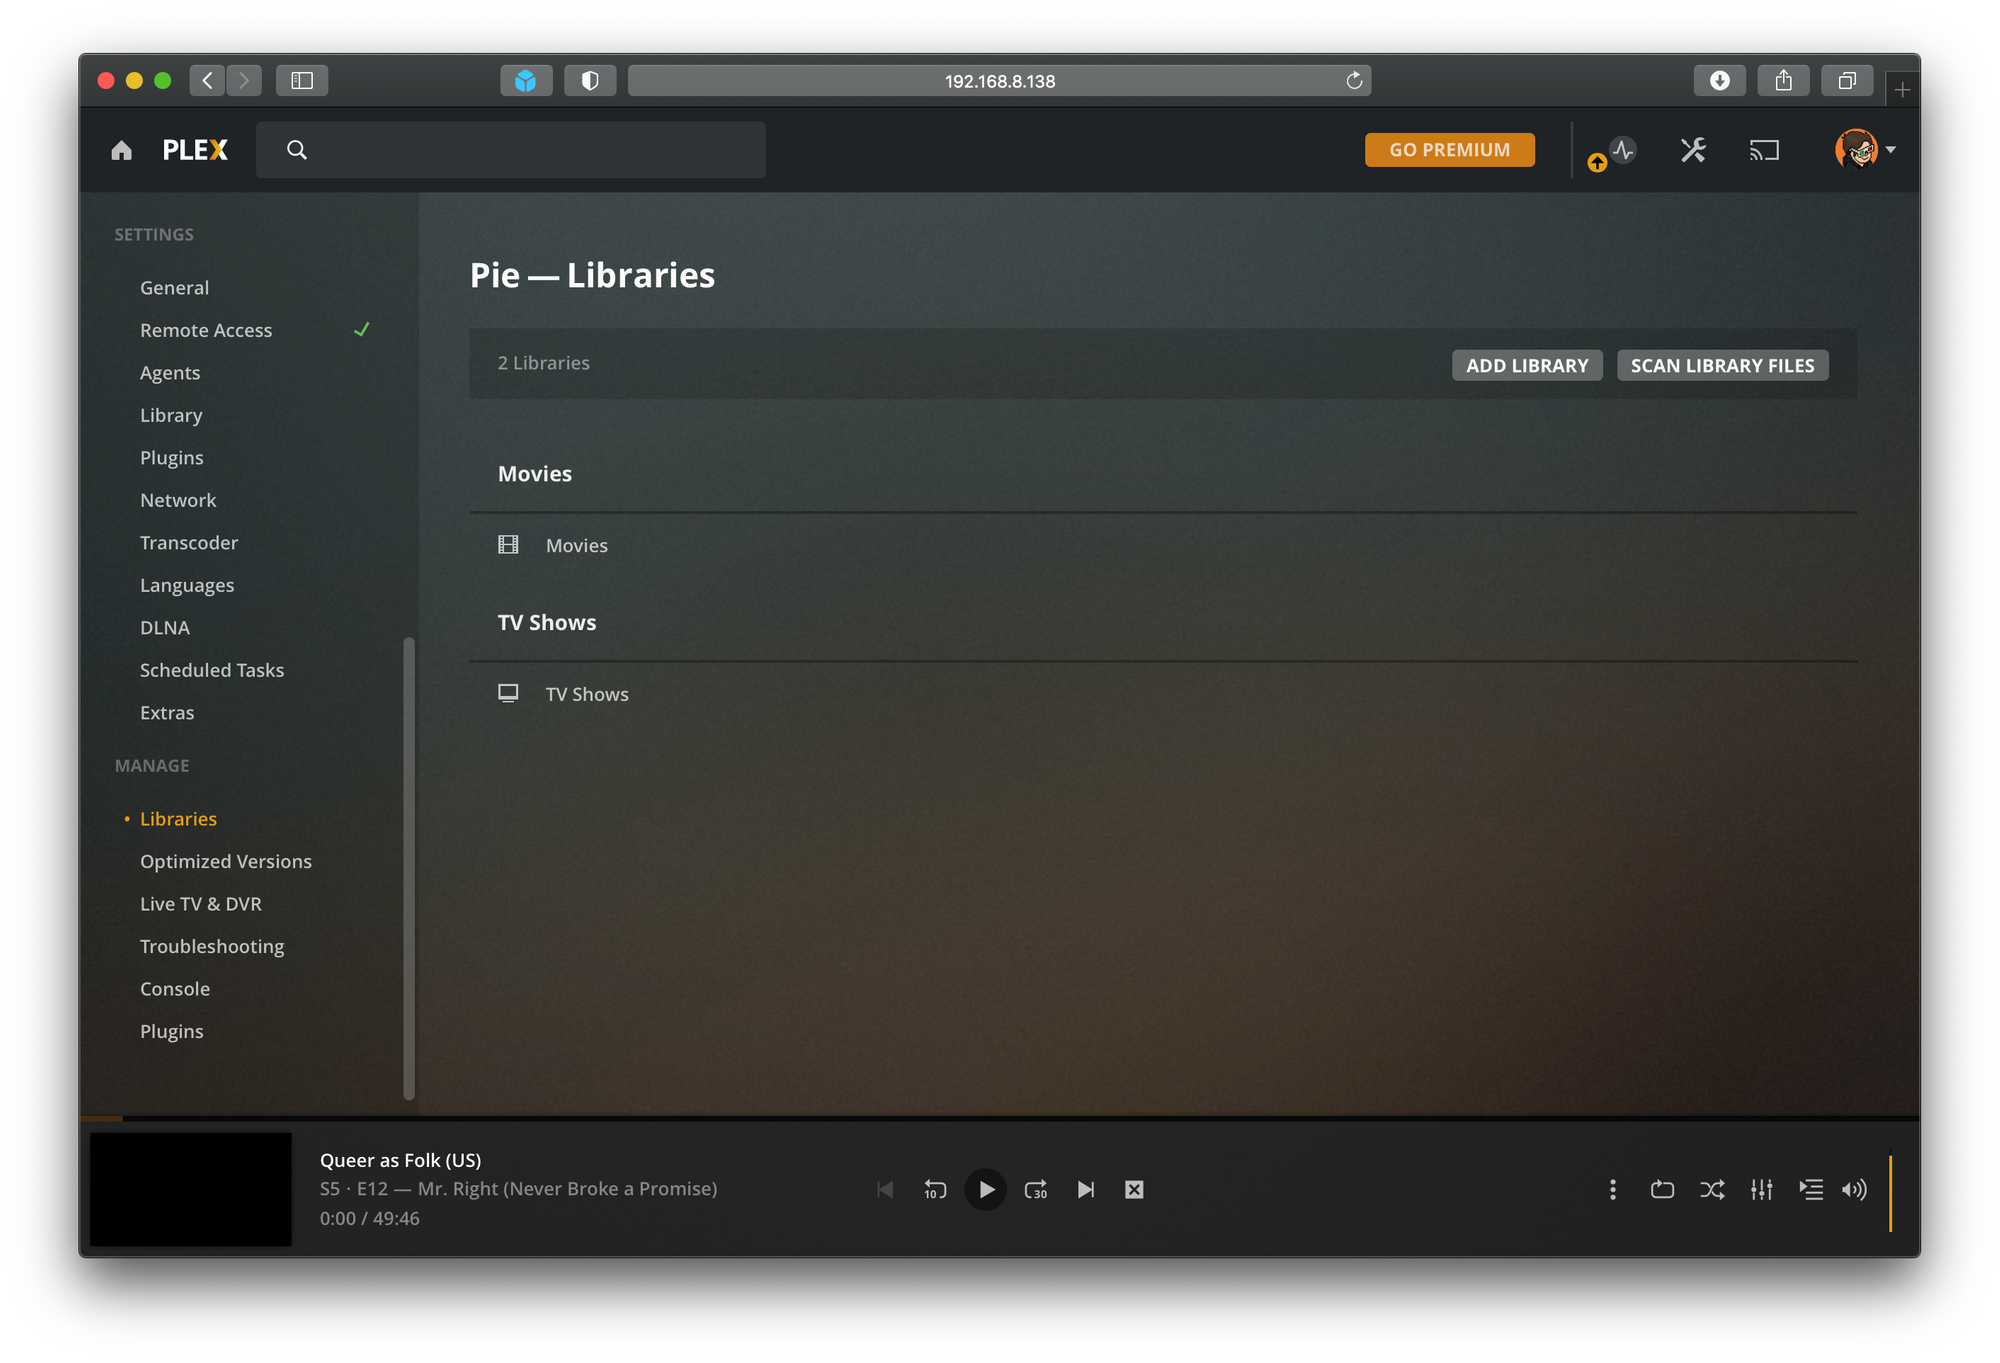
Select the library you'd like to your remote files to and the select 'Add folders' on the left. It's then just a case of navigating to the directories you mounted or synced through Rclone.
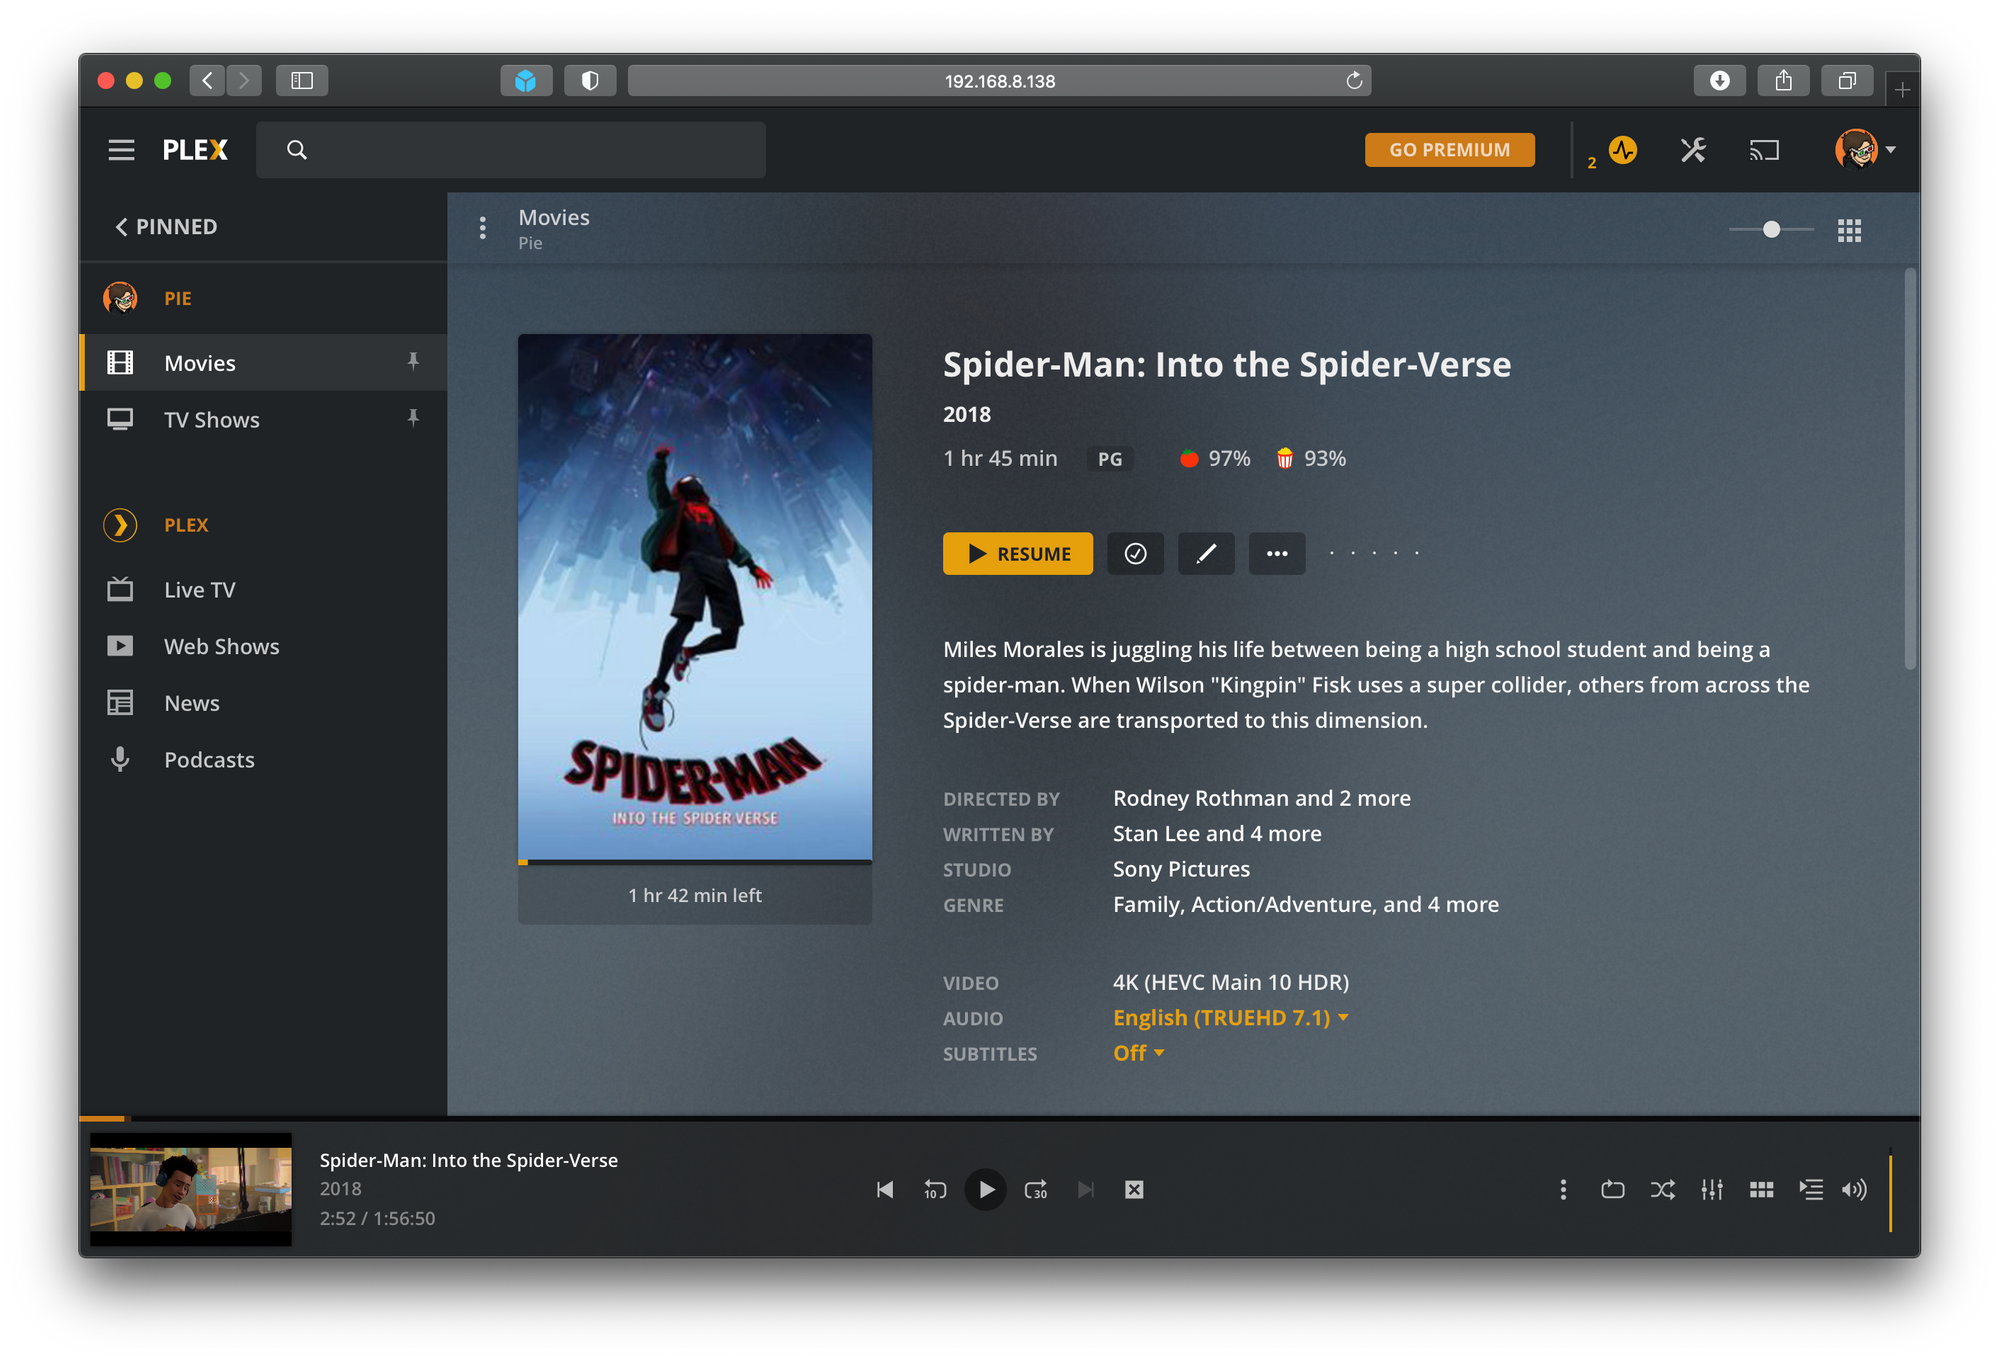
And that's it! Files on your Rclone backend will now automatically show up in Plex with artwork and metadata.