HomeKit IR Blaster: Controlling My TV with HomeKit
If you've read any of my previous posts then you probably already realise I'm on a mission to automate my entire house and control it using Apple's HomeKit protocol. I'm pretty satisfied with the lights in my house now but there's plenty more I would still love to be able to control from my phone.
In Search of an IR Blaster
Rather than replacing everything in my home it made sense to try and find something to control my existing stuff. The majority of things like my TV, amp, fireplace, and fan are all controlled by IR so I started looking for an IR blaster that would work with Apple's HomeKit.
The only HomeKit compatible device I could find was BOND but that cost $99 and it's only available for pre-order so that was most definitely out of the equation. My next thought was perhaps rolling my own using an Arduino, IR LED and some other bits and bobs. It seemed entirely possible but would take a decent amount of time to assemble and program while also costing around £30.
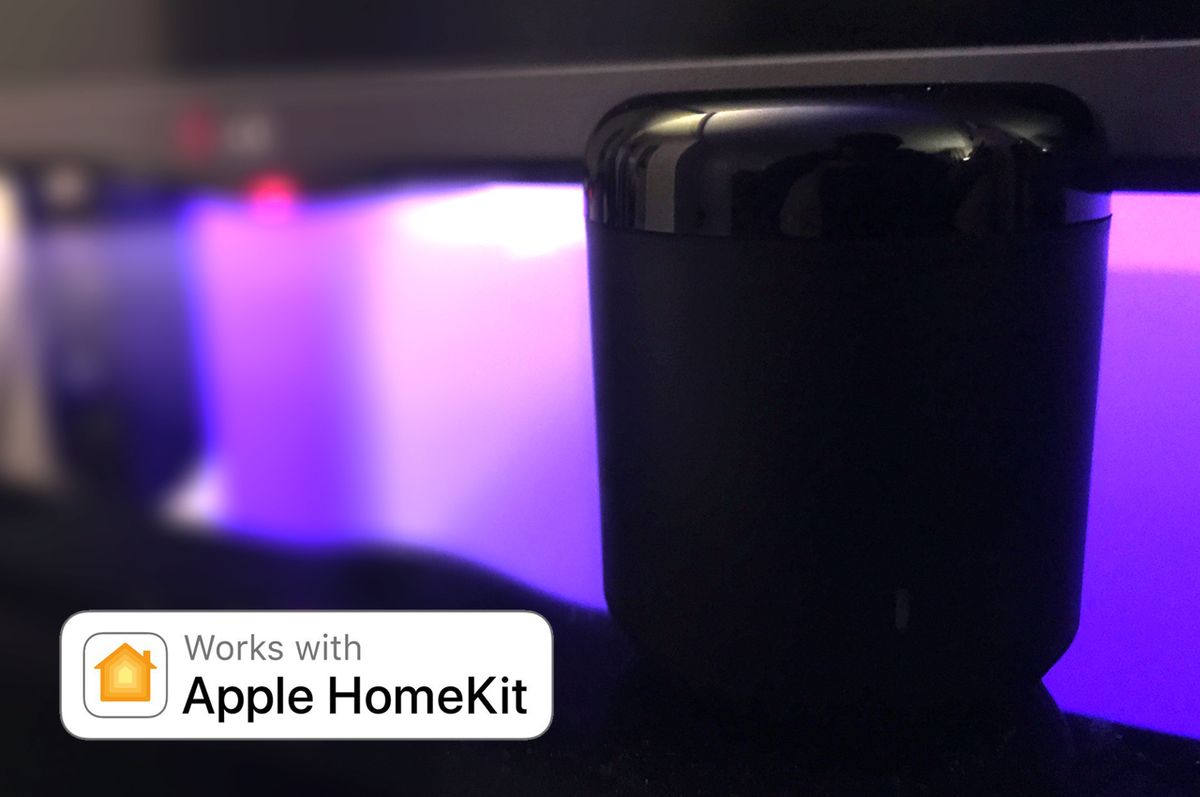
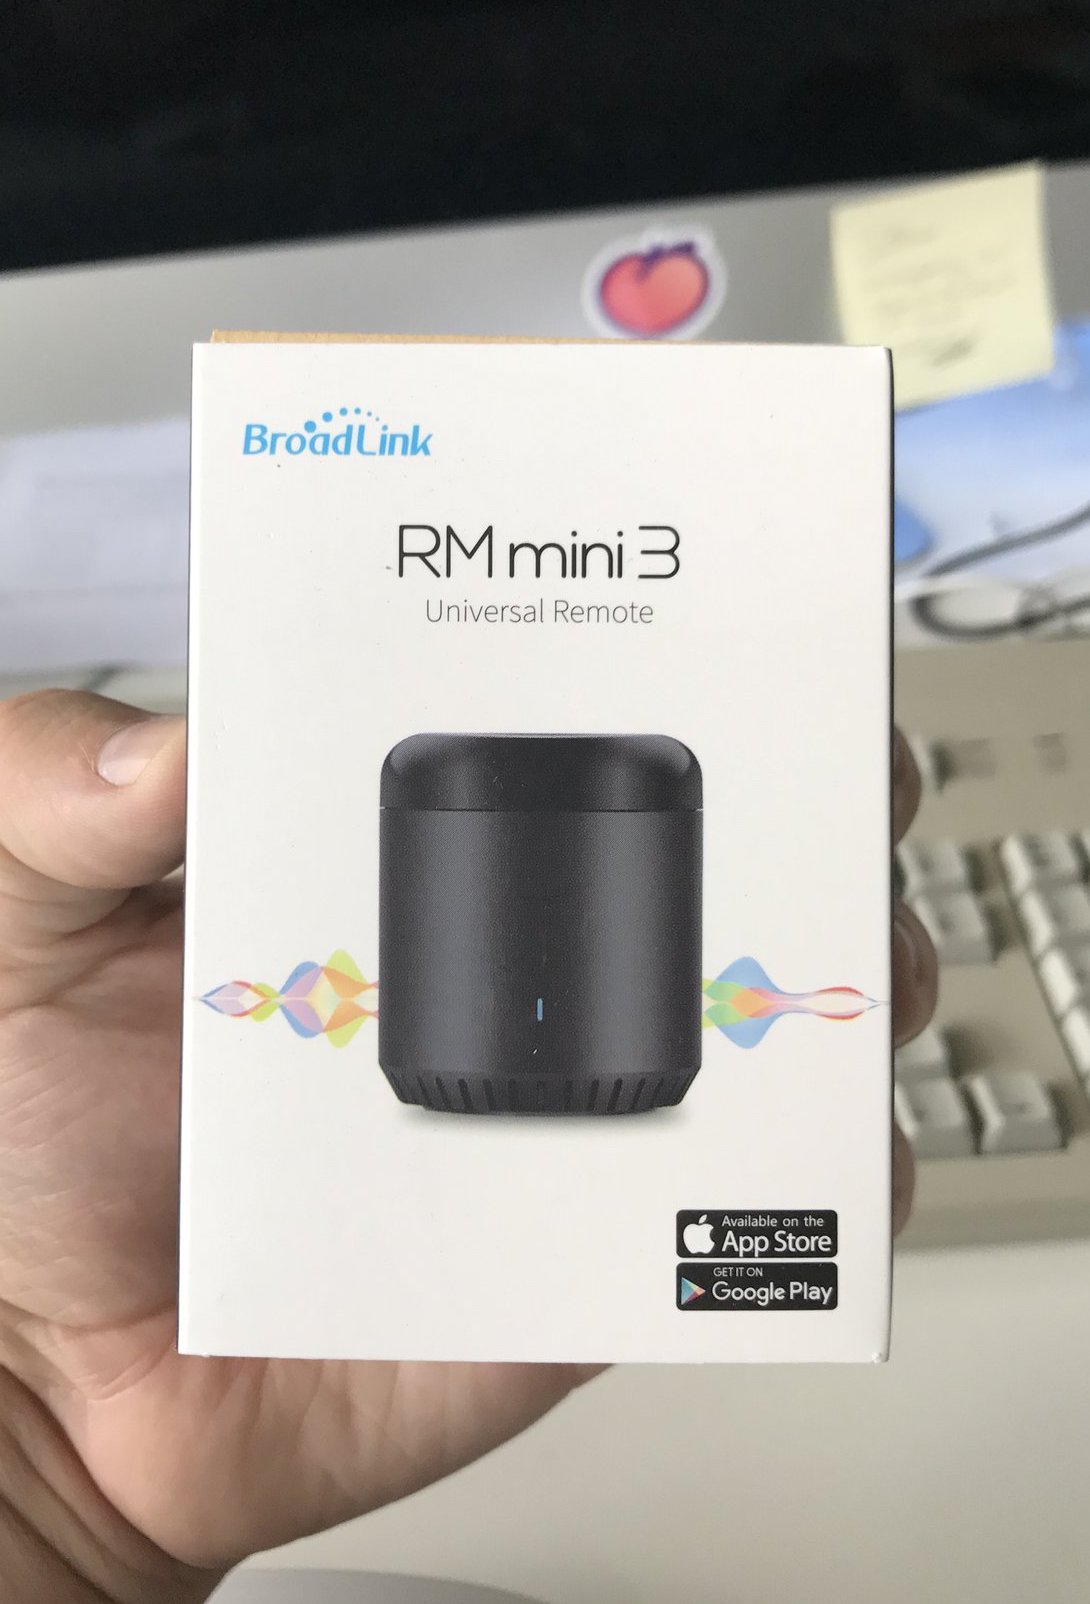
Like with most things though there is a cheap Chinese alternative — the Broadlink RM. It comes in two flavours: IR only and a IR + RF "Pro" model. I got the RM Mini 3 to test out as I didn't think I had any use for RF (I later discovered I have some RF sockets I could have used it with).
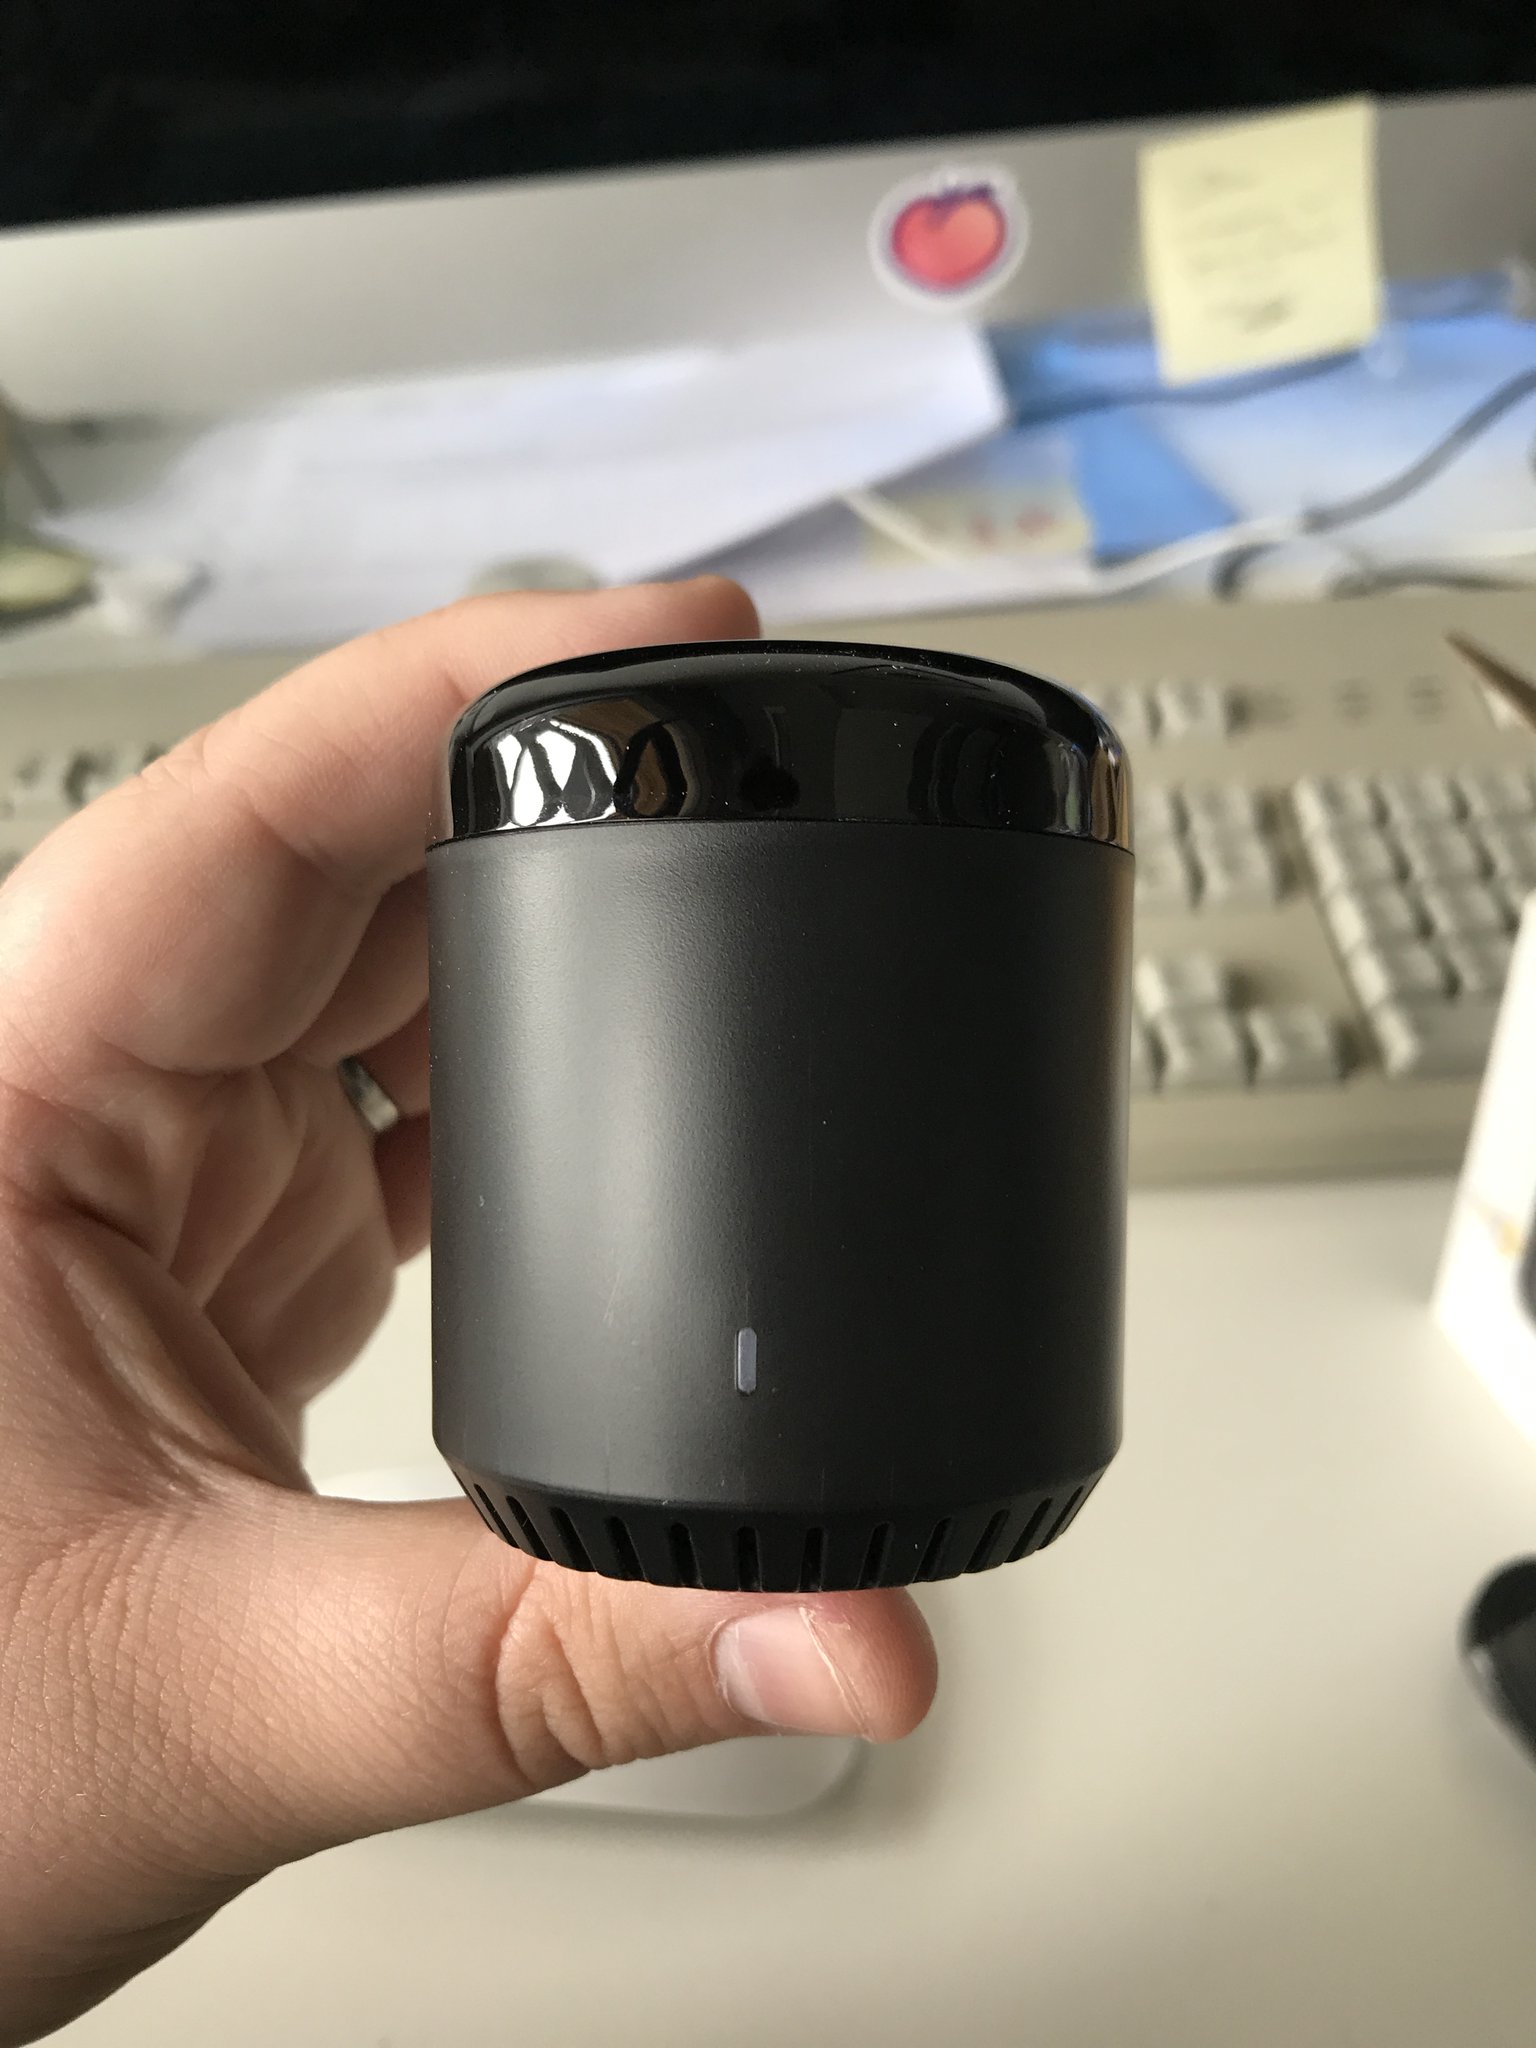
The device itself is nice enough. It's neat, compact, and the design kinda reminds me of the Mac Pro.
It's app however leaves much to be desired (at least on iOS). It feels like it hasn't been updated since iOS 7 was released but it does its job and I was able to setup the RM Mini 3 to turn on my TV and Amp within a few minutes of taking it out of the box.

HomeKit
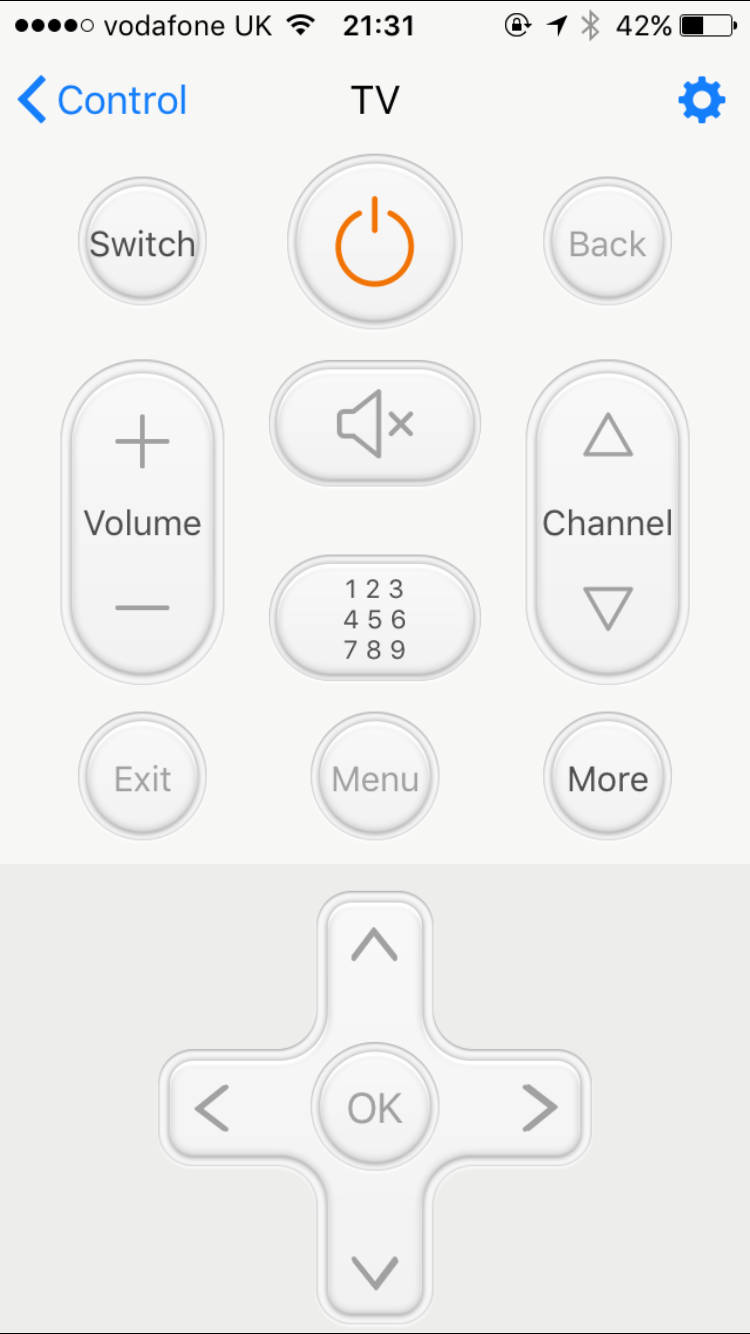
Now that's all well and good but the goal was to get the thing working with HomeKit so I can use Siri and access it from Control Centre on my iPhone and iPad. HomeBridge of course was the solution to this. I already had my HomeBridge instance running on a Pi Zero for my lights and LED strips so it was just a case of installing and configuring an additional plugin.
This fantastic plugin does absolutely everything you could want. It supports sending multiple codes via a single switch, repeat sending codes (for volume up etc.), built in support for HomeKit types such as fans, lights, and garage doors. On top of that it automatically finds the Broadlink RM device connected to your network and adds buttons to learn IR and RF codes.
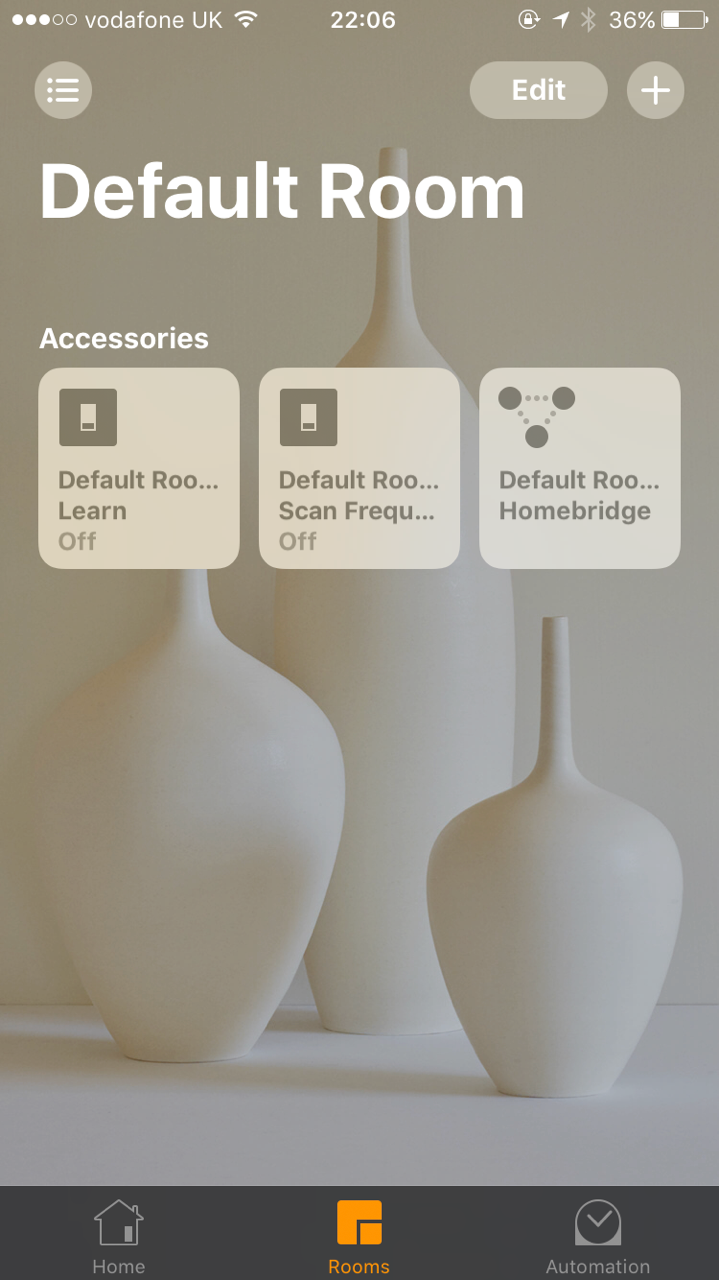
Tap one of those learn/scan buttons in the Home app on your iPhone and it will turn the RM into learning mode. Point your remote at the RM and press the button you want to know the code of and it will be printed out in your HomeBridge terminal for you to use.
Configuration is very simple and is simply a case of adding a platform and then the accessories you want to create. At the moment I have 3 buttons: TV, Amp, and Media so I can turn everything on or control devices individually. I'll likely expand upon this to be able to change the input on my TV and increase or decrease the volume. The config-sample.json provides examples on all of the types of accessories that can be included in the platform.
— Stephen Radford (@steve228uk) June 27, 2017
Now I fully accept that controlling my TV from my phone may seem redundant considering the remote is sat just a few feet away from me on the coffee table. However the idea of being able to turn the TV on when I'm away to make it seem like someone is home, or to turn a fan or air conditioning on when a certain temperature is detected by a HomeKit sensor, or to control existing IR or RF sockets is very appealing to me.